English
- 30 -
Select Yes by using “ ” or “ ” /
OK
buttons to cancel
instant recording.
Note: Switching to a different broadcast or source;
and viewing Media Browser are not available during
the recording.
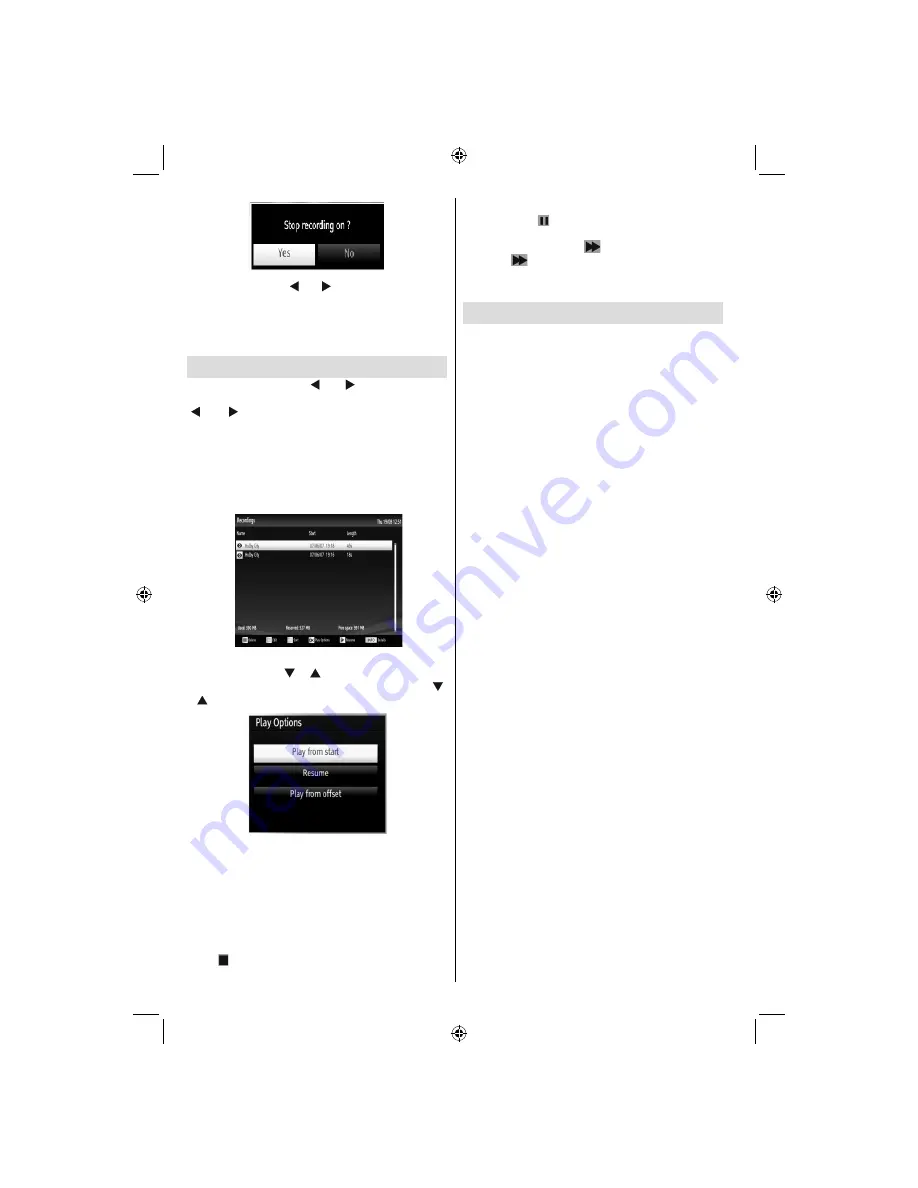
Watching Recorded Programmes
In the main menu, use “ ” or “ ” buttons to select
Media Browser. Highlight Recordings item by using
“ ” or “ ” button and press OK button to enter.
Recordings will then be displayed.
IMPORTANT: To view Recordings, you should
fi
rst
connect a USB disk to your TV while the TV is
switched off. You should then switch on the TV to
enable recording feature. Otherwise, recording feature
will not be available.
Select a recorded item from the list (if previously
recorded) by using
“ ” / “ ”
button. Press
OK
button
to view
Play Options
. Select an option by using
“ ”
/ “ ”
or OK buttons.
Available playback options:
• Play from start: Plays the recording from the
beginning.
• Resume: Recommences the recordings.
• Play from offset: Speci
fi
es a playing point.
Note: Viewing main menu and menu items will not be
available during the playback.
Press (STOP) button to stop a playback and return
to return to Recordings.
Slow Forward
If you press (PAUSE) button while watching
recorded programmes, slow forward feature will be
available. You can use
button to slow forward.
Pressing
button consecutively will change slow
forwarding speed.
Using DLNA Network Service
Information
DLNA (Digital Living Network Alliance) is a standard
that eases viewing process of digital electronics and
makes them more convenient to use on a home
network. For further information, visit www.dlna.org.
DLNA standard allows you to view and play photos,
music and videos stored in the DLNA media server
connected to your home network.
Step 1: Nero Media Home Installation
DLNA function cannot be used if the server program
is not install to your PC. Please prepare your PC
with the provided Nero Media Home programme.
For
more information about the installation, please refer
to appendix H.
Step 2: Connecting to a Wired or Wireless
Network
Wired Connection
Connect your network’s LAN cable to the
•
ETHERNET
INPUT
of your TV. Make sure that the preparation
of media server, connections and network settings
are completed properly (
See the chapter,
Network
Settings
for more information
).
Wireless Connection
IMPORTANT: “Veezy 100” USB dongle(sold
separately) is required to use wireless network
feature. To use your TV with your wireless network,
you need a “Veezy 100” Wireless USB dongle.
Please plug in the Wi-Fi dongle to one of the USB
•
ports of the TV.
Select
•
Network Settings
from the
Settings
menu.
Press
•
YELLOW
button to start searching for
available wireless networks. If any active wireless
networks are found, a list will be displayed.
Please select your desired network from the list. If
•
the selected network is protected with a password,
please enter the correct key by using the virtual
keyboard. You can use this keyboard via navigation
buttons (Left/Right/Up/Down) and
OK
button on the
remote control.
A01_[GB]_MB70_5112UK_DVBT_C_DLNA_HBBTV_MMH_WIFI_32942LED_GOLD11_10075886_50201414.indd 30
A01_[GB]_MB70_5112UK_DVBT_C_DLNA_HBBTV_MMH_WIFI_32942LED_GOLD11_10075886_50201414.indd 30
16.04.2012 14:50:09
16.04.2012 14:50:09


