


17
18
Information
Identification
You can check the current version of the software on
the screen.
Software update
This is used to upgrade the system software to
enhance the TV functions.
H
Manual update
Updates the software using a USB memory device
containing the update file.
H
Auto update setting
OAD update
•
This function is for automatically download the
data for the version update software over digital
broadcasts when the “OAD update” is set to “On”.
•
To download, follow the instructions when the
download message appears during a digital
broadcast.
•
Once the software upgrade is done, the TV will
automatically go to standby state with Red LED.
OAD scan
•
This function is for manually download the data for
the version update software over digital broadcasts.
CAUTION
•
Do not disconnect the AC cord when the software
upgrade is in progress, as this may cause the
upgrade to fail. If problem arises ask a qualified
service personnel before the software upgrade
period expires.
Software license
You can read the software license on the screen.
Picture settings
Selecting a preset AV mode
“AV mode” gives you several viewing options to
choose from to best match the system environment,
which can vary due to factors like room-brightness,
type of programme watched or the type of image
input from external equipment.
1
Press
MENU
and the MENU screen displays.
2
Press
c
/
d
to select “Picture settings”.
3
Press
a
/
b
to select “AV mode”, and then
press
ENTER
.
Selected item
Description
STANDARD
For a highly defined image in a normally
bright room.
MOVIE
For a movie.
PC
For PC (Available only when inputting an
HDMI or PC signal).
USER
Allows you to customise settings as
desired. You can set the mode for each
input source.
DYNAMIC
For a clear-cut image emphasising high
contrast for sports viewing.
DYNAMIC
(Fixed)
Changes the image and sound settings
to the factory preset values. No
adjustments are allowed.
SUPER ECO
Reduce the backlight brightness.
NOTE
•
You can select a different AV mode item for each input
mode. (For example, select STANDARD for TV input and
DYNAMIC for VIDEO input.)
Adjustment items
Selected item
c
button
d
button
Backlight
The screen dims
The screen
brightens
Contrast
For less contrast
For more contrast
Brightness
For less brightness For more brightness
Colour
For less colour
intensity
For more colour
intensity
Tint
Skin tones become
reddish
Skin tones become
greenish
Sharpness
For less sharpness For more sharpness
Picture settings (Continued)
Advanced
This TV provides various advanced functions for
optimising the picture quality.
H
Digital noise reduction
Reduces noise on screen and produces a clearer
video image. (Off, Low, Medium, High, Auto)
H
Eagle View*
“Eagle View” technology produces a sharp picture
from the original moving picture. (Off, On)
H
AquoMotion Lite*
“AquoMotion Lite” technology provides superior
solutions for display picture quality removing motion
blur. (Off, High, Advance)
NOTE
*
This effect is greater on fast moving images.
*
This function will have no effect in the following cases.
1) The type of signal received is a PC signal.
2) An OSD is being displayed.
3) Teletext is activated.
*
If images appear blurred or flickering, set to “Off”.
•
“Picture settings” cannot be changed during
“DYNAMIC (Fixed)” mode.
• For resetting all “Picture settings” items to factory preset
values, press
a
/
b
to select “Reset”, press
ENTER
, press
a
/
b
to select “Yes”, and then press
ENTER
.
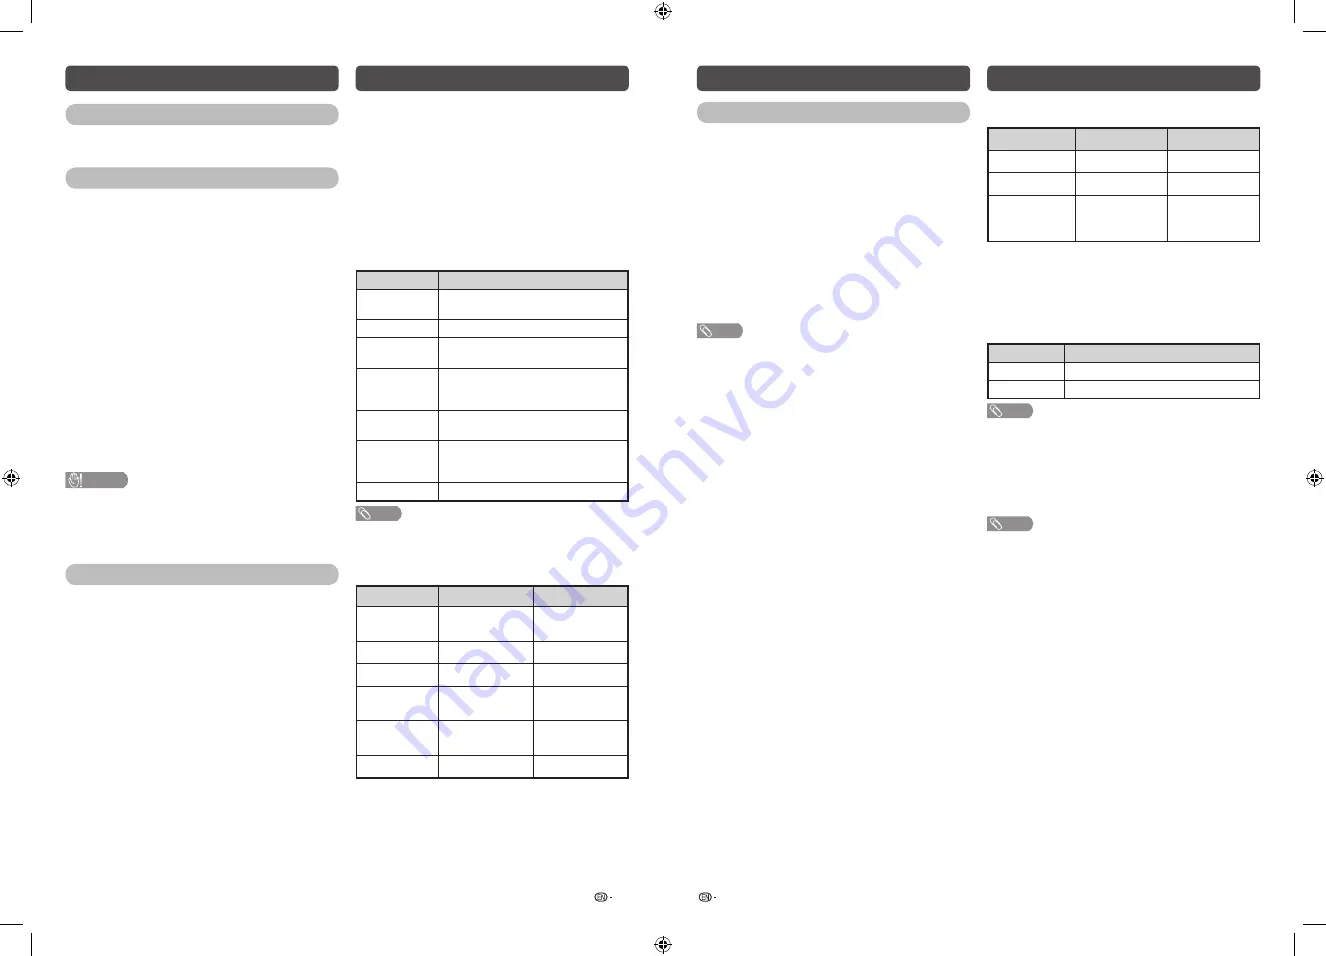
Audio settings
You can adjust the sound quality to your preference
with the following settings.
Selected item
c
button
d
button
Treble
For weaker treble
For stronger treble
Bass
For weaker bass
For stronger bass
Balance
Decrease audio
from the right
speaker
Decrease audio
from the left
speaker
H
Surround
The surround function produces surround effect from
the speakers. (Off, On)
H
Bass enhancer
powered by SRS Labs, Inc.
This function allows you to enjoy bass-enhanced
sound.
Selected item
Description
On
Bass enhancer function is on.
Off
Outputs the normal sound.
NOTE
•
If distorted bass sound is heard, set to “Off”.
H
Auto volume
Different sound sources, fairly often do not have the
same volume level, for example the changing from
movie to the advertisements. Auto volume solves this
problem and equalises the volume levels. (Off, On)
NOTE
•
For resetting all “Audio setting” items to factory preset
values, press
a
/
b
to select “Reset”, press
ENTER
, press
a
/
b
to select “Yes”, and then press
ENTER
.
LC-45LE280X_G753_EN.indd 9
11/15/2016 4:09:00 PM


