23
Setup Menu
Example
CH Setup
Antenna Setup-DIGITAL
EZ Setup
Input Skip
Parental CTRL
Position
Language
Reset
[English]
Setup
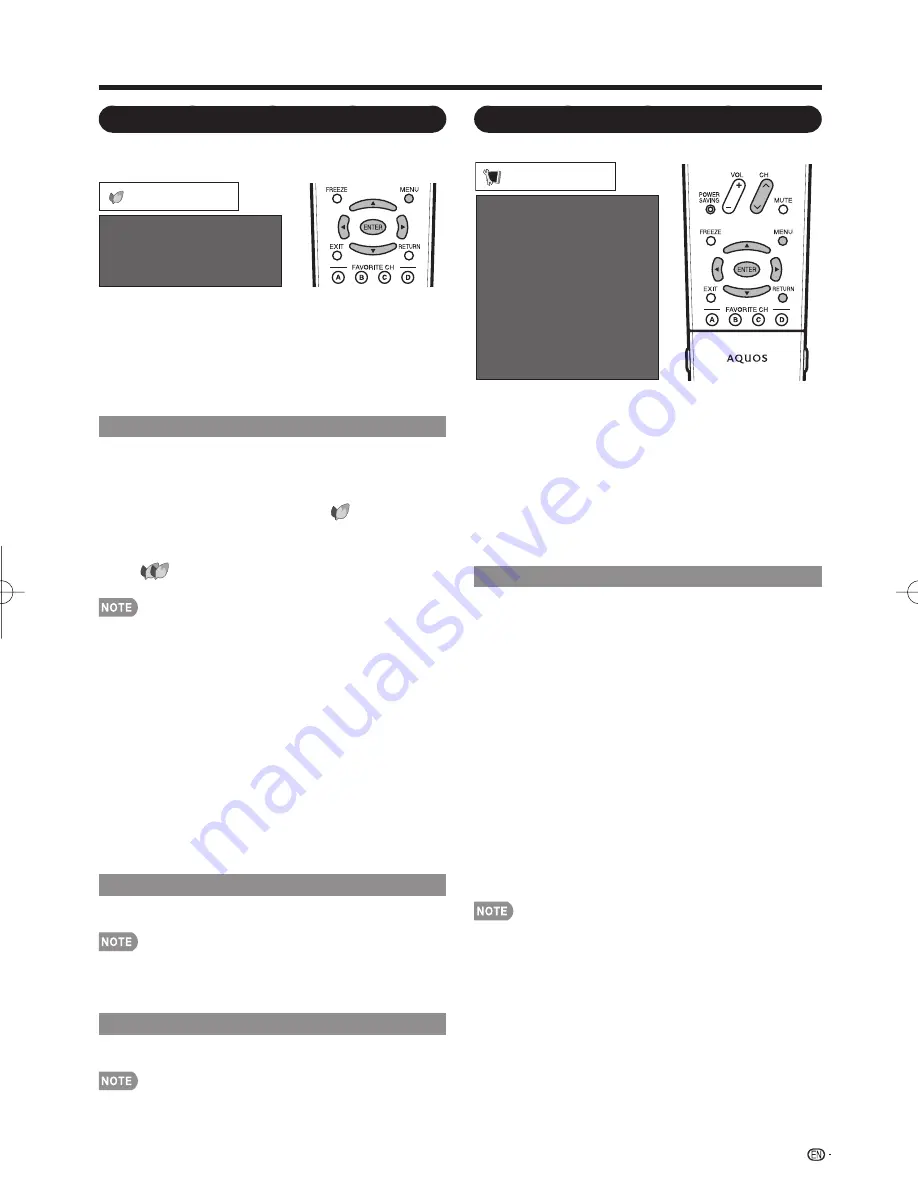
1
Press
MENU
to display the MENU screen, and then
press
c
/
d
to select "Setup".
2
Press
a
/
b
to select a specifi c adjustment item,
and then press
ENTER
.
When you select "EZ Setup", "CH Setup", "Parental
CTRL" or "Reset", you can enter the 4-digit secret
number here. See page 25 for setting a secret number.
3
Press
a
/
b
(or
c
/
d
) to select the desired setting,
and then press
ENTER
.
4
Press
MENU
to exit.
EZ Setup
You can run EZ Setup again, even after setting up the
preset channels.
Language:
Select from among 3 languages (English,
French and Spanish).
TV Location:
Select "Home" or "Store" for the location
where you plan to install the TV. This product qualifi es
for ENERGY STAR V3.0 in Home mode default setting.
If you select "Home", AV MODE will be set to "STANDARD".
If you select "Store", you will be able to set Picture Reset
options. In this case, AV MODE will be set to "DYNAMIC
(Fixed)" regardless of whether Picture Reset is "On" or "Off".
When you set Picture Reset to "On", AV MODE will be reset
to "DYNAMIC (Fixed)" if there is no operation for 30 minutes.
When "Off" is selected, AV MODE will be set to "DYNAMIC
(Fixed)".
ENERGY STAR qualifi cation is based on AV MODE
"STANDARD".
Air/Cable:
Make sure what kind of connection is made
with your TV when selecting "Air" or "Cable".
CH Search:
Channel auto search makes the TV look for
all channels viewable in the set area.
See "Initial Setup" on page 14 for setting each item.
If no channel is found, confi rm the type of connection made
with your TV and try EZ Setup again.
If you select "Analog Search Start" and initiate the channel
search, the CH Memory for Cable Digital will be deleted.
•
•
•
•
•
•
•
On-Screen Display Menu
Power Control Menu
Power control setting allows you to save energy.
Power Saving
[Off]
No Signal Off
[Disable]
No Operation Off
[Disable]
Power Control
Example
1
Press
MENU
to display the MENU screen, and then
press
c
/
d
to select "Power Control".
2
Press
a
/
b
to select a specifi c adjustment item,
and then press
ENTER
.
3
Press
a
/
b
(or
c
/
d
) to select the desired setting,
and then press
ENTER
.
4
Press
MENU
to exit.
Power Saving
This function allows you to set the Power Saving level
in order to decrease the power consumption and
increase the backlight lifespan.
Standard:
Optimizes power reduction based upon video
content. When set to "Standard", "
" appears on the
screen.
Advanced:
Optimizes power reduction based upon video
content and engages OPC. When set to "Advanced",
"
" appears on the screen.
Off:
This function does not work.
"Power Saving" does not function when you set "AV
MODE" to "DYNAMIC (Fixed)".
You cannot select a different Power Saving item for each
AV MODE.
When “Power Saving” is set, the “OPC” settings for all AV
Modes will automatically change.
— If you set “OPC” to “On” when “Power Saving” is set
to “Standard”, then the “Power Saving” setting will
change to “Advanced”.
— When you change the “Power Saving” setting from
“Advanced” to “Off” or to “Standard”, “OPC” will be set
to “Off”.
— “DYNAMIC (Fixed)” will remain set to “Off”.
When "Power Saving" is set to "Standard" or "Advanced",
the Power Saving leaf icon appears to the left of "OPC" in
the Picture menu screen.
You can select Power Saving by pressing
POWER
SAVING
on the remote control unit. (See page 17.)
No Signal Off
When set to
"Enable", the power will automatically shut
down if there is no signal for 15 minutes.
When it is 5 minutes before the power shuts down, the
remaining time will start to keep appearing every minute.
"Disable" is the factory preset value.
When a TV program fi nishes, this function may not operate.
No Operation Off
When set to "Enable", the power will automatically shut
down if there is no operation for 3 hours.
When it is 5 minutes before the power shuts down, the
remaining time will start to keep appearing every minute.
"Disable" is the factory preset value.
•
•
•
•
•
•
•
•
•
LC-42D65UT̲E.indb 23
LC-42D65UT̲E.indb 23
2009/04/13 15:46:45
2009/04/13 15:46:45
Summary of Contents for Aquos LC 42D65UT
Page 2: ......


