


E 50
ENGLISH
FRANÇAIS
Р
УССКИЙ
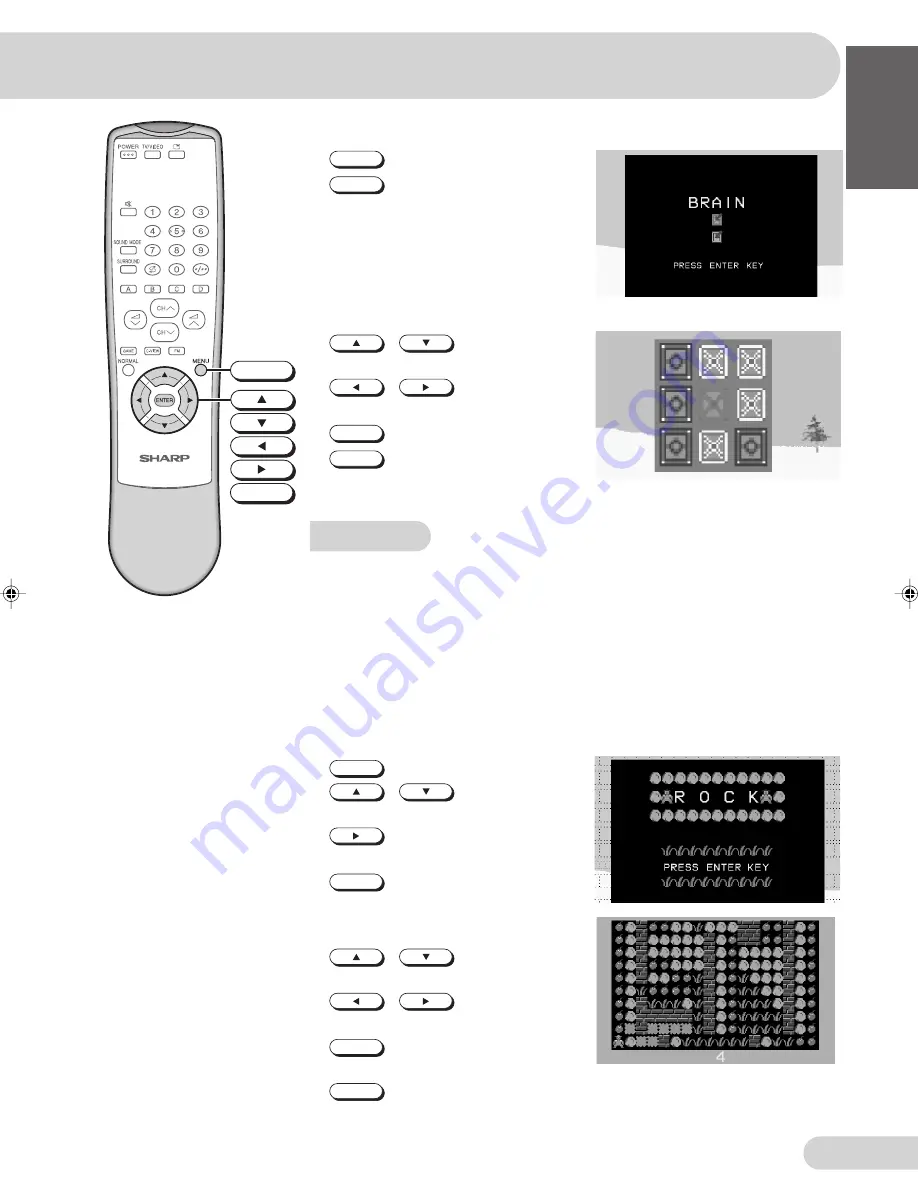
Key functions during Title menu:
1.
ENTER
: To start the game.
2.
MENU
: To return to the GAME
menu.
Key functions during Game screen:
1.
/
: To move the
cursor up or down.
2.
/
: To move the
cursor to left or right.
3.
ENTER
: To turn cards over.
4.
MENU
: To return to the GAME
menu.
Stage 1 screen
THE ROCK
Rules
• Move the rocks and get apples. You finish the game when you get all the
apples.
• Moving the character on the screen leaves a cavity where it was. If a rock is
above the cavity, it falls.
• You can push a rock aside into a cavity.
• You cannot move a rock into a brick wall or grass field.
• The character can walk on a grass field but cannot walk on a brick wall.
• Total number of stages: 5.
Key functions during Title menu:
1.
ENTER
: To start the game.
2.
/
: To select a
number of stages (1 to 5).
3.
: To confirm the selection of
a stage.
4.
MENU
: To return to the GAME
menu.
Key functions during Game screen:
1.
/
: To move the
character up or down.
2.
/
: To move the
character to left or right.
3.
ENTER
: To return to the title menu
screen.
4.
MENU
: To return to the GAME
menu.
MENU
ENTER
29H-FD1F(40-50)EN
14/10/04, 11:18 am
50


