background image

X-TATIC ANALOG

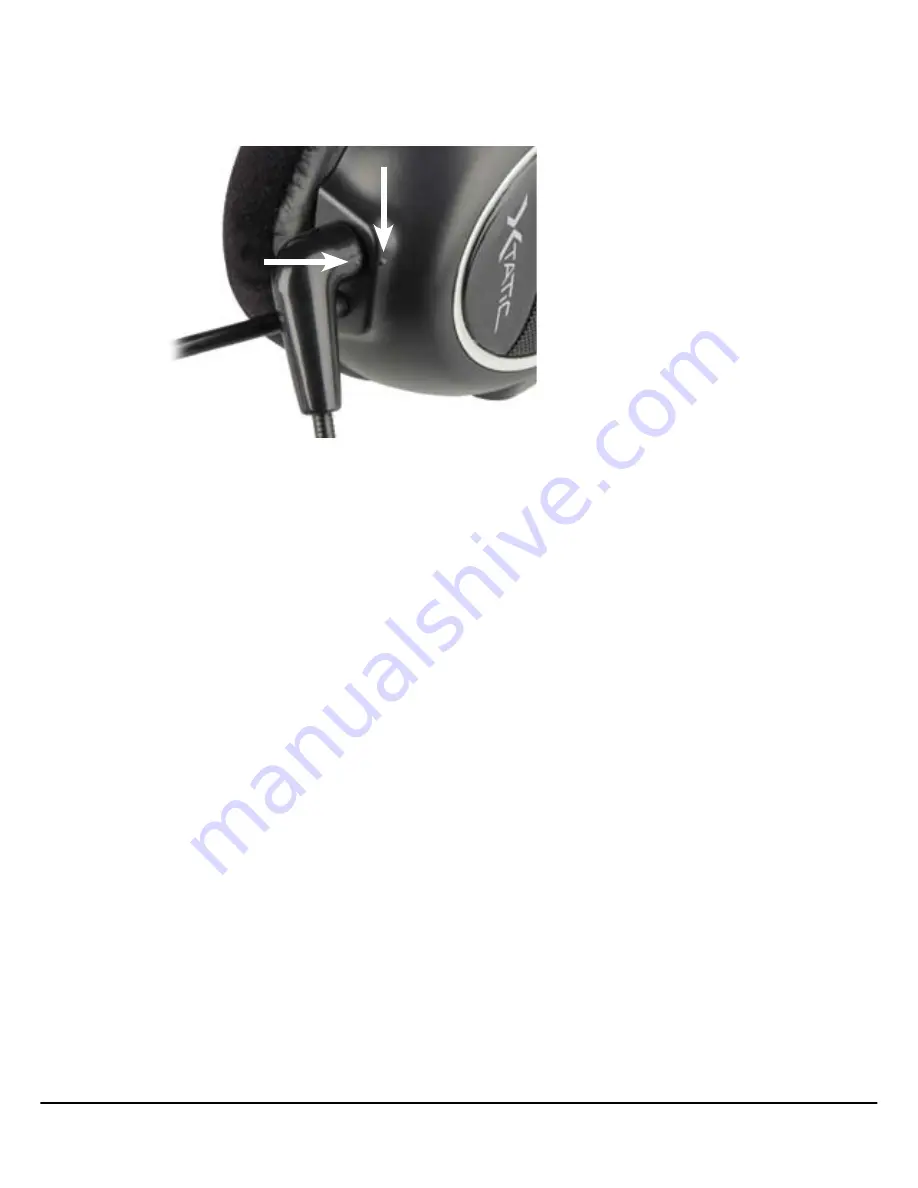
2.  Turn the microphone until the indications on the microphone and on the headset are  
 

opposite to each other (fig. 3).

3.   Press the microphone’s plug into the headset’s jack completely and turn the micro- 
 

phone to the front and into the desired position.

7.  Connecting the headset to a PC or any other analog  
  source

1.  Connect the included power supply to a wall outlet and to the headset’s ISO power  
 

connector.

2.   Connect the cable adapter’s 9-pin connector to the according connector of the headset  
 

cable.

3.   Connect  the  X-Tatic Analog’s  single  3.5  mm  stereo  plugs  to  the  respective  analog  
 

connector  jacks  of  your  PC’s  5.1  sound  card  (or  any  other  compatible  device).  For  


convenient handling, the connectors are color coded. The headset is ready to use.

fig. 3

20

Summary of Contents for X-Tatic Analog

Page 1: ...Handbuch Manual Manuel d utilisation Guia usario Manuale d istruzioni Gebruiksaanwijzing Guia us rio Instukcja obstugi...

Page 2: ...alog 15 3 Compatibility X Tatic Analog 15 4 Parts and accessories 16 5 The headset at a glance 17 5 1 The volume controller 18 5 2 The connections 19 6 Connecting the microphone to the headset 19 7 Co...

Page 3: ...4 in each earpiece Digital in line volume control High end amplifier Independent illuminated volume adjustment for each channel and master volume Detachable microphone with QuickOn connection 2 Speci...

Page 4: ...1 headset A Microphone B Cable adapter 9 pin analogue plug 3 x 3 5 mm C Power adapter D Manual Note If you are missing any of the items listed above please contact customer service via e mail at supp...

Page 5: ...X TATIC ANALOG 17 5 The headset at a glance A Headband B Headphones C Detachable adjustable microphone D Microphone connector A B C D...

Page 6: ...t respectively all buttons illuminated as well as volume on off by pressing this controller B Microphone volume only Xbox 360 C Control button for the front rear and center speaker as well as for the...

Page 7: ...phone connector fig 2 B Cable adapter a 9 pin analog jack b 3 5 mm stereo plug for each channel 1 Microphone connector pink 2 Subwoofer connector orange 3 Connector for rear speakers black 4 Connecto...

Page 8: ...eadset to a PC or any other analog source 1 Connect the included power supply to a wall outlet and to the headset s ISO power connector 2 Connect the cable adapter s 9 pin connector to the according c...

Page 9: ...trol Unit SCU Supports Dolby Digital 2 0 Dolby Digital 5 1 and Dolby Pro Logic Supports the chat function of PS3 Xbox and Xbox 360 Dynamic Range Control Specifications X Tatic SCU Digital optical inpu...

Page 10: ...Dolby Laboratories All named products and descriptions are trademarks and or registered trademarks of the respective manufacturers and are accepted as protected As a continuing policy of product impro...

Reviews: