


31
Chapter 5
Our first print from a SD Card
If you have followed the instructions in this manual, you’ve already developed your Kiwi Sharebot
3D by placing it on a table with reel-carrier, you connected the power supply, and you have turned
on the printer, did the printing bed calibration and you have also uploaded the plot strand. Now you
can proceed to your first print.
Se avete invece saltato qualcuno dei passaggi appena elencati, vi invitiamo a tornare indietro e a
rileggerli prima di proseguire.
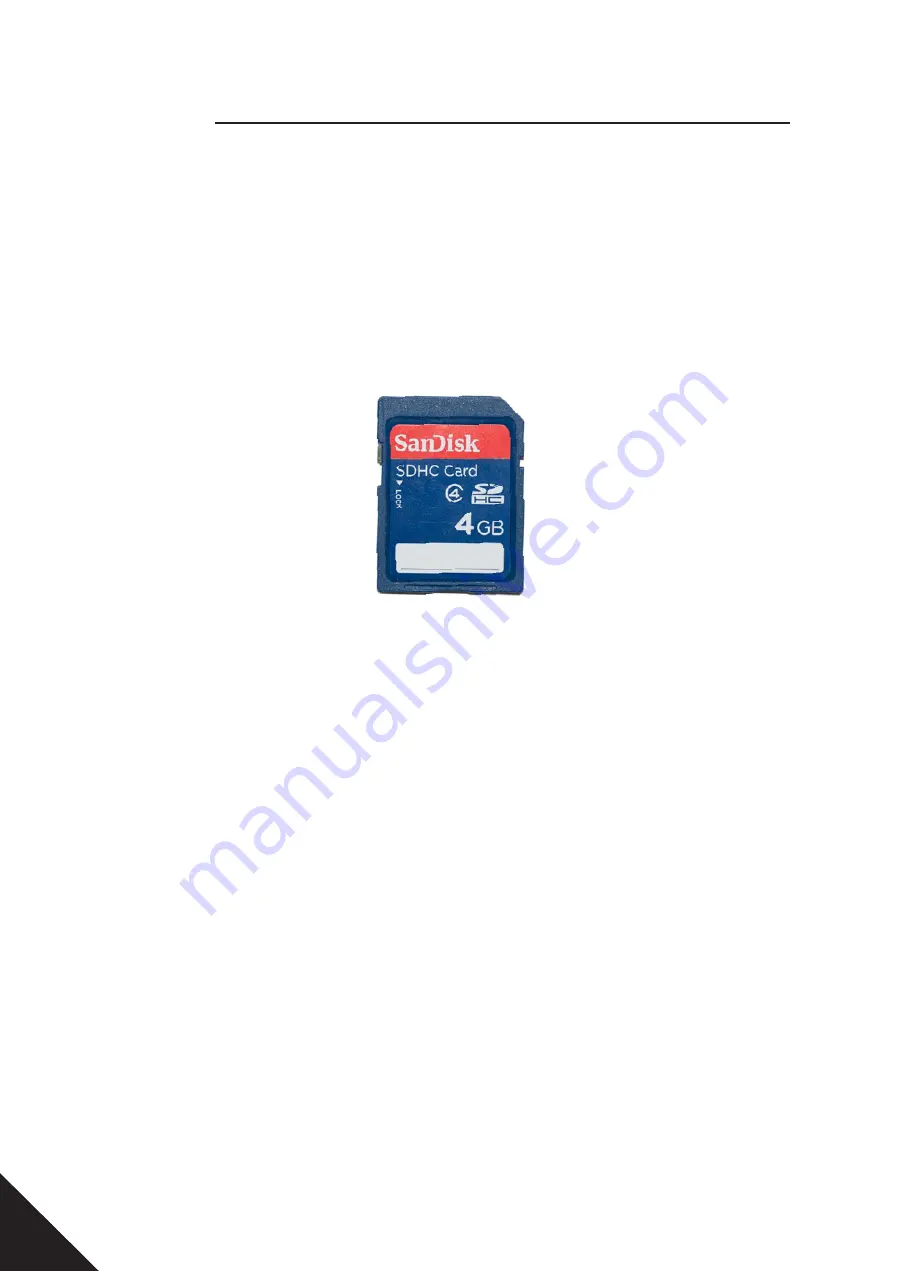
SD card
In the box you find the plastic container with your SD memory card. On this tab you can write files
into G-Code (see Chapter 2) that you want to print. Preloaded at the factory were some sample file,
ready for printing, so you can make your first print knowing that the file has already been controlled
with optimal parameters to get the best result.
Printing profiles
Theoretically every G-Code requires a specific material, determined by the values set by the tem-
perature of the nozzle, heated floor temperature and fan speeds. To print the same object in different
materials should then create separate files.
To work around this limitation, Sharebot Kiwi-3D allows you to select, before printing, the outline
of the material that we use. In this way we can create generic G-Code to be printed with the chosen
material simply by choosing the corresponding profile. In other words: we can not insert the various
temperature parameters in slicing because they’re set correctly when we choose the desired mate-
rial profile.
Summary of Contents for Kiwi-3D
Page 1: ......
Page 2: ......
Page 3: ...USER S MANUAL SHAREBOT Kiwi 3D...
Page 9: ...9...
Page 13: ...13 1 SD Card entry 1...
Page 14: ...14 1 Power cable socket 2 Label with Identification Code 1 2...
Page 56: ...Sharebot S r l Via Montello 18 23895 Nibionno LC info sharebot it...