Instruction Manual for Deluxe Curved Series Fixed Frame
Note 3.1:
For a wood framed wall: Use drywall anchors or locate two studs in the wall that are spaced
apart the appropriate distance and then secure each mounting rail to the center of each stud
with the included mounting screws. Ensure that the screws fasten firmly into the studs,
otherwise the rails will not be secured.
For a concrete wall: Use an electric drill and a 5/16” (8mm) bit to drill holes for each rail and
hammer the provided tapping anchors into each hole. Secure the rails onto the wall by fastening
the tapping screws to the tapping anchors.
7. Unroll the screen material and carefully lay it on a clean surface, projection-side-down and
rotated in the correct direction.
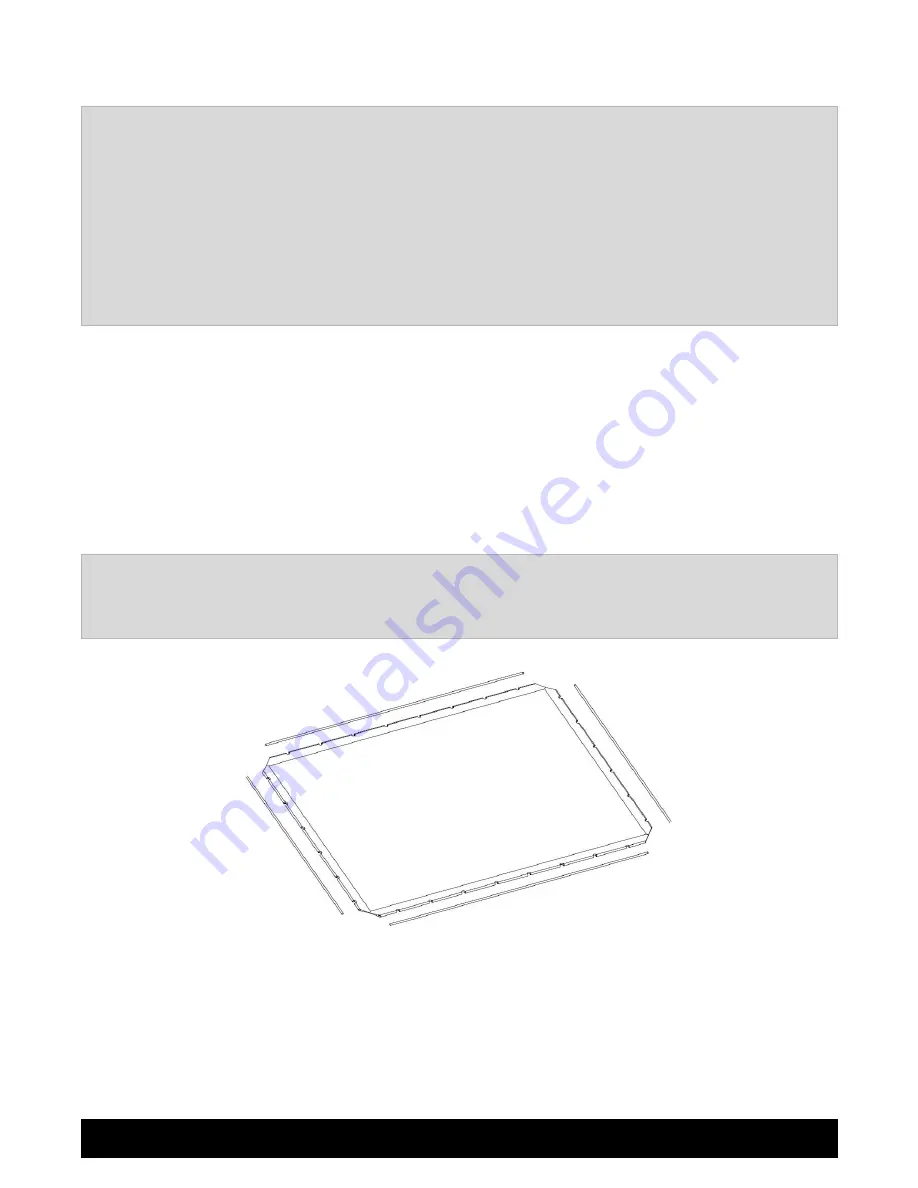
8. Lay out the tension rods around the screen material (Fig. 4.1). Insert the two short tension
rods into the left and right side pockets of the screen material (Fig. 4.2). Be careful not to
puncture the screen material as you slide the rods through the screen pockets. Insert the
two long rods into the upper and lower pockets of the screen material (Fig. 4.3).
Note 4.1: Sometimes it can be difficult to slide the longer rods completely through the pockets.
It may be helpful to use one hand to keep tension on the nearest installed short tension rod for
leverage while feeding the long tension rod through the longer pocket.
[Figure 4.1]
7


