Quick Installation Guide SL-202-DV / SL-402-DV
Dual Monitors DVI/VGA USB KVM Switch w/ Audio & Mic
Rev. 1.0 Copyright© All rights reserved
Quick Installation Guide
SL-202-DV / SL-402-DV
2-Port/ 4-Port Dual Monitors DVI/VGA USB
KVM Switch w/ Audio & Mic
True Transparent USB Emulation Technology
Thank you for purchasing the SL-202-DV / SL-402-DV 2-Port/4-
Port Dual Monitors DVI/VGA USB KVM Switch. With our highly
reliable and quality product, user can enjoy countless benefits
from using it.
INTRODUCTION
The SL-202-DV / SL-402-DV Dual Monitors DVI KVM Switch is
TMDS-compliant and designed specifically for sharing dual DVI
and VGA monitors/flat panel displays between two / four
multimedia computers with dual head DVI/VGA displays [1 x
DVI & 1 x VGA]. With SL-202-DV / SL-402-DV, you can fully
control two / four dual head PCs using only one keyboard,
mouse and DVI & VGA monitors/flat panel displays. This dual
monitor DVI/VGA KVM switch supports both digital video (2560
x 1600) and analog video (2048 x 1536) for your maximum
convenience in adapting to your display requirements.
With the TTU Emulation Technology which embodies itself
within a new ASIC chip, the SL-202-DV / SL-402-DV dual
monitors
DVI/VGA USB KVM switch is capable of a complete versatility
in dealing with the functional requirements of all types of
advanced keyboards and mice. It features 2 channels stereo
sound for theater audio experience and its audio & mic
switching function offers you uninterrupted multimedia
experience while performing KVM switching. Multi-platform
support for PC and Mac is available.
The SL-202-DV / SL-402-DV features the Active Sync
Replication™ (A.S.R.) technology that offers a full-time DDC
emulation for best video compatibility with new type of
Operating System that requires more critical DDC
communication.
INSTALLATION
1. Connect the shared USB keyboard, mouse, two monitors,
speaker/headphone and microphone to corresponding
ports on console section of the KVM Switch. Note that the
lower two USB ports are for keyboard and mouse. After
these connections (especially the monitor connection) are
made, then plug in the power adapter to the Power
receptacle on the back panel.
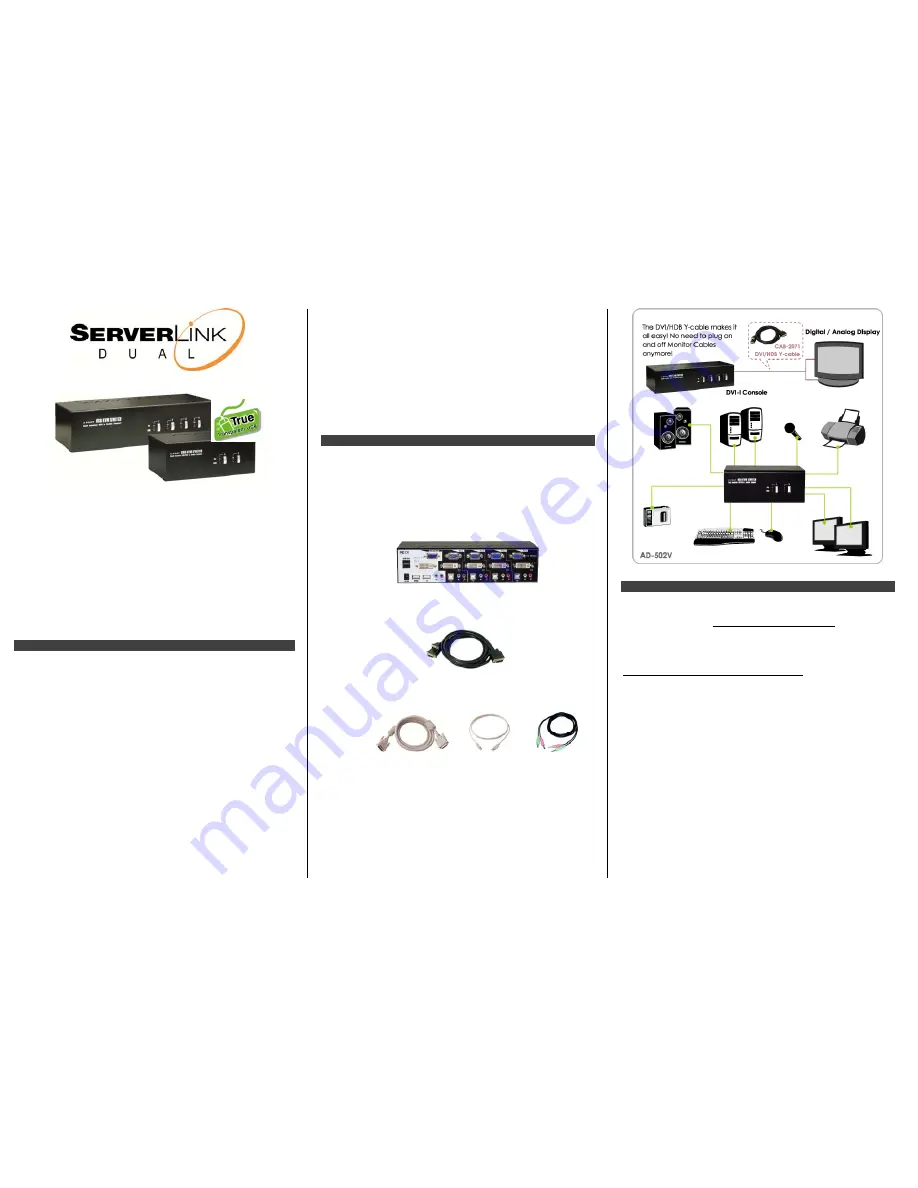
AD-504V – Rear View
Note: You can use a DVI/HDB Y cable to connect a DVI
monitor or a VGA monitor.
2. Connect each KVM PC port to a computer, using two DVI
video cables (male to male), one USB cable (type A to
type B) and one audio & mic combo cable (male to male).
Note: If you need to connect a computer with an analog
video display (HDB15) to the KVM switch, you need to use a
HDB15-DVI adapter for connection.
3. Connect each of your USB devices to the USB hub ports
(on the left).
You can now begin to use the KVM switch.
Connection Illustration
OPERATION
A keyboard hotkey sequence consists of at least three
specific keystrokes:
See Quick Reference Sheet
Hotkey sequence = [ScrLk]
*
+ [ScrLk]
*
+
Command key(s)
*
User-definable
=
SCROLL LOCK, CAPS, ESC, F12 or NUM LOCK
Hotkey preceding sequence configuration:
For users who
want to use a preceding sequence other than two consecutive
Scroll Locks, there is also one convenient way to configure it.
(1)
Hit Scro Scro H, then two beeps will signal
readiness for new preceding sequence selection [or Press
and hold down the last front-panel button (Button 2 or Button
4) until you hear two beeps, then release the button.]
(2)
Select and press the key you would like to use as your
preceding sequence (SCROLL LOCK, CAPS, ESC, F12 or
NUM LOCK keys are available for selection) and you’ll hear a
beep for selection confirmation. Now you can use the new
preceding sequence to execute your hotkey commands.
Note: Each keystroke within a hotkey sequence should be
pressed within 2 seconds. Otherwise, the hotkey sequence
will not be validated.


