background image

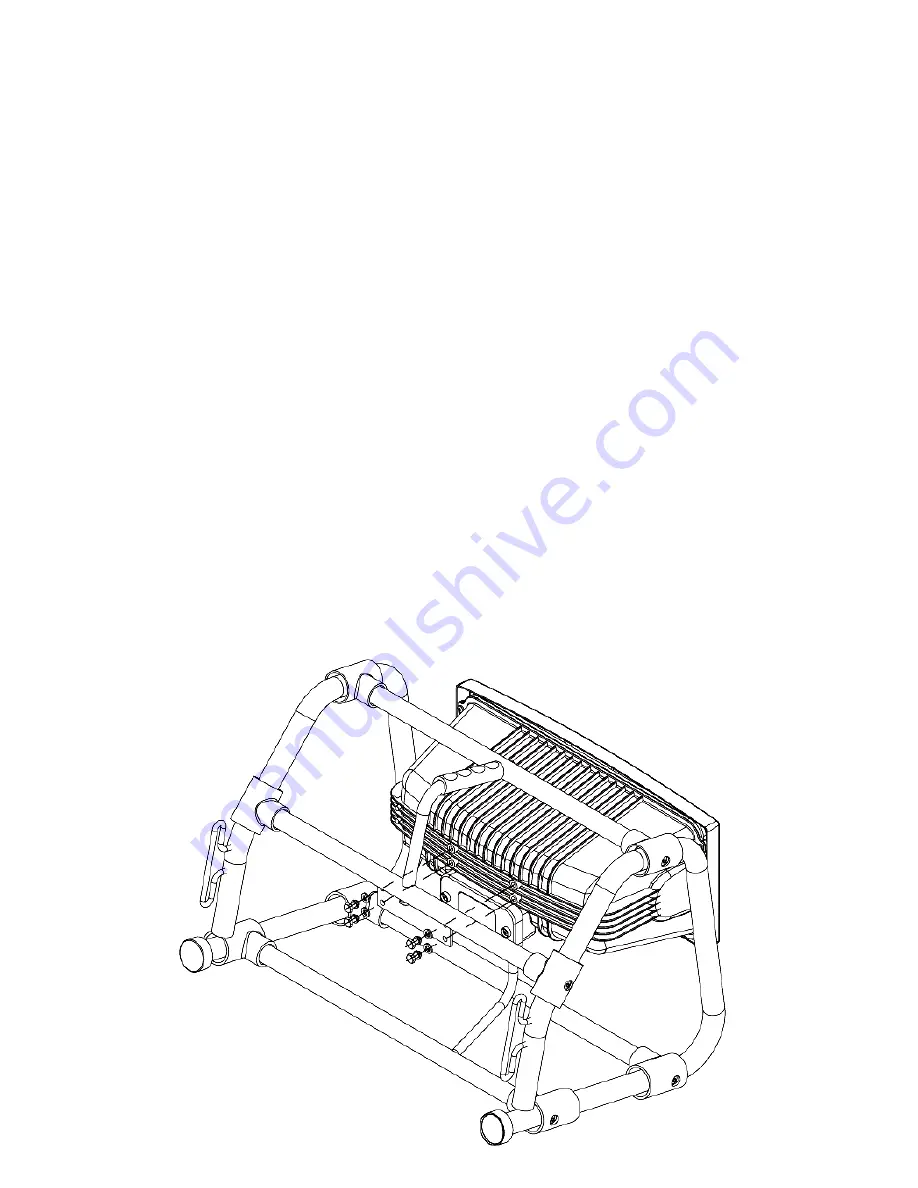
Installing the heater into the  Portable Cage

1. Remove the attached bracket from the back of the heater. (4 bolts to unscrew)

2. Using the same 4 bolts attach the heater unit to the matching bracket on the cage 
and tighten the screws on the cage and tighten the bolts.

3. The heater is then securely held in position with the front face of the heater at an 
angle of approximately 185 degrees to a flat floor surface  face pointing slightly 
upwards.

4. The cage is designed to ‘flex’ in order that the lamp is not broken if the unit is 
roughly used. 

5 .Before use ensure that the rubberised joints of the cage are tight by using the 
Allan key provided to tighten the screws located in the joints if necessary.

Summary of Contents for S6069 Apollo

Page 1: ...S6069 Apollo Infrared Portable Outdoor Heater Instructions Operation Manual ...

Page 2: ...ended use Do NOT touch hot surfaces or moving parts Do NOT cover the grilles or place any object or material up against the unit as this may block entry or exhaust of air Do NOT probe any opening To ensure trouble free performance it is recommended that on a regular basis the unit be isolated from the power supply and a vacuum cleaner used to remove dust from the inlet and outlet grilles Caution W...

Page 3: ...eater S6068 with a large highly polished reflector to give you a maximum heat output with the minimum of fuss Rubber elbow and base protectors make the Apollo Portable Patio Heater completely non slip and able to be placed on a wide range of surfaces from tiled paved or wooden floors to desks or cabinets Specifications Specification Model S2069 Voltage V 220 240 Power consumption W 1200 Dimensions...

Page 4: ...able and strong enough to hold the appliance Before using ensure that the minimum safe distances from walls and solid objects are strictly followed 45mm 45mm 45mm 0 2m 0 5m 1 8mm Installation There must be a distance of at least 1 5 M at each side between the appliance and walls or the like Assemble the appliance into the cage using mounting bracket located on the back of the heater Connect to a p...

Page 5: ...ighten the bolts 3 The heater is then securely held in position with the front face of the heater at an angle of approximately 185 degrees to a flat floor surface face pointing slightly upwards 4 The cage is designed to flex in order that the lamp is not broken if the unit is roughly used 5 Before use ensure that the rubberised joints of the cage are tight by using the Allan key provided to tighte...

Page 6: ...eaners for cleaning Never use flammable cleaners such as benzine or spirits To protect against electrical shock do not immerse cord plug or any part of the appliance in water or other liquid For heating element replacement please contact Serene Industries Limited or a properly qualified service person Recomended Disposal In accordance with the European Directive 2011 65 EU not yet mandated in AU a...

Page 7: ... 62 King Lam Street Cheung Sha Wan Kowloon Hong Kong SAR NEW ZEALAND t 64 3 344 5550 f 0800 437 264 Freefax e nzenquiry sereneind com w www serene ind com PO BOX 33501 Barrington Christchurch 8024 AUSTRALIA t 61 3 8354 4133 f 61 3 9699 6422 fp 1800 561 961 Freephone e enquiries serene australia com w www serene australia com Suite 201 175B Stephen Street Yarraville Melbourne VIC 3013 ...

Reviews: