8.4. HTTP/HTTPS
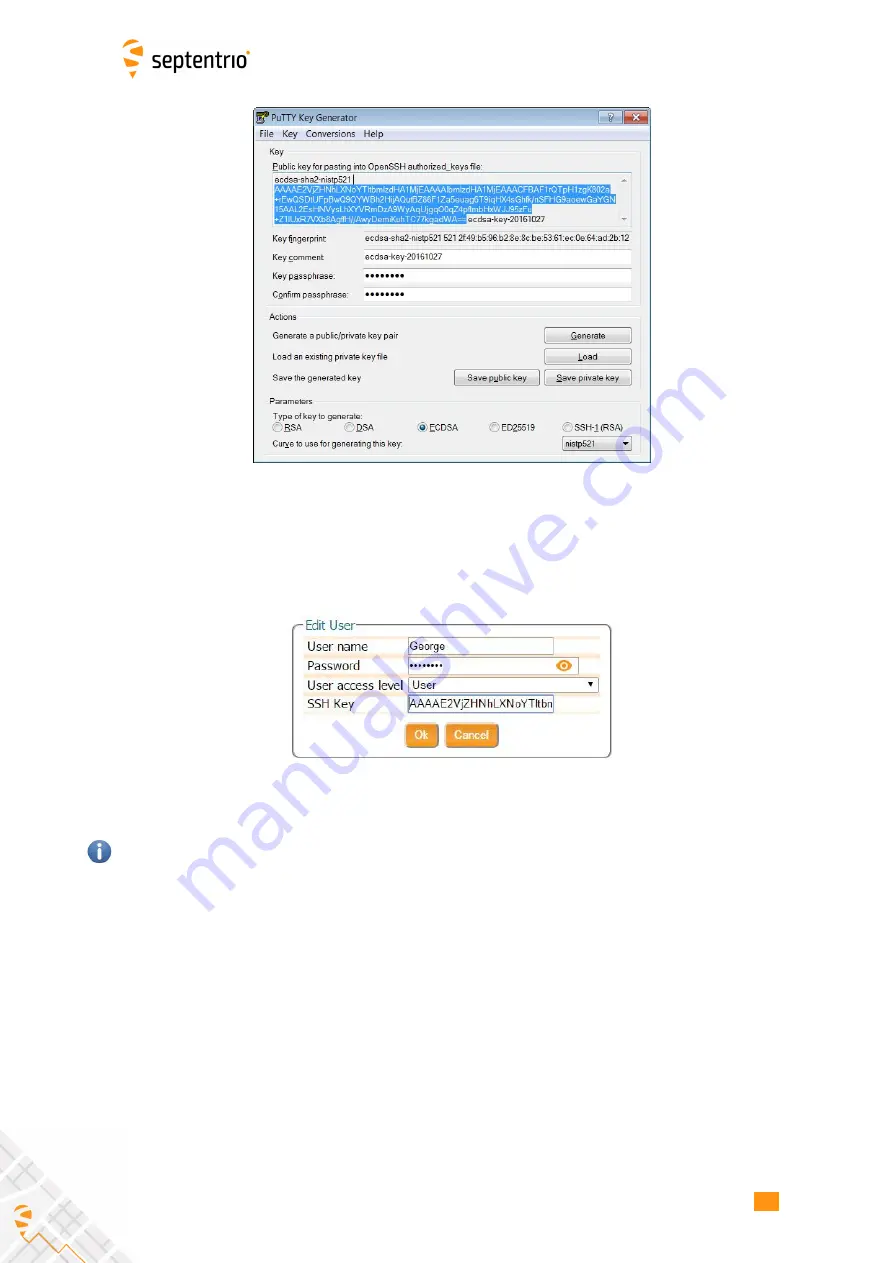
Figure 8-5:
Generating SSH keys using the PuTTY Key Generator. The public key is
highlighted.
The generated public key is the highlighted text that can be pasted directly into the
SSH Key
fi
eld of the AsteRx-U3 Web Interface as shown in Figure 8-6.
Figure 8-6:
Using an SSH Key
521-bit ECSDA keys offer the best security however, ECSDA 256 and 384-bit keys can also be
used. Alternatively, RSA 512 and 1024 key encryption is also supported.
8.4 HTTP/HTTPS
By default, both http and https are enabled, however, http and/or https access to the receiver
can be disabled through the web interface by going to the Communication/Web Server page
or using the
setHttpsSetting
command. Secure http access requires the user to provide a
certi
fi
cate to the receiver which can be done by again navigating to the Communication/Web
Server page of the web interface as shown in Figure 8-7, and uploading a .pem
fi
le containing
the certi
fi
cate. By default, if no user-provided certi
fi
cate is available, the receiver will use a
self-signed certi
fi
cate instead.
78
Summary of Contents for AsteRx-U3
Page 1: ...AsteRx U3 User Manual ...
Page 14: ...2 3 ASTERX U3 DESIGN Figure 2 4 Mounting brackets fitted to the AsteRx U3 14 ...
Page 39: ...4 1 HOW TO CONFIGURE THE ASTERX U3 FOR RTK Figure 4 6 Correctly configured cellular modem 39 ...
Page 79: ...8 4 HTTP HTTPS Figure 8 7 Uploading a certificate to the receiver 79 ...


