6
Plugging In and Setting Up
Windows XP
Setting Up the Microphone
1.
Use.the.included.USB.cable.to.plug.the.UB-440.into.your.
computer..One.end.of.the.cable.corresponds.with.the.
USB.port.on.the.bottom.of.the.microphone,.and.one.end.
of.the.cable.corresponds.with.the.USB.port.on.your..
computer..Once.the.UB-440.is.plugged.in,.the.power.LED.
on.the.front.of.the.microphone.will.glow.blue.
2.
. Your.computer.will.automatically.detect.the.UB-440,.but.
it.may.not.set.it.as.the.default.sound.device..To.set.the.
UB-440.as.the.default,.go.to.the.Control.Panel.and.then.
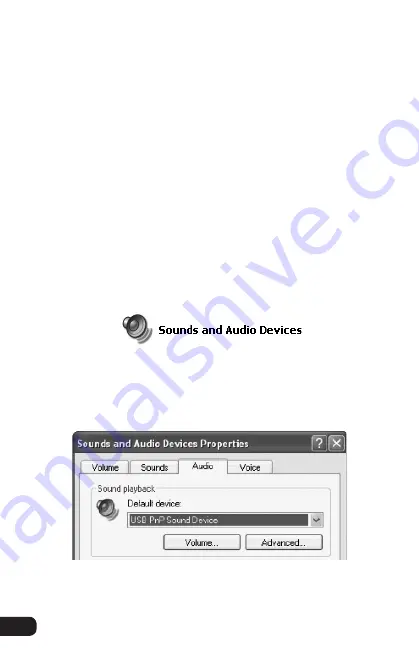
double-click.on.the.Sounds.and.Audio.Devices.icon.
3.
. Click.on.the.Audio.tab..In.the.drop-down.menu.under.
Sound.playback,.select.USB.PnP.Sound.Device.as.the.
default.device.
▪ ▪ ▪ ▪ ▪ ▪ ▪ ▪ ▪ ▪ ▪ ▪ ▪ ▪ ▪ ▪ ▪ ▪ ▪ ▪ ▪ ▪ ▪ ▪ ▪ ▪ ▪ ▪ ▪ ▪ ▪ ▪ ▪ ▪ ▪ ▪ ▪ ▪ ▪ ▪ ▪ ▪ ▪
Plugging in and Setting Up


