Sena Parani-UD100 User Manual Download Page 6

6

2. Installing the Bluetooth Software

This chapter describes how to install and set up the Bluetooth software on your computer when you plug the Parani-UD100 to your computer for the first
time.

Before connecting the Parani-UD100, you must install the Bluetooth software. You should also uninstall any kind of Bluetooth driver or utility
already installed on your computer such as Widcomm BTW or Toshiba, if any.

a.

Insert the installation software CD.

b.

Click on “Install Bluetooth Utility / Driver”

c.

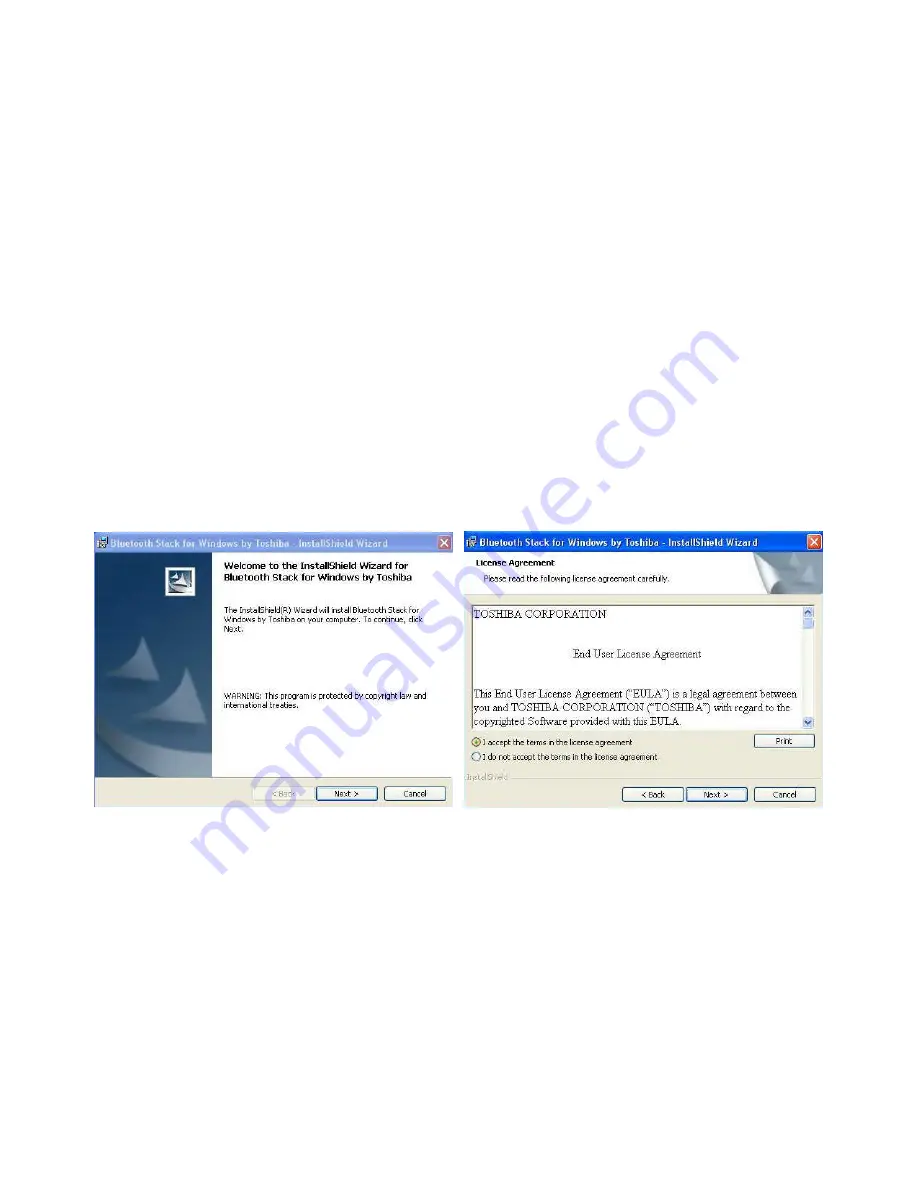
The InstallSheld wizard is started. Click the Next button. (Figure 2.1)

d.

Read the License and click the “I accept the terms in the license agreement” radio button. Then click the Next button. (Figure 2.2)

Figure 2.1: InstallShield wizard

Figure 2.2: License Agreement

Summary of Contents for Parani-UD100

Page 1: ...1 Bluetooth USB Adapter Parani UD100 User Guide Version 1 0 0 2009 01 29...

Page 2: ...ice is essential The user agrees that protection against consequences resulting from system failure is the user s responsibility This device is not approved for life support or medical systems Changes...

Page 3: ...er 9 3 1 Using Bluetooth Serial Port 10 3 2 Using Dial up Network DUN 15 Appendix A Mechanical Drawing 19 Appendix B Warranty 20 B 1 GENERAL WARRANTY POLICY 20 B 2 LIMITATION OF LIABILITY 20 B 3 HARDW...

Page 4: ...0 meters In addition working distance can be further extended using optional dipole or patch antennas Parani UD100 supports USB 2 0 for the computer interface and can be used with Windows using Blueto...

Page 5: ...e Toshiba Computer OS Support Windows 2000 XP Vista 32 64bit Linux 3rd party driver required MAC OS X MAC OS X driver required Size 72 L x 22 W x 10 H mm Operating Temperature 20 70 Storage Temperatur...

Page 6: ...hould also uninstall any kind of Bluetooth driver or utility already installed on your computer such as Widcomm BTW or Toshiba if any a Insert the installation software CD b Click on Install Bluetooth...

Page 7: ...to begin the installation Figure 2 3 f During installation you should plug in the Parani UD100 to USB port After plugging in it click the OK button Figure 2 4 Figure 2 3 Ready to install Figure 2 4 P...

Page 8: ...8 g Installation is completed Click the Finish button h Click the Yes button to restart your PC Figure 2 5 InstallShield wizard complete Figure 2 6 restart your PC...

Page 9: ...P and DUN services For more information on other Bluetooth services please refer to the online Help provided by the Bluetooth Manager software To open the Bluetooth Manager Help please right click on...

Page 10: ...a standard serial port can use the Bluetooth serial port A Bluetooth passkey PIN code is required for to connect to Please confirm your Bluetooth PIN code a Right click on the Bluetooth Manager icon...

Page 11: ...11 c Select the device name and then click the Next button Figure 3 4 d Select Serial Port and then click the Next button Figure 3 5 Figure 3 4 Select the Device Figure 3 5 Select Serial Port...

Page 12: ...12 e Select a COM port to use and click the Next button Figure 3 6 f Click the Next button Figure 3 7 Figure 3 6 Select a COM port Figure 3 7 COM port setting...

Page 13: ...13 g Enter a connection Name and change an icon Figure 3 8 h Click the Finish button Figure 3 9 Figure 3 8 Enter a name and select an icon Figure 3 9 Complete the Connection Wizard...

Page 14: ...d Figure 3 10 j The connection is established successfully You can use Bluetooth serial port Figure 3 11 k To disconnect the connection right click on the connection icon And then click Disconnect Fig...

Page 15: ...password and telephone number of your provider s access point before you begin the set up process A Bluetooth passkey PIN code is required for to connect to Please make a note of your Bluetooth passk...

Page 16: ...ame of the mobile telephone and then click the Next button Figure 3 14 d Select Dial up Networking and then click the Next button Figure 3 15 Figure 3 14 Select the Mobile Telephone Figure 3 15 Select...

Page 17: ...3 16 f Certain modems require you to configure initialization commands separately Please refer to the modem or mobile phone instruction manual for further details on the initialization commands Once...

Page 18: ...tooth Settings window Figure 3 18 h Start your network application then the Dial up Connection window will appear Click the Connect button Once you have connected to the Internet a message and a conne...

Page 19: ...19 Appendix A Mechanical Drawing...

Page 20: ...UT NOT LIMITED TO THE IMPLIED WARRANTIES OF MERCHANTABILITY AND FITNESS FOR A PARTICULAR PURPOSE NEITHER SENA NOR ITS DEALER SHALL BE LIABLE FOR ANY OTHER DAMAGES INCLUDING BUT NOT LIMITED TO DIRECT I...

Page 21: ...a third party without SENA s written consent Hardware hosting modified SENA Software or non SENA Software unless modifications have been approved by SENA Battery component capacity degradation due to...

Page 22: ...please contact your local dealer distributor or contact us directly as contact information below sterreich Tel 01 58 55 430 Fax 01 58 55 460 Deutschland Tel 0761 59 21 00 Fax 0761 58 52 28 Schweiz Te...

Reviews: