background image


7

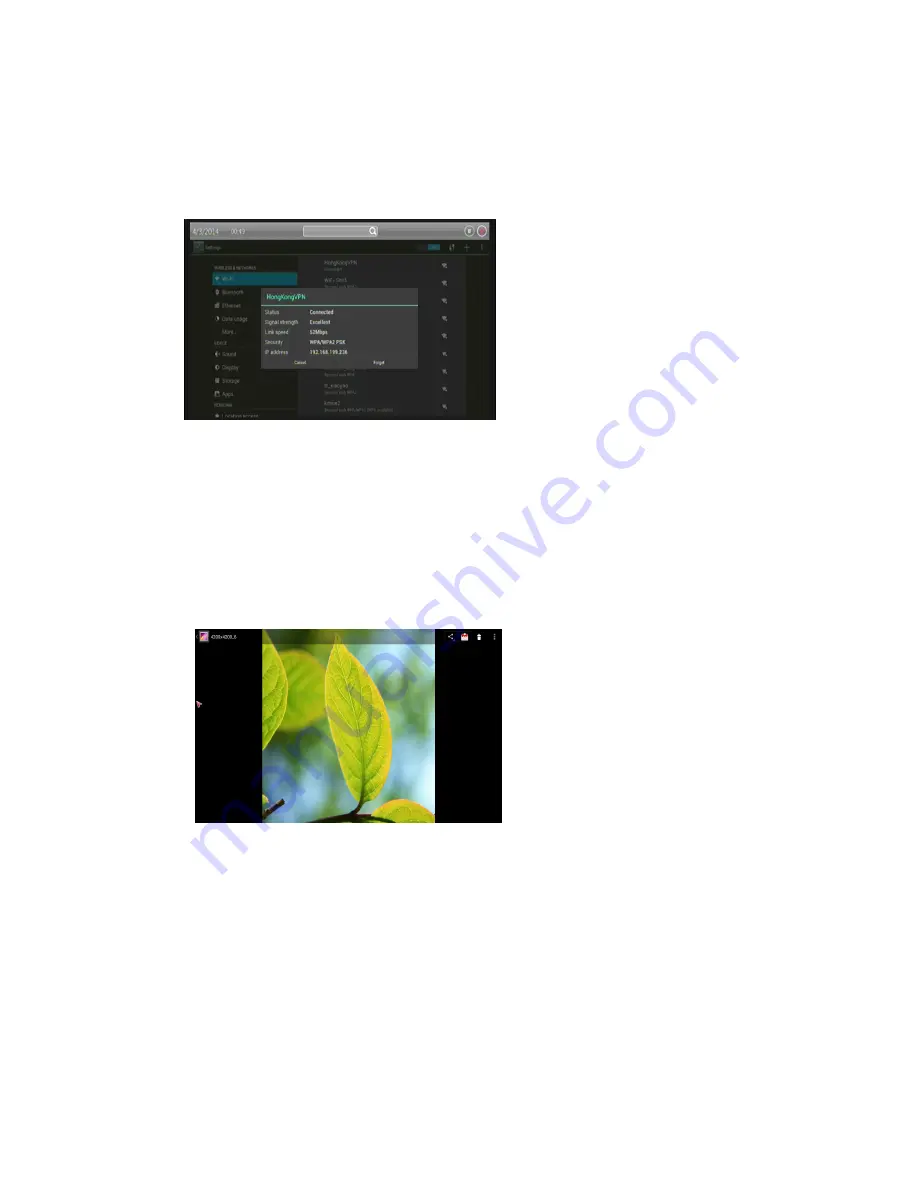
3.2 Forget a Wi-Fi network 

You  can  make  the  device  forget  about  the  details  of  a  Wi-Fi  network  that  you  added;  for 

example, if you don't want the tablet to connect to it automatically or if it's a network that you 

no longer use. 


1

Turn on Wi-Fi, if it's not already on.   

2

In the Wi-Fi settings screen, Click the 

name of the network.   

3

  Click Forget in the dialog that opens. 

When  you  connect  to  a  Wi-Fi  network, 

the  stick  obtains  a  network  address  and 

other  information  it  needs  from  the 

network, using the DHCP protocol.   

3.3 Open Gallery   

Click the Gallery icon in the Launcher or on the Home screen.   

Gallery  presents  the  pictures  on  your  SD  card  or  USB  storage  (depending  on  your  model  of 

Stick), including those you’ve downloaded from the web or other locations.     

Use Gallery to view pictures that you’ve taken with downloaded, copied onto your SD card or 

USB storage (depending on your model of stick), or that are stored in Picasa web albums. You 

can also edit the pictures on your stick and share them with friends.   

View and browse pictures   

Open  a  Gallery  album  and  Click  a 

picture.   

Click to zoom in or out. 

Turn  the  stick  to  view  the  picture  in 

upright 

(portrait) 

or 

sideways 

(landscape)  orientation.  The  picture  is 

displayed  (but  not  saved)  in  the  new 

orientation.   

Click the picture to view the Zoom and 

other controls.   

Click a Zoom icon, double-tap the screen, or pinch two fingers together or spread them apart to 

zoom in or out.   

When the picture is zoomed in, drag the picture to view parts that are not in view.   

Watch a slideshow of your pictures   

Click  a  picture  to  view  the  controls  and  Click 

Slideshow

.  S  Click  a  picture  to  end  the 

slideshow.   

Delete a picture   

You  can  delete  a  picture  from  your  SD  card  or  USB  storage.  1  Click  a  picture  to  view  the 

controls and Click 

Menu

. 2 Click Delete 3, Click 

OK

 in the dialog that opens. 

Opening Music and working with your library. After you’ve copied some music onto your SD 

card or USB storage, as described in “Transferring  music files to your stick” on page 308, or 

Summary of Contents for SU6B0B

Page 1: ...0 Android box User Manual...

Page 2: ...R APPLICATIONS 10 3 9 3 DOWNLOAD AND INSTALL AN APPLICATION 11 3 9 4 CREATE A GOOGLE CHECKOUT ACCOUNT 11 3 9 5 MANAGING YOUR DOWNLOADS 11 5 SYSTEM SETTING 12 4 1 DISPLAY SETTINGS 12 4 2 SECURITY SETTI...

Page 3: ...pet or rug Do not place the receiver on top of another device such as an amplifier This may lead to overheating Do not put anything above the unit for example CDs or magazines Sufficient Ventilation P...

Page 4: ...3 2 Product appearance The pictures shows what our product looks like Front panel Rear panel NOTICE The pictures are for references only please make the object as the standard...

Page 5: ...th the corresponding interfaces on the product such as connect the product with TV sets through the HDMI cable then after the power is connected turn on the switch and you can use the product NOTICE T...

Page 6: ...5 3 Remote control NOTICE The picture is for references only please make the object as the standard...

Page 7: ...digital certificates or other ways to ensure that only authorized users can connect To extend the life of your battery between charges turn off Wi Fi when you re not using it You can also set your de...

Page 8: ...r that are stored in Picasa web albums You can also edit the pictures on your stick and share them with friends View and browse pictures Open a Gallery album and Click a picture Click to zoom in or ou...

Page 9: ...k the Music icon in the Launcher or on the Home screen When you copy music to your SD card or USB storage Music searches it for music files and builds a catalog of your music based on information abou...

Page 10: ...Menu to see it again Open a webpage or search the web Click the URL box at the top of the Browser screen If the URL box isn t visible press Menu or just drag the page down until the URL box comes int...

Page 11: ...top level category such as Apps or Games Click a subcategory to view its list of applications 2 Scroll to view subcategories and Click the one you want to explore Click to view top paid top free or t...

Page 12: ...ccount OR The first time you use your stick to buy an item from Android Market when you re prompted to enter your billing information you can set up a Google Checkout account Warning When you ve used...

Page 13: ...e user files Click to install a secure certificate from an SD card Install from USB storage if your stick uses internal USB storage for user files Click to install a secure certificate from USB storag...

Page 14: ...k s USB storage or SD card depending on your model of stick which can contain files you ve downloaded or copied there such as music or photos If you reset the stick in this way the next time you turn...

Page 15: ...rol Refer to Remote Control instruction 5 1 Channel Manager Channel manager support delete channel move channel hide channel lock unlock channel and rename channel 16 FAV groups are also available in...

Page 16: ...ings support configures the entire DTV base parameter Subtitle Teletext Audio track Picture size USB storage device etc 5 4 PVR Personal Video Record The receiver support instant PVR timer PVR and EPG...

Page 17: ...search Manual search Blind scan and Network search etc 3 Press OK key to display option menu Press UP Down key to move cursor then press OK key to confirm and back to preview menu 5 6 EPG The receive...

Page 18: ...key for the encrypted network is correct Make sure you select the correct IP address settings 4 Some HDTVs cannot display the entire picture Setup the screen ratio on your HDTV as automatic On your H...

Page 19: ...6i 480p Audio Audio Decoding Dolby Digital Digital Plus DTS WMA WMA Pro WMV MEPG AAC HE AAC OGG OGA FLAC ALAC Ape M4A RM MPEG 1 layer1 2 MPEG 2 Layer II Audio mode Mono Stereo Left Right PVR Function...

Reviews: