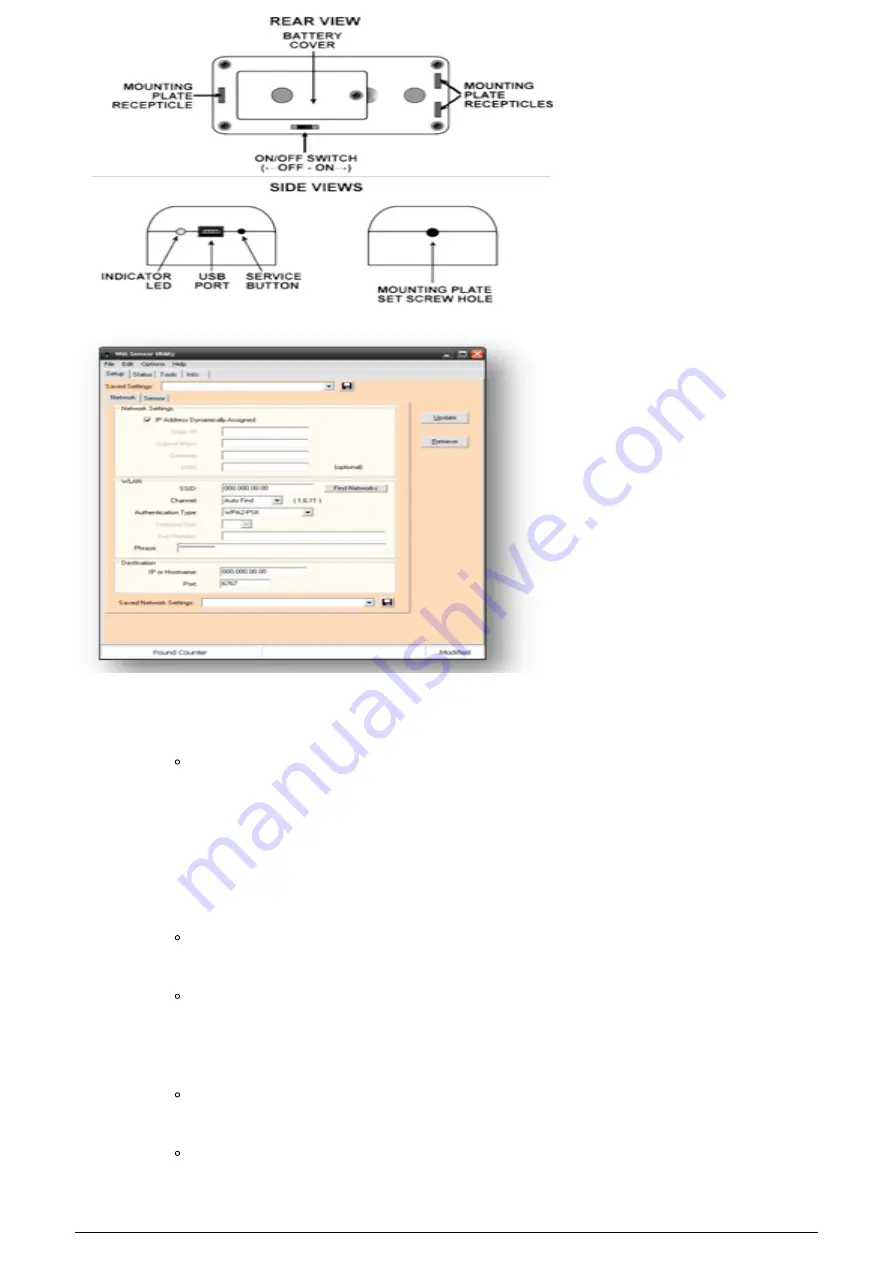
1. Power on the RX sensor unit by using the small, blue screwdriver to move the power
ON/OFF
swtich.
If looking at the rear view of the unit, as indicated by the figure on the right,
switch will move RIGHT.
Note:
The RX unit’s LCD display will not show a number on power-up, but will indicate a
current value when the Service Button is activated or the beam is broken.
2. Connect the USB cable to the RX unit and the PC.
3. Use the small, blue screwdriver to activate the
Service Button
by gently pushing on it
once.
The LCD display will read
“CONFIG”
to confirm that the unit is now in
Configuration Mode and ready to be setup via the
WiFi Sensor Utility
Start Menu >> All Programs >> Wifi Sensor Utility (folder) >> Wifi
Sensor Utility
Note:
The sensor will not broadcast data while in Configuration Mode.
4.
Setup Tab:
Test the connection by clicking the “Retrieve” button on the right.
If the connection has been properly made, a pop-up window will display stating,
“Sensor Parameters Retrieved”
.
The following RX unit settings can be modified:
4 / 11


