


on the Uart port of the Respeaker. Connect the Tx pin on the Arduino to the Tx pin on the Uart port of the Respeaker. And lastly, connect the Arduino to your
PC/Mac via the Arduino's USB cable. Now check that your Mac or Linux PC f inds your Arduino by typing this command:
ls /dev/cu.usb* (Mac)
ls /dev/ttyACM* (Linux)
You should get back something like:
/dev/cu.usbmodem14XX where XX will vary depending on which USB port you used (on Mac)
/dev/ttyACMX where X will vary depending on which USB port you used (on Linux)
Now f ollow step 2 above to connect to your Respeaker over this serial connection. And note this is a one time procedure as you'll next setup your Respeaker f or
Wi-Fi connectivity and then connect via ssh or VNC going f orw ard.
Network Setting Up
A. Wi-Fi Se tting Up
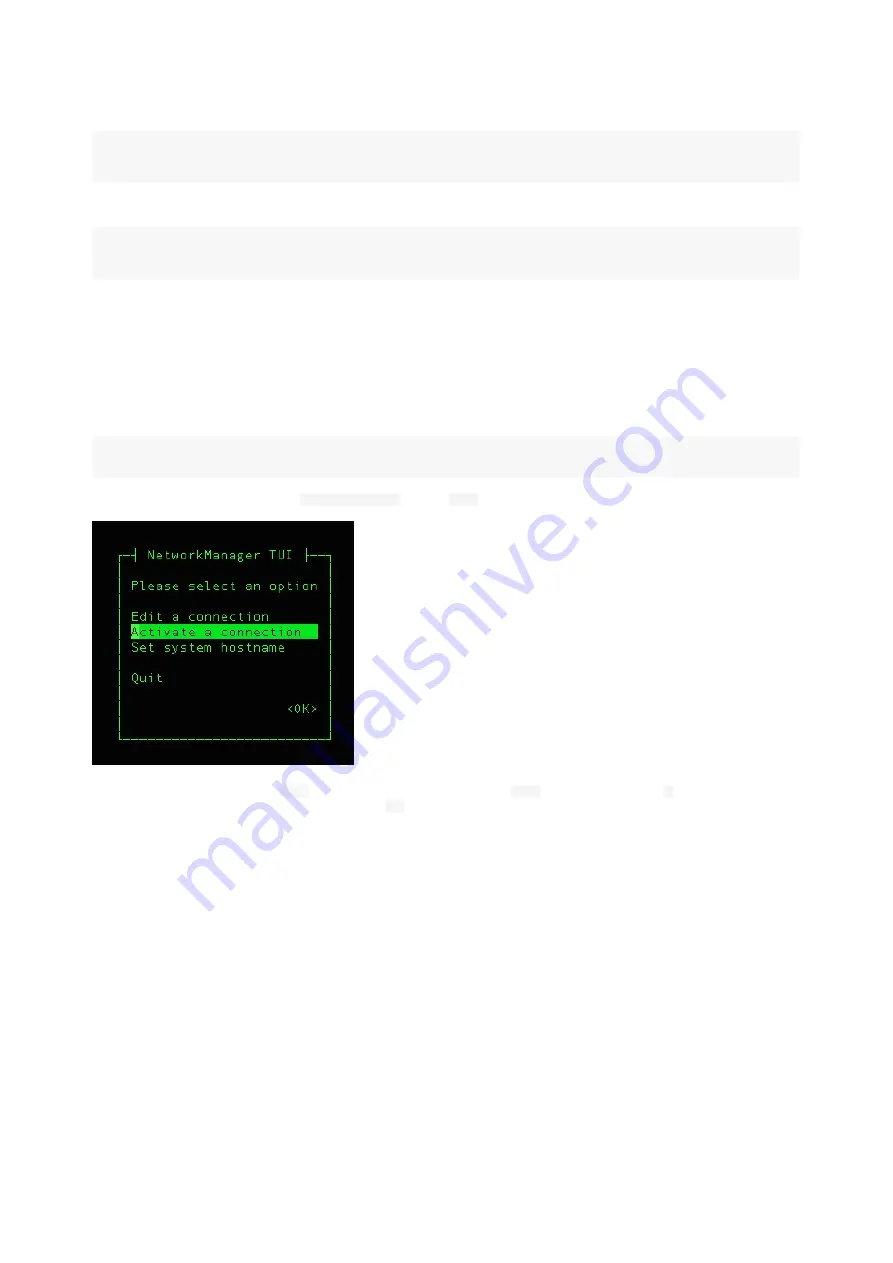
Conf igure your ReSpeaker's netw ork w ith the Netw ork Manager tool, nmtui. nmtui w ill already be installed on the ReSpeaker image.
respeaker@v2:~$ sudo nmtui # respeaker user needs sudo
Then you w ill see a conf ig page like this, select
Activate a connection
and press
Enter
key.
Select your Wi-Fi f or ReSpeaker V2, press
Enter
key and type your Wi-Fi passw ord and press
Enter
key again. When you see a
*
mark, it means that your
ReSpeaker has successf ully connected to your Wi-Fi netw ork. Tap
Esc
key tw ice to leave the netw ork manager conf ig tool.


