

Step 1.
Adhere the mounting template to the surface
on which the camera will be installed.
Step 2.
Drill 3 holes in the wall or ceiling, using
the template as a guide.
Step 3.
Remove the template and Insert the 3
included plastic anchors into the 3 holes.
Step 4.
Use the 3 included screws to mount the camera
into the anchors.
Step 5. Connect the cables to the camera.
Step 6. Loosen the phillips-head adjusting
screw, aim the camera and retighten the
adjustment screw.
3.1 Overview
The Quick Configuration Tool can discover the cameras
on the network, display the IP addreses and allow the
user to modify the addresses.
3.2 Operation
Double-click the “configtools.exe” icon and the
interface shown below will be displayed.
Select an IP address, right-click the mouse and a
pop-up menu will be displayed as shown below.
Click “OPEN DEVICE WEB” to log in to the camera
using a web browser.
The camera can be readdressed without logging
in via a web browser. From the Configuration
tool’s main interface (see figure 3-2), click on the
camera to re-address and then click the “Login”
button. The Login screen will appear, as shown
below in figure 3-3.
Verify that the information correct for the camera
and click “Login”.
Once logged in, the Configuration Tool main
interface appears as shown below in figure 3-4
For detailed instruction of the Quick Configuration
Tool, please refer to the manual for it on the included
resource CD
This IP camera supports web access and management
via a PC.
The web interface includes several modules; monitor
channel preview, System configuration, Alarm, etc.
4.1 Network Connection
Follow the steps below for network connection.
* Ensure the camera is powered, physically connected to
the network and is assigned an IP address within the
range of the LAN’s subnet.
4.2 Login and Main Interface
Open Microsoft Internet explorer and input the camera’s
IP address in the browser’s address bar.
The login interface is shown below in figure 4-2. Enter
the user name and login password. The factory default
user is “admin” and the password is also “admin”. For
security, please change the password after logging in.
After successfully logging in, you will be prompted
to install the web plug-in for viewing the camera.
Please refer to the Web Operation Manual included
in the resource CD for detailed operation instructions.
3
Quick Configuration Tool
4
Web Operation
Figure 2-2 Device Installation
Figure 3-1 Search Interface
Figure 3-2 Search Interface 2
Figure 3-3 Login Prompt
Figure 3-4 Quick Configuration
Figure 4-1
Figure 4-2
Figure 4-3
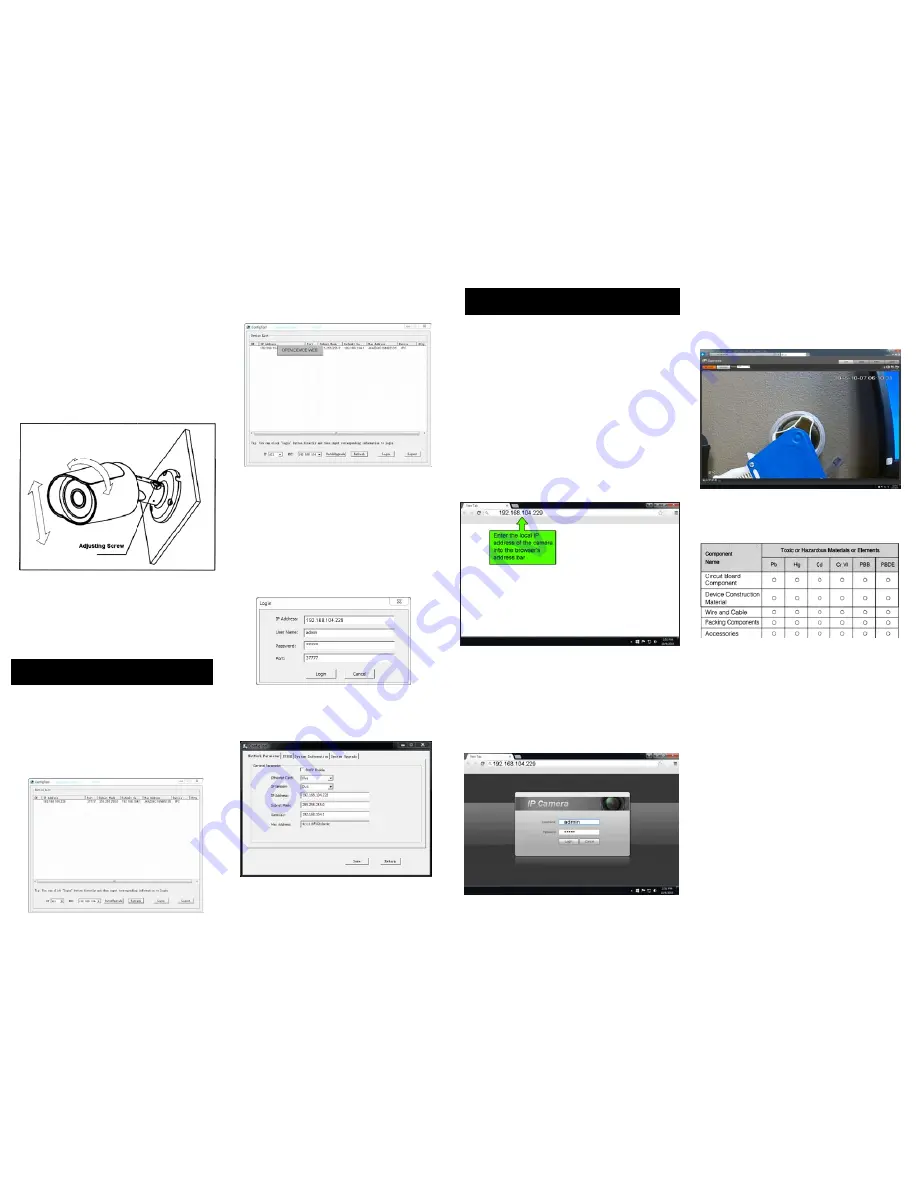
APPENDIX - Toxic or Hazardous Materials or Elements
This Quick Start Guide is designed as
a tool to provide the essential info
information needed to quickly get
this IP camera online as easily as
possible.
Full documentation for the camera,
Quick Configuration Tool, and web
operation of the camera can be found
on the included CD.
For award-winning technical
assistance, please call SecurityTronix
at: (910) 429-1821
visit us at: securityTronix.com
or email us at:


