:
Delete device. If you want to delete the device, please
click this button, then select the device name to delete it.
4.Saved photos
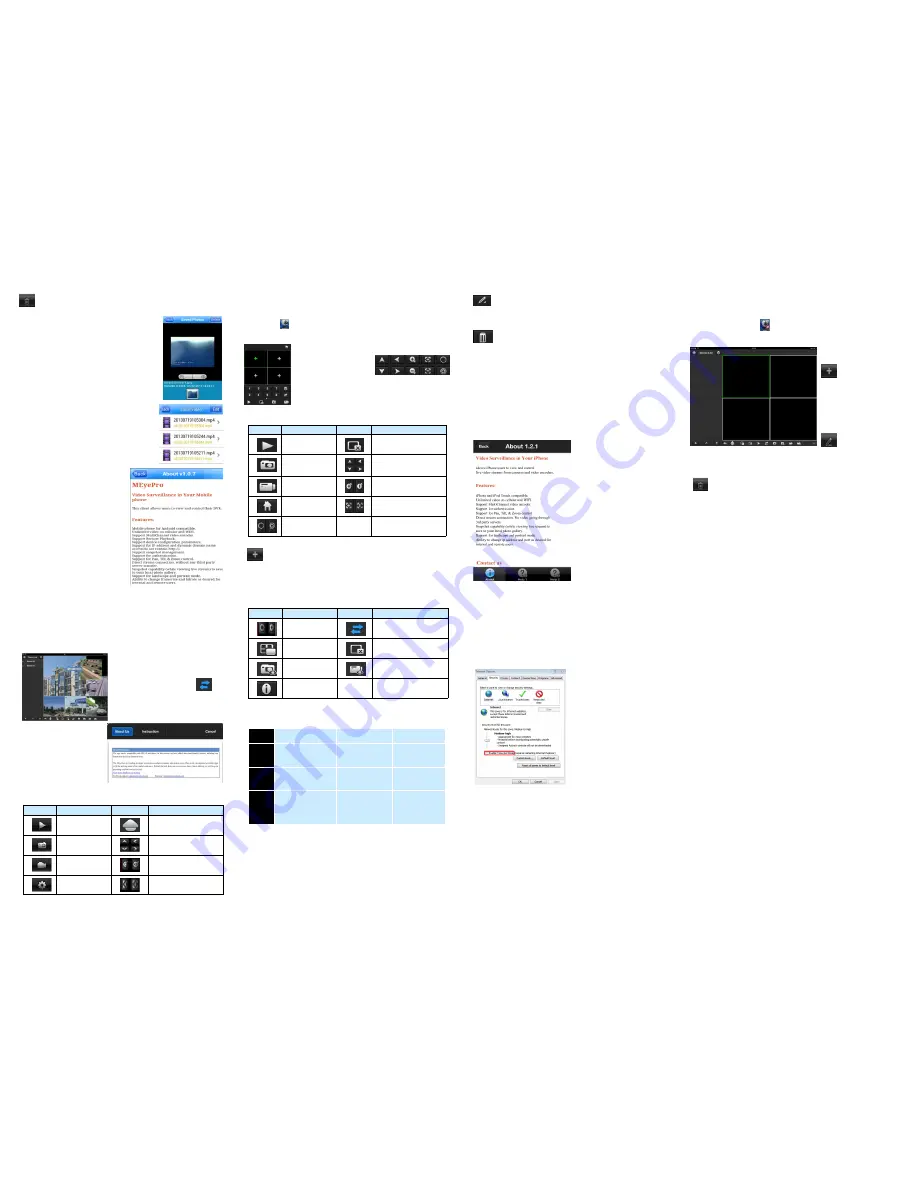
Please see the picture on the right:
If you want to delete the photos, select
the photo and click “Delete” on the top right
of the interface, it will pop up a tip, click
”OK” to delete the photo.
5.Local Video
Please see the picture on the right:
Select the file to playback. If you want to
delete the videos, select the video and
click “Delete” on the top right of
the interface, it will pop up a tip,
click ”OK” to delete it.
6.About
Please see the picture on the
right:
It is the information about the
monitor software.
7 Access to the IP Camera via iPhone
Search and install the surveillance software “ASee+” on line to
your mobile from App store. Then you can see the icon of the
software
click it to run.
1.
The following picture shows the main interface:
You can see the PTZ
function buttons in the
tool bar, see the picture
on the right:
Button function:
2.Device list
:
Add device. Input Device name, IP address or domain
name, port, username, password, Channel number, then click
”Save” to finish.
Button
Name
Button
Name
Play
Clear
Snapshot
PTZ Control
Local Record
Zoom
Menu
Focal
Iris
:
Edit the device. Modify Device name, IP address or
domain name, port, username, password, Max Channel, then
click ”Save” to finish.
:Delete device. If you want to delete the device, please
click this button, then select the device name to delete it.
3.Local files
Photos
:Select the photos to view. If you want to delete the
photos, select the photo and click “Delete” on the bottom-right of
the interface, it will pop up a tip, click ”OK” to delete the photo.
Records
: Select the file to playback. If you want to delete the
records, click “Edit”, click “Delete” to delete the record, then
click “Done” to finish.
4.About&Help
It is the information about the
monitor software. As is shown
in the left picture:
8 Access to the IP Camera via iPad
Search and download the surveillance software “ASee+” to
your mobile from App store and install it. Then you can see the
icon of the software
,click it to run.
1.
The following picture shows the main interface:
2.Device Management
:
Add device,
Input Device
name, IP address or
domain name, port,
username, password,
Max Channel, then
click ”OK” to finish and
save.
:
Edit device.
Modify Device name, IP address or domain name, port,
username, password, Max Channel, then click ”OK” to finish.
:
Delete device. If you want to delete the device, please
click this button, then select the device name to delete it.
3.Channel Control
To start playback, touch the square on the on the play
screen to select
(
note green border on selected
square
);
then double tap a channel in the list on the left
to start viewing. Double tap a camera to view in full
screen.
While in full screen mode
,
swipe left or right to change
the live channel to the next/previous cam.
Double tap again to return to multi view.
Touch a channel on the screen and drag it to the channel
position to rearrange your viewing window. As is shown in
the following figure:
●
Switch the channel viewing
mode from four to six using these
buttons on the control bar:
4.About
It is the information about
the monitor software. As
is shown in the picture on
the right:
5.Other Buttons
Button
Name
Button
Name
Play
PTZ
Snapshot
PTZ Control
Local Record
Zoom
System
settings
Focal
4 Package List
Button
Name
Button
Name
Iris
Switch channels
Stop
Clear
Photos
Records
About
5 FAQ
1.Why is the “capture” function not working?
Answer: If your capture failed and the storage folder cannot
pop up automatically ,please check settings, and don’t select
“Enable protected mode”, as is shown in the following figure:
2.Why cant I access the camera after updating it?
Answer: Clear browser cache.
Steps: open IE, click “Tools” and select “Internet Options”,
then you can see “Temporary Internet files” and click “Delete
Files”, it will prompt a dialog you need to check “Delete all
offline content” and click “OK”.
You also can click “Start” and select “Run” then enter “cmd”,
enter “arp -d” in “Command Prompt” interface. Re-access the
camera.
3.Why cant I see the entire interface?
Answer: Close some options of IE.
Steps: Open IE, click ”View” and select “Toolbar”, close the
“Favorites bar”, ”Status bar” and “Command bar”.
4.Why can’t I watch the mobile video stream after entering
the login information?
A
、
Please check whether the settings page, server, port,
user name, password and other information are filled in correct-
ly.
B
、
Please check your network to see whether your phone is
connected to the external network .
C
、
If your device is connected to the external network via
router, please check whether the mobile port is mapped in the
router . (For mapping settings, please refer to the router manu-
al).
D
、
Please check whether the IP address you have filled in is
the LAN IP (If your IP starts with the following format, it is a local
area network : 10.xx
、
172.xx
、
192.xx. If you use such an IP,
you can only use in the same in the same LAN
E
、
Please check your port to ensure that it matches both
the router, IPcam, and mobile device.
5.Why does it show “Get Param Failed”?
Answer : 1.Please check the IP information, such as port.
2.Make sure the IPcamera is powered properly.
3.The network status is poor.
6.I have already added the device, why does it show “Initial
Failed!”?
Solution: Please delete the device and add it again.
NO.
Name
Number (pcs)
Model
1.
HD-IP Camera
1
ST-IP-BT1.3-
PRO
2.
CD
1
ST-IP-BT1.3-
PRO
3.
IPC Quickstart
Guide
1
ST-IP-BT1.3-
PRO


