7
MAINTAIN PROPER SLOPE
• Install with a continuous 1/4” per foot (minimum) slope, as is required
by the National Fuel Gas Code for all gas-fired appliances.
• Vent systems for condensing appliances must have a continuous 1/4”
per foot (minimum) slope toward the appliance or a condensate drain.
Always check the appliance manufacturer’s instructions for proper drain
requirements.
• CAX1-(BC) offers a range of tees and elbows that are built incorporating
a 2 degree slope, we recommend that you use these to generate your
slope.
• Some appliances require the venting system to be sloped toward the
horizontal termination.
• Remember, if you raise the appliance or lower the ceiling you must adjust
the slope of the vent to maintain the 1/4” per foot minimum. See Figure
5 & 26.
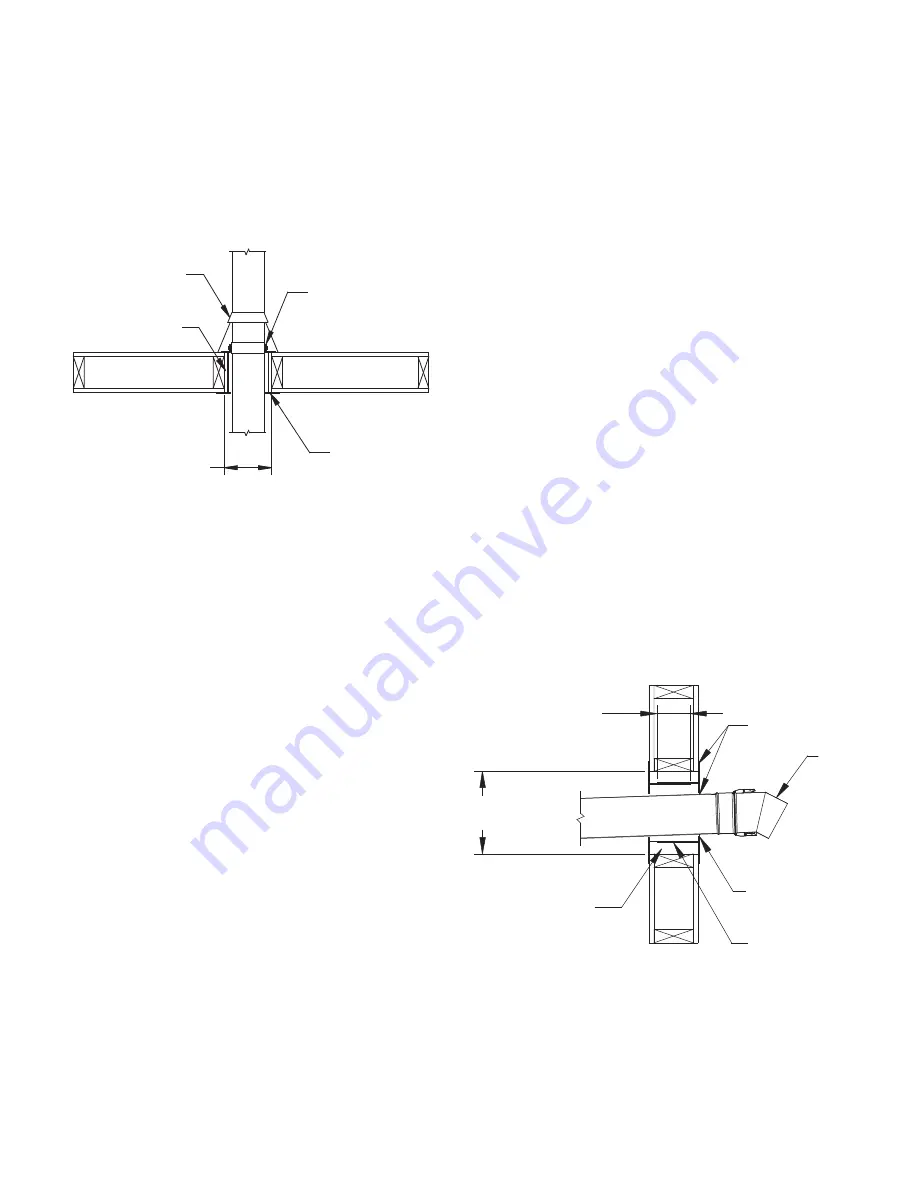
ROOF / FLOOR PENETRATION
1. A roof thimble (RT) or roof thimble insulated (RTI) for cold climate must
be installed every time the vent system passes through a floor or roof.
2. Prepare the roof / floor by cutting a square opening. See Table 5.
3. Install the roof thimble. You may cut the radiation sleeve if it is too long.
See Figure 3.
4. For roof installation, install a flashing.
Support or Guide
Roof thimble
Opening dimension See Table 5 for
all Models
Air gap
or insulated
Flashing
Figure 3 - Roof penetration
Figure 4 - Wall Penetration
Wall Thimble
(WT/WTI)
Air gap or insulated
Two half plate
Termination
Add sealant
Opening dimension
Table 5 for opening
for all Models
2” Minimum overlap
WALL PENETRATION
1. Prior to installation, determine proper location of wall thimble (WT) or
wall thimble insulated (WTI) so that a minimum slope of 1/4” (6mm)
per foot is maintained in the horizontal section of vent to ensure proper
flow of condensation.
2. Prepare the wall by cutting a square opening. See Table 5 for opening
for all Models.
3. Install the wall thimble by inserting the larger of the two parts on the
appliance (interior side). See Figure 4.
4. Next, apply a bead of sealant around the edges of the exterior (smaller
of the two parts) wall thimble component. Then install this part of the
wall thimble by inserting the smaller collar into the other component
from the previous step.
NOTE:
The two horizontal cylinders of the thimble must engage a
minimum of two inches.
5. Fasten both sides of the wall thimble using screws or nails.
6. Once the thimble is installed, vent pipe can be inserted into the thimble.
7. Close the gap between the thimble and the vent by installing the two
half plate and fasten it using screws or nails.
8. Install horizontal termination to complete the assembly.
9. Once assembly is completed, apply a bead of high-temp sealant around
the pipe and the exterior two half plates of the thimble to protect against
weather.
10. The air gap is filled with insulation when using the insulated wall thimble
(WTI).


