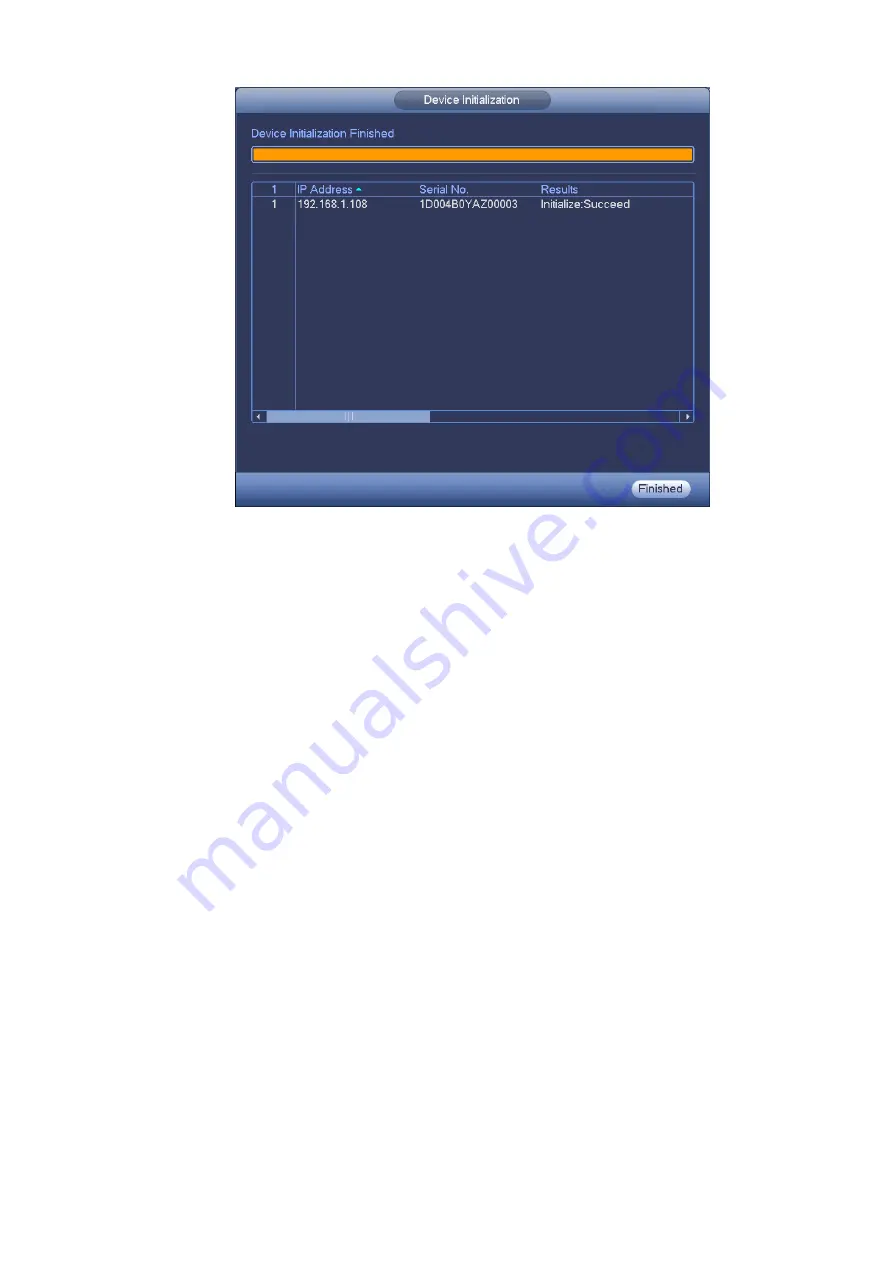
Figure 3-44
Step 7 Click Finish to complete the setup.
3.5.3 Image
From main menu>Setting>Camera>Image, you can see the image interface is shown as below. See
Channel: Select a channel from the dropdown list.
Config file: There are three configuration files. System sets proper parameters (such as brightness,
contrastness and etc) for each configuration file. You can select according to your actual situation.
Saturation: It is to adjust monitor window saturation. The value ranges from 0 to 100. The default
value is 50. The larger the number, the strong the color is. This value has no effect on the general
brightness of the whole video. The video color may become too strong if the value is too high. For
the grey part of the video, the distortion may occur if the white balance is not accurate. Please note
the video may not be attractive if the value is too low. The recommended value ranges from 40 to 60.
Brightness: It is to adjust monitor window bright. The value ranges from 0 to 100. The default value is
50. The larger the number is, the bright the video is. When you input the value here, the bright
section and the dark section of the video will be adjusted accordingly. You can use this function
when the whole video is too dark or too bright. Please note the video may become hazy if the value
is too high. The recommended value ranges from 40 to 60.
Contrast: It is to adjust monitor window contrast. The value ranges from 0 to 100. The default value
is 50. The larger the number is, the higher the contrast is. You can use this function when the whole
video bright is OK but the contrast is not proper. Please note the video may become hazy if the value
is too low. If this value is too high, the dark section may lack brightness while the bright section may
over exposure .The recommended value ranges from 40 to 60.
Auto Iris: It is for the device of the auto lens. You can check the box before ON to enable this
function. The auto iris may change if the light becomes different. When you disable this function, the
Summary of Contents for ELITE Network IP Series
Page 1: ...64 Channel 4K Hot Swap NVR NVR ELHS 64 4K DH...
Page 108: ...Figure 3 92 Figure 3 93...
Page 131: ...Figure 3 111 Figure 3 112 Figure 3 113...
Page 144: ...Figure 3 126 Figure 3 127...
Page 146: ...Figure 3 129 Click draw button to draw the zone See Figure 3 130 Figure 3 130...
Page 149: ...Figure 3 133 Click Draw button to draw a zone See Figure 3 134 Figure 3 134...
Page 154: ...Figure 3 139 Click draw button to draw the zone See Figure 3 140...
Page 172: ...Figure 3 157 Figure 3 158...
Page 173: ...Figure 3 159 Figure 3 160...
Page 176: ...Figure 3 164 Figure 3 165...
Page 211: ...Figure 3 199...
Page 234: ...Figure 3 227 Step 2 Click Add group Enter add group interface See Figure 3 228 Figure 3 228...
Page 298: ...Figure 4 56 Figure 4 57...
Page 304: ...Figure 4 62 Figure 4 63...
Page 305: ...Figure 4 64 Figure 4 65...
Page 330: ...Figure 4 101 Figure 4 102...
Page 339: ...Figure 4 115 Figure 4 116...
Page 359: ...Figure 4 144 Note For admin you can change the email information See Figure 4 145...


