©Sealevel Systems, Inc.
8003e Manual
10
SL9235 3/2013
Hardware Installation
Do not install the PCI Express board until the software has been successfully installed.
The REL-16.PCIe does not need to be configured prior to installation.
Once you have installed the SeaI/O Classic software, install the board into an available PCI Express slot and
boot the computer. The Found New Hardware wizard will appear. The drivers that were installed during the
software installation process will automatically be used to configure the adapter.
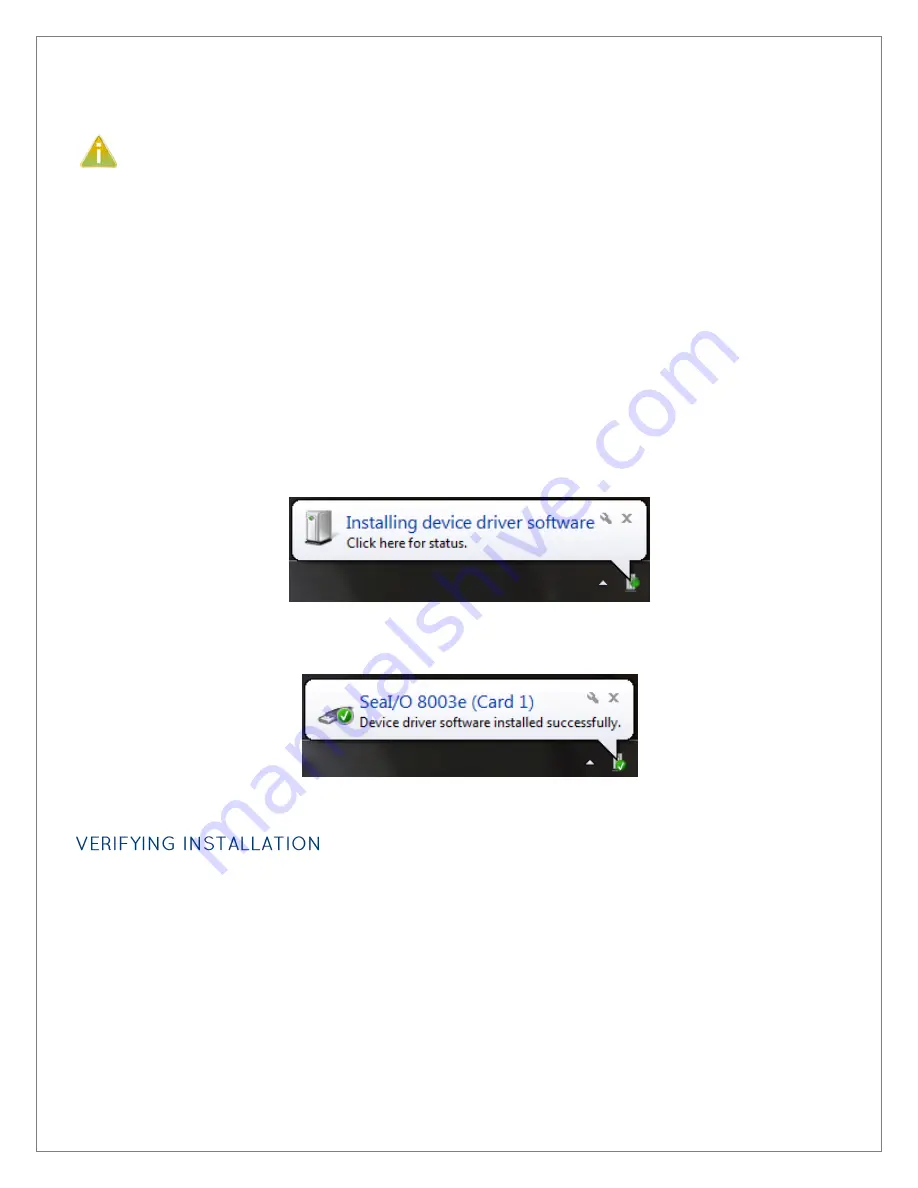
The following instructions are applicable to the Windows XP operating system and may vary depending on
your version of Windows. If you are using the Microsoft Windows 7 operating system, the installation is
automatic.
1.
After the software installation is complete, shut down the PC. Install the REL-16.PCIe into an
available PCI Express slot and boot the computer.
2.
A ‘Found New Hardware’ alert will appear above the system tray.
3.
When the ‘Found New Hardware’ alert informs you that your hardware is installed and ready to use,
you can proceed with verifying the installation to check functionality if necessary.
To confirm that the digital I/O card has been successfully installed and recognized by your operating
system, look in the Windows Device Manager.
To access Device Manager, follow the steps below:
1.
Right click on ‘Computer’ icon on your desktop or in the Start menu.
2.
Click ‘Manage’ in the fly out menu to launch the ‘Computer Management’ console window.
3.
In the left pane under ‘System Tools’, click ‘Device Manager’.


