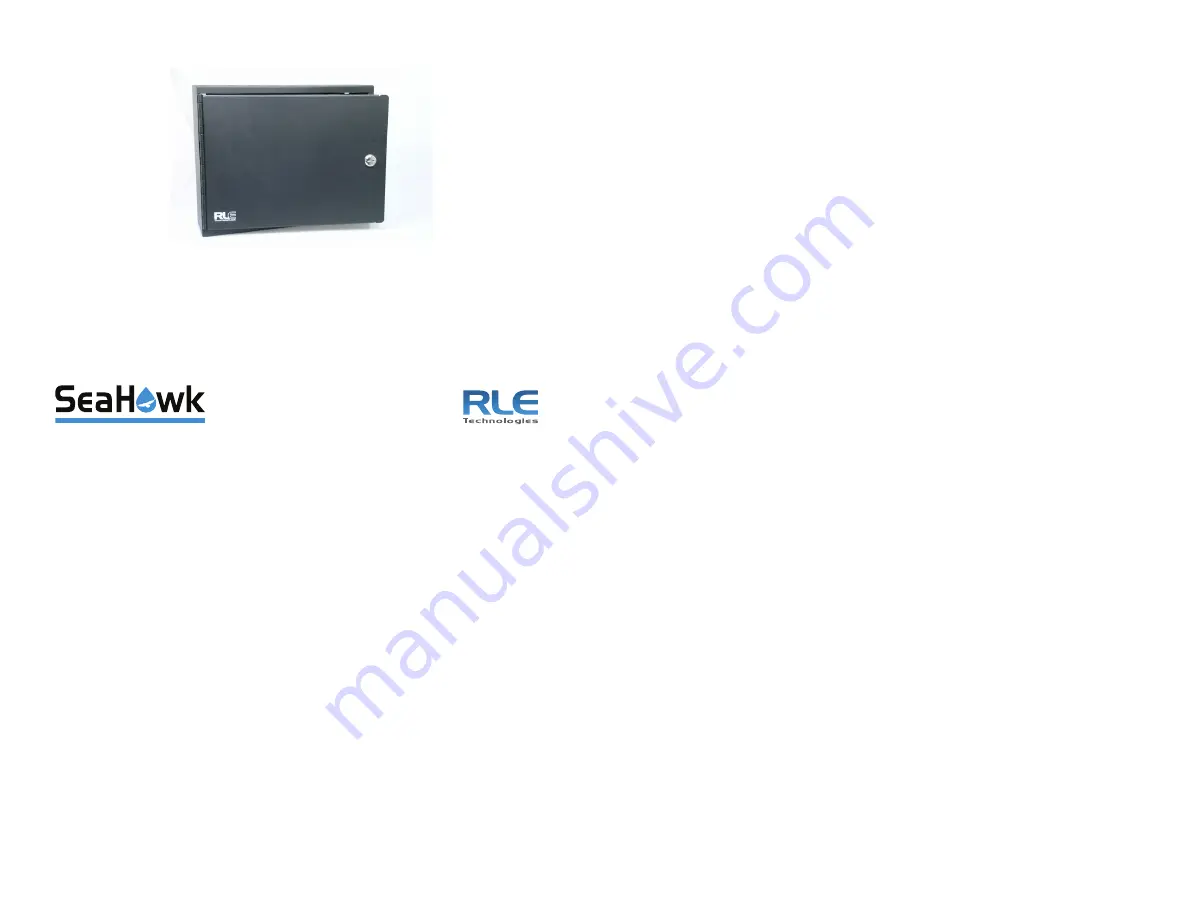
LD-ENC Quick Start Guide
hank you for purchasing the SeaHawk LD-ENC enclosure for the
SeaHawk LD1500 and LD2000 leak detection controllers. This guide
describes how to install the LD-ENC
If you need further assistance, contact RLE Technologies on our
website at
http://www.rletech.com/
(go to the
Support Link
) or by
calling
970.484.6510, Option 2
.
1
Supplies for Installation
Included with the LD-ENC
LD-ENC unit
Sold Separately
Circuit breaker
SeaHawk LD1500 or LD2000 leak detection controller
SeaHawk Leak Detection Cable (sensing cable)
2
Installing the LD-ENC
Mount the enclosure by performing these steps (refer to the illustration on the
next page):
1
Remove the back plate from the enclosure by removing the four
mounting screws.
a
If conduit will run to the enclosure, remove the knock outs from the top
or bottom of the enclosure.
b
Mount the enclosure in the desired location.
2
If not already done, mount the LD1500 or LD2000 onto the back plate
and connect the output power cables from the enclosure’s power supply
to the leak detection device.
3
Replace the back plate in the enclosure.
4
Run the necessary wiring through the enclosure.
5
Ensure proper input power is connected to the enclosure’s power supply.
6
Turn the unit on by positioning the green power switch in the On position
T


