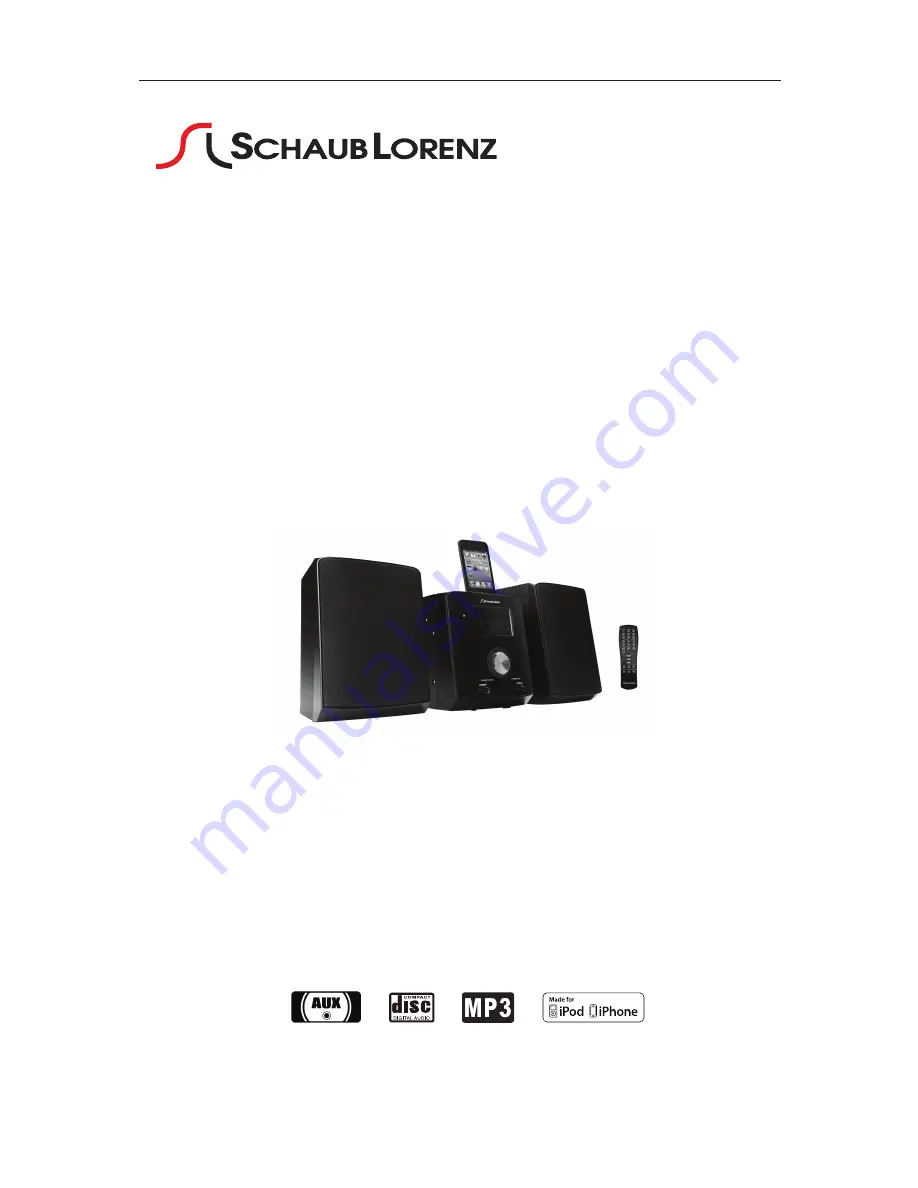
MCCD-2616
CD MP3 MICROSYSTEM
WITH iPHONE DOCK
USER MANUAL
Please read and keep these instructions
For instruction manual in another language, check online at
http://manuel-utilisateur.logisav.fr
Page 1: ...MCCD 2616 CD MP3 MICROSYSTEM WITH iPHONE DOCK USER MANUAL Please read and keep these instructions For instruction manual in another language check online at http manuel utilisateur logisav fr ...
Page 2: ...maged batteries must be properly disposed In order to protect the environment please dispose the batteries properly in accordance with local laws information is available at your reseller Where to install the product Place the product on a straight rigid and stable place Do not place the product on a carpet Do not place the product on top of another that may cause overheating for example a receive...
Page 3: ...mes within the framework of the directive 2002 96 EC of January 27 2003 concerning the waste on electrical and electronic equipment WEEE The presence of dangerous substances in the electrical and electronic equipments can have potential consequences on the environment and human health in the cycle of reprocessing this product Therefore at the end of its lifetime this product shall not be disposed ...
Page 4: ...INDEX LOCATION OF CONTROL REMOTE CONTROL POWER SOURCE RADIO OPERATION CD MP3 OPERATION iPOD iPHONE DOCK OTHER FEATURES TROUBLE SHOOTING E 3 E 4 E 4 E 5 E 6 E 7 E 8 E 11 E 12 ...
Page 5: ...Y 2 REMOTE SENSOR 3 STOP 4 SKIP 5 FOLDER DOWN 6 STANDBY 7 PLAY PAUSE 8 SKIP 9 FOLDER UP 10 FUNCTION 11 VOLUME CONTROL 12 SPEAKER JACKS L R 13 FM ANTENNA 14 AUX IN JACK 15 AC POWER CORD 16 iPOD iPHONE DOCK 1 11 3 2 4 5 7 8 9 6 10 12 13 14 15 ...
Page 6: ...place the batteries with new one SENSOR WINDOW OF THE RECEIVER Even if the remote control is operated within the effective range its operation may be impossible if there are any obstacies between the appliance and the remote control If the remote control is operated near other appliances which generate infrared rays or if other remote control devices using infrared rays are used near the appliance...
Page 7: ...uning process it will stop automatically and you can listen to your desired station MEMORY PRESET 1 Repeat step 1 to 3 in the AUTOMATIC TUNING procedures 2 Press the MEMORY button on the remote to start the preset process 3 Display will show the memory sequence number and a flashing 01 4 Press the PRE UP or PRE DN button on the remote to determine the preset station number 5 Press again the MEMORY...
Page 8: ... Press the FUNCTION button to select CD MP3 mode 1 Open the CD door and place a CD MP3 disc with the label up in the CD compartment 2 Close the CD door 4 Focus search is performed if disc is inside Playback will start automatically from the first track 5 Adjust the VOLUME control to the desired level 6 Press the PLAY PAUSE button when you want to stop playback temporarily 7 Press the STOP button w...
Page 9: ...ng iPod iPhone press the MENU button to back to previous menu Press the ENTER button to menu selection Press the MENU DN or MENU UP to select next menu Press the ENTER button again to select a desired menu or track When All the desired tracks have been selected press the ENTER button to play E 7 CHARGING Charging iPod battery using the dock In any mode dock your iPod portable player directly on th...
Page 10: ...alizer Press the EQ button on remote control and press to switch the EQ function as follows 1 CLASSIC 2 ROCK 3 POP 4 JAZZ 5 FLAT NORMAL INTRO 1 Press the INTRO button during play disc to play each song for 10 seconds 2 Press the INTRO button again to resume normal playback 3 Not available for memory playback MUTE 1 Press the MUTE button to stop the sound during playing disc 2 Press the MUTE button...
Page 11: ...ance 4 To control playback function use the controls provided by the external audio device Notes Aux in cable is not provided Press the SLEEP button on remote control display will show SLEEP 90 That means after 90 minutes appliance will automatically turn to standby mode 2 Press the SLEEP button again to select the automatically turn off time from 90 80 70 60 50 3 Press the SLEEP button to SLEEP 0...
Page 12: ...nd press TIMER button to confirm the selection 11 After confirmation the unit display show TIMER ON TIME TIMER OFF TIME INPUT SOURCE and VOLUME LEVEL and unit go to standby mode 12 Press the TIMER button to cancel or activate timer on off function 13 If you want to adjust the timer press and hold TIMER button for 2 sec It returns to timer setting mode Follow steps from 4 14 Press and hold the PLAY...
Page 13: ...OTHER FEATURES SNOOZE SNOOZE must be after completed timer setting When the timer is triggered you may press the SNOOZE button to delay the alarm for another 9 minutes E 11 ...
Page 14: ...er Please aim at the remote control window The disc door is not close well Close the disc door No disc inserted Place a disc in the compartment Play can not be realized Inverse placement of disc Be sure that the side with pictures of the disc points upwards No sound from loudspeaker The volume is in the lowest status Turn the volume up Disc not clean Use a piece of clean and soft cloth to clean th...
Page 15: ... Made for iPod means that an electronic accessory has been designed to connect specifically to iPod and has been certified by the developer to meet Apple performance standards Apple is not responsible for the operation of this device or its compliance with safety and regulatory standards iPod is a trademark of Apple Inc registered in the U S and other countries iPOD not included E 13 ...