background image

Page 19

SBS-2500 Manual 09-15-TI2500

Setting in the Menu

Calib. Mode: Off.

Preparing the Measuring Cell

Clean the measuring cell with a suitable solvent and rinse with ethanol.

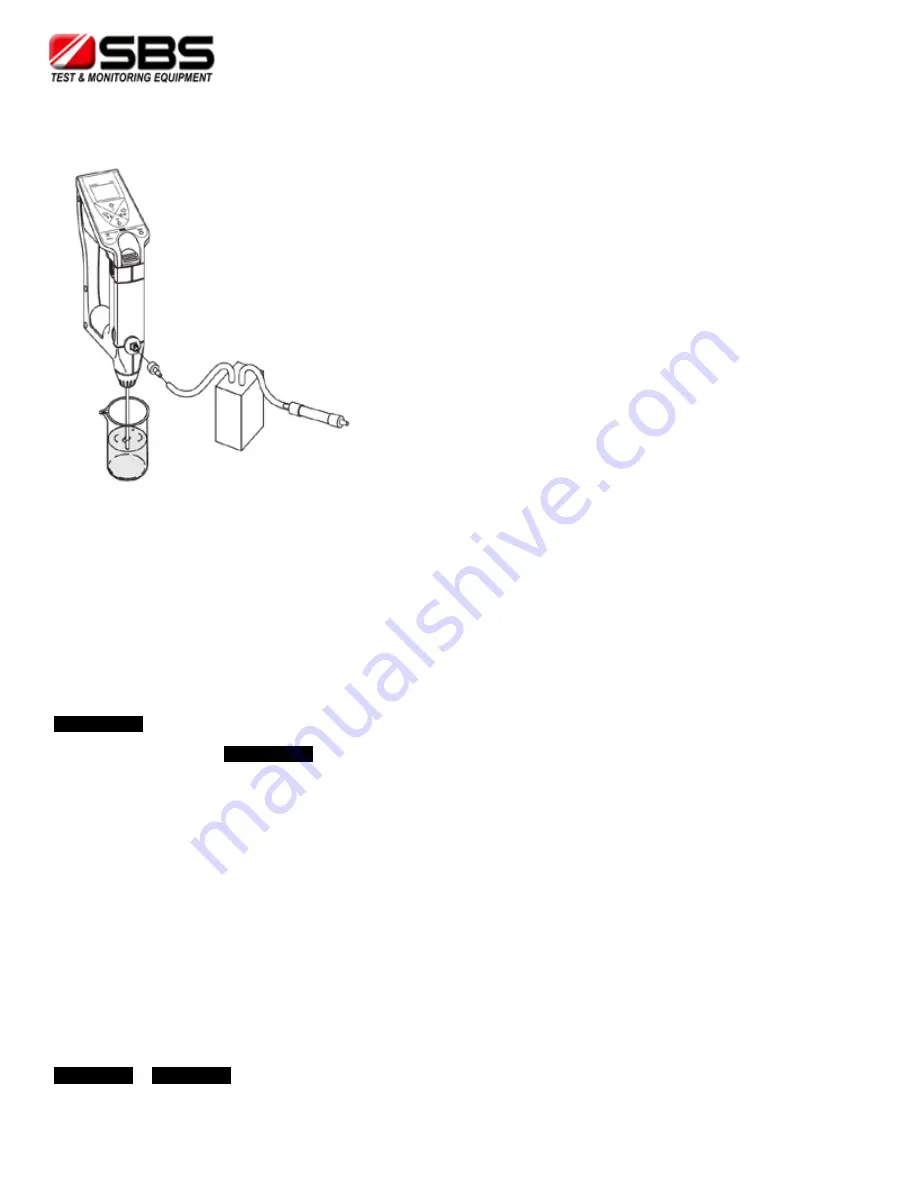
Hold the sample tube over a waste container.

Connect a tube from the connection of the external syringe to an air pump (volume flow 1…2 l/min) connected

to dry tube filled with 5…10 g silica gel.

Dry measuring cell for approx. 5…10 min.

Wait approx. 30 min. until the measuring cell has reached the ambient temperature.

Adjusting

Press the 

 and 

 keys simultaneously.

CALIB (Air)

 appears in the display. The instrument adjusts the measuring cell automatically.

Adjustment is complete when 

CALIB (Air)

 disappears (after approx. 2 min.).

Adjust measuring cell with water or a density standard of your choice.

7.4 Adjusting the Temperature Display

Adjustment of the temperature display is generally not necessary, as the SBS-2500 was adjusted at the factory 

before shipment.

If the displayed temperature deviates from the actual temperature, carry out the following steps for adjustment:

 Check settings in the Measure Mode menu.

Stability: Manu

Memory in: Manu

Switch instrument off.

Set instrument aside for approx. one hour at a constant temperature.

Switch instrument on.

Press the 

“ok/meas.”

 key briefly; the display appears in reverse.

Read temperature on the instrument and from an external thermometer.

Determine and log the difference between the actual temperature (external thermometer) and the

temperature displayed on the instrument.

Press the 

 and 

 keys simultaneously.

CALIB (°C)

 or 

CALIB (°F)

 (depending on the selected temperature unit) appears, and the unit flashes.

Enter the logged temperature difference (with sign) using the arrow keys.

Test Equipment Depot - 800.517.8431 - 99 Washington Street Melrose, MA 02176

 TestEquipmentDepot.com 

Summary of Contents for SBS-2500

Page 1: ...ter SBS 2500 INSTRUCTION MANUAL Storage Battery Systems LLC Instruction Manual for SBS 2500 Digital Hydrometer Rev 09 15 Test Equipment Depot 800 517 8431 99 Washington Street Melrose MA 02176 TestEqu...

Page 2: ...easurement 13 6 2 Filling the measuring cell using the built in sample pump 14 6 3 Filling the measuring cell using an external syringe 14 6 4 Measuring 15 6 5 Saving the results 15 6 6 Displaying and...

Page 3: ...r or printed out on a printer 2 Safety Measures Measures for Your Protection and Operational Safety Do not work in an explosion hazardous environment The instrument housing is not gas tight Otherwise...

Page 4: ...button 4 Sample pump 5 Cover of sample pump 6 Connector for syringe adapter 7 Fixing screw for sample tube 8 Sample tube 9 Measuring cell 10 Infrared interface 11 Lock button 12 Fill button 13 Batter...

Page 5: ...et to Auto 6 Appears if Memory in is set to Auto 7 Appears if Memory out is set to Auto If a printer or PC is connected the data are transferred automatically 8 Battery power indicator 9 Temperature C...

Page 6: ...coefficient 3 Move marker to the right Display saved results Transfer one saved result to a printer PC Transfer a series of saved results to a printer PC 4 Move marker downward Select sample number de...

Page 7: ...asurement Entering the Menu Press the keys ok meas and esc simultaneously The instrument switches to the FUNCTION menu Measure Unit appears in reverse display white on black Selecting Setting Confirm...

Page 8: ...lay The instrument adjusts automatically duration approximately 1 minute After adjustment is completed the measured deviation from the theoretical value and Execute No appears Press the or key Execute...

Page 9: ...Version Version No see Chapter 5 10 Date Time see Chapter 5 11 Identification see Chapter 5 12 5 1 Using the Menu Entering the menu Press the keys ok meas and esc simultaneously The instrument switch...

Page 10: ...d Comp No Number of the temperature compensation coefficient 0 9 Comp T T0 T1 C enter temperatures T0 and T1 x 1000 Temperature compensation coefficient For typical temperature compensation coefficien...

Page 11: ...ific gravity 1 specific gravity Calculation of the temperature compensation coefficient Measure density of the sample at a temperature T1 above the normal measuring temperature at a temperature T2 bel...

Page 12: ...the key 5 5 Adjustment Mode Calib Mode Off Adjust measuring cell with accompanying density standard or distilled water On Adjust measuring cell with desired density standard The following input is req...

Page 13: ...ncluded in the data transfer to a printer or computer 6 Measurement meas 6 1 Procedure for Proper Measurement Test the instrument for accuracy with the accompanying density standard or distilled water...

Page 14: ...mple tube is in the sample Press the fill button 12 slowly to fill the measuring cell Ensure that there are no air bubbles in the measuring cell 6 3 Filling the Measuring Cell Using an External Syring...

Page 15: ...manual stability control Emptying the Measuring Cell Hold the sample tube over a waste container Press drain button 3 downward slowly and move it up again with the fill button 12 6 5 Saving the Result...

Page 16: ...lt is transferred Printing and Transferring Results of a Series of Samples Manually Press and hold the key until Memory out Execute All appears in the display Press the or key Execute Range appears Pr...

Page 17: ...djusting Ensure that the measuring cell and sample tube are clean Fill the clean measuring cell with the accompanying density standard or distilled water and ensure that no air bubbles are allowed to...

Page 18: ...ears in the display The instrument adjusts automatically duration approx 1 minute After adjustment is completed the measured deviation from the theoretical value and Execute No appears Measured Deviat...

Page 19: ...ure Display Adjustment of the temperature display is generally not necessary as the SBS 2500 was adjusted at the factory before shipment If the displayed temperature deviates from the actual temperatu...

Page 20: ...en the SBS 2500 and the infrared adapter is no more than 20cm 8 1 IR Printer Settings Configure the infrared interface of the SBS 2500 as described in Chapter 5 6 Connect infrared adapter to printer S...

Page 21: ...ed in the following format 1 Sample identification a z space 2 If result is marked otherwise space 3 Format yyyy mm dd hh mm 4 Temperature unit C or F 5 Number of the temperature compensation coeffici...

Page 22: ...ment Service E 03 Sample temperature not measured correctly Call SBS Test Equipment Service E 04 Error in ambient temperature measurement Call SBS Test Equipment Service E 05 Full appears instead of a...

Page 23: ...instrument 10 3 Replacing the Sample Tube Loosen fixing screw 7 of sample tube in the direction of the arrow and remove old sample tube Insert new sample tube with washer into screw gland of sample t...

Page 24: ...SBS 2500 Manual 09 15 TI2500 11 Standard Equipment The instrument is delivered pre assembled with the following equipment 1 SBS 2500 2 AAA Batteries LR03 1 5V 1 CD ROM 1 Operating instructions 1 IR A...

Page 25: ...light Baum 10 100 Baum Accuracy 0 4 Baum Measurement range heavy Baum 0 72 Baum Accuracy 0 1 Baum Measurement range Plato 0 0 20 0 Accuracy 0 3 Measurement range Proof US 0 0 200 0 Accuracy 2 0 Measur...

Page 26: ...94 7 99990 8 99985 9 99978 10 99970 11 99961 12 99950 13 99938 14 99925 15 99910 16 99894 17 99878 18 99860 19 99841 20 99821 21 99799 22 99777 23 99754 24 99730 25 99705 26 99679 27 99652 28 99624 29...

Page 27: ...xylene 15 30 1 02 Glycerine 15 30 0 49 Chloroform 0 30 1 26 Carbon tetrachloride 0 30 1 22 Toluene 0 30 1 07 Benzene 6 30 1 21 Methanol 6 30 1 18 Acetone 0 30 1 42 Bromobenzene 0 30 0 91 Cyclohexane...

Reviews: