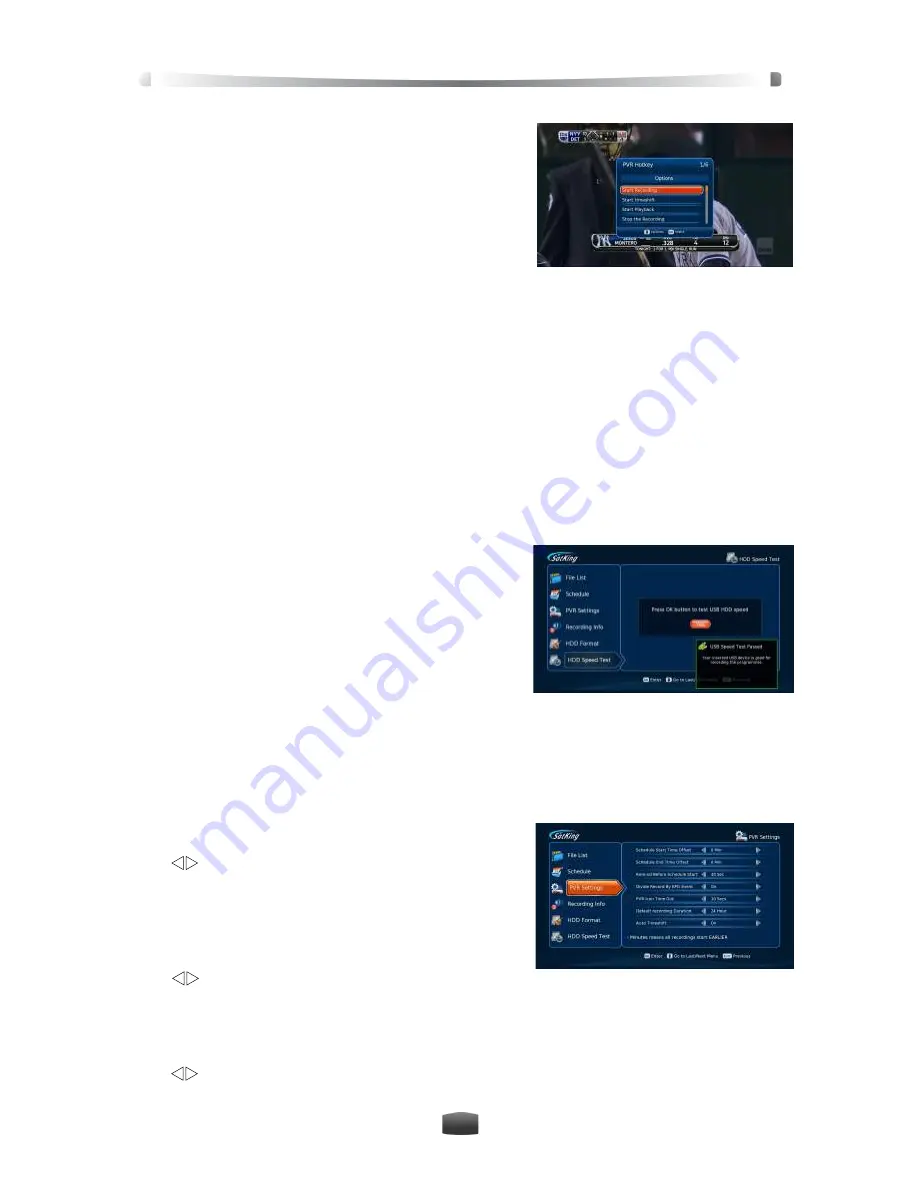
SatKing DVBS2-980CA User Manual Download Page 17

User’s Manual

15

3.7 PVR Hotkey Menu

This menu provides some hotkey PVR functions.

Press 

PVR

key to display hotkey key menu.

Notes:

Time shift can be started in this menu.

For more details about PVR functions, please

refer to 4. Personal Video Recording (PVR).

4. Personal Video Recording (PVR)

You can record programs on USB device for later playback. This receiver provides PVR func-

tions, such as quick recording, schedule recording, time shift, etc.

Notes:

USB device should be connected to USB port on rear panel before operation.

Radio programs can’t be recorded.

If space on your USB device is insufficient, recording will stop automatically.

During operation, don’t unplug the USB device.

This  unit  can  record  2  channels  and watch a third within the 2 Tp's at the same time. 

You can also record 2 channels and playback or watch Freeview Plus at the same time.

4.1 HDD Speed Test

If the speed of USB device is not fast enough, it may 

not work correctly. After connecting the USB device to 

the receiver, you can test its speed. 

Select  Main  Menu 

→  PVR  Function  →  HDD  Speed 

Test and press 

OK 

key to enter.

1. Press 

OK

key to start testing.

2. The prompt will indicate pass/fail.

4.2 Set Recording Parameter

Note: If you don’t set recording parameters, system will record programs according to 

default settings. This function is handy if a program starts early or over runs.

Select Main Menu 

→ PVR Function → PVR Setting

and press 

OK 

key to enter.

Schedule Start Time Offset

You can set schedule start time offset value.

Press 



keys to select a time from 0 to -30 minutes. 

For  example,  if  scheduled  start  time  is  “13:00”  and 

offset value is “-5 Min”, the real start time is 12:55.

Schedule Stop Time Offset

You can set schedule stop time offset value.

Press 



keys to select a time from 0 to 30 minutes. For example, if scheduled stop time is 

“13:00” and offset value is “5 Min”, the real stop time is 13:05.

Schedule Reminder

Set reminder time before starting schedule recording.

Press 



keys to select 30 Sec, 60 Sec, 90 Sec, 120 Sec or OFF.

Press EXIT key when finished.

3.

Summary of Contents for DVBS2-980CA

Page 1: ...High Definition Twin Tuner Satellite Receiver Australian VAST Certified DVBS2 980CA...

Page 2: ...le problems and information of any importance to help understand use and maintain the installation Note The information in this user s manual is subject to change without notice The photos and functio...

Page 3: ...sture build up To avoid the risk of fire or electric shock don t expose this receiver to rain water and don t put object with liquid on this unit Do not cover vents of this receiver with paper table c...

Page 4: ...t 15 3 6 Closed Caption Subtitles 15 3 7 PVR Hotkey Menu 16 4 Personal Video Recording PVR 16 4 1 HDD Speed Test 16 4 2 Set Recording Parameter 16 4 3 Quick Recording 17 4 4 Schedule Recording 17 4 5...

Page 5: ...Information 28 12 1 Smart Card Status 28 12 2 Softcell Service Status 28 12 3 Loader Status 29 12 4 Mail Information 29 12 5 Help Information 29 13 Freeview Plus 30 14 16 Acronym 37 15 1 Troubleshoot...

Page 6: ...ptional AVI MP4 DIVX MOV FLV MKV MP3 Playback and Photo Browse 8 Day Electronic Program Guide Subtitles Supported Parental Control Function Catch Up TV Twin Tuner Over the Air Secure Software Download...

Page 7: ...Conditional Access CA Your VAST receiver requires the smart card to be inserted at all times to enjoy programs Note The VAST smart card is already inserted Insert Smart Card 1 Open the right hand cov...

Page 8: ...igital audio signal to amplifier 3 IR Connect to IR extender optional contact dealer to purchase 6 USB x2 For recording pictures wifi or upgrading 12 ETHERNET Connect to Router 7 HDMI Output video and...

Page 9: ...rt to start of playback HELP Display help information window TEXT Display Teletext information If Available SUBT Display Close Caption Subtitles APP S Display TV Apps Portal CH Change channels PAGE Pa...

Page 10: ...s Please operate according to instructions on screen 1 6 Learning Instructions The RM 09 has learning ability to take over the use of the main TV remote for the basic func tions 1 Source 2 Volume 3 Ex...

Page 11: ...ort on the receiver to an aligned satellite dish with an RF cable 2 Connect HDMI port on the receiver to HDMI port on TV 1 Connect LNB IN port on the receiver to an aligned satellite dish with an RF c...

Page 12: ...r to an aligned satellite dish with an RF cable 2 Connect VIDEO yellow port on the receiver to corresponding port on TV 3 Connect R AUDIO red L AUDIO white ports on the receiver to corresponding ports...

Page 13: ...D AUDIO cable or connect S P DIF port on the receiver to corresponding port on amplifier with an S P DIF cable or connect R AUDIO red L AUDIO white ports on the receiver to cor responding ports on am...

Page 14: ...will see the receiver go through the scanning process Note Please turn on your TV and switch it to corresponding AV mode according to actual connection For example if HDMI cable is connected switch yo...

Page 15: ...l to display 3 Select Channel in Channel List For detailed operations please refer to 3 4 Channel List 3 2 Volume Control Press or V keys to adjust volume Press MUTE key to mute restore sound 3 3 Chan...

Page 16: ...een 1 Press TEXT key to display Teletext information 2 The first page shows the index You can operate according to operation help information or key instructions on screen 3 Press EXIT key to hide the...

Page 17: ...enough it may not work correctly After connecting the USB device to the receiver you can test its speed Select Main Menu PVR Function HDD Speed Test and press OK key to enter 1 Press OK key to start t...

Page 18: ...ord current program instantly you can use this function 1 Start Recording When watching a program press REC button to start recording and is displayed in top right corner of screen To record another p...

Page 19: ...dule start time duration and mode For detailed operations please refer to 4 4 1 Add Schedule 3 Delete Schedule 1 2 Highlight the file to delete and press the Blue key If you want to cancel this delete...

Page 20: ...you have 2 recordings running For detailed operations please refer to 3 4 Channel List 3 Playback Program During recording you can playback current program For detailed operations please refer to 4 8...

Page 21: ...speed 5 View Recorded File Information 1 Press INFO key to display playback progress bar 2 Press INFO key again to display detailed information of current file 3 Press EXIT key to remove it 6 Stop Pla...

Page 22: ...o pop up a keyboard For detailed operations please refer to 4 7 3 Rename Recorded File 3 Rename Recorded File 1 Press OK to enter and keys to select a file 2 Press Yellow key to pop up a keyboard 3 To...

Page 23: ...rward or rewind If you wish to fast forward in timeshift the maximum speed is 32x To skip forward or back the minimum jump is 10 minutes To use the skip function press FF REW and then use the right or...

Page 24: ...nd all files will be deleted Select Main Menu PVR Function HDD Format and press OK key to enter 1 Highlight OK and press OK key a warning box pops up for confirmation 2 Select OK and press OK key to c...

Page 25: ...all banner will appear when schedule starts 7 3 Schedule Booked List All the scheduled programs are displayed in this win dow You can cancel or restore schedules 1 Press Blue key to display book list...

Page 26: ...B Low High Freq If LNB Type is Custom you can set LNB frequency according to your LNB type Note Custom is only for very advanced systems 22K Press keys to select ON or OFF according to Note If LNB Typ...

Page 27: ...AV Setting Select Main Menu Settings AV Settings and press OK key to enter 1 Set parameters as follows Aspect Mode Press keys to select 4 3 or 16 9 Resolution Press keys to select a best resolution to...

Page 28: ...in for confirmation 3 Press EXIT key to save and exit Note Don t forget the password if forgotten you will need to contact your local dealer 9 5 Parental Control You can set parental level for program...

Page 29: ...grades the receiver you don t need to do anything If there is no software upgrade available the OTA section will be greyed out Notes Don t turn off your receiver during software upgrade During softwar...

Page 30: ...essages overide all functions and will be displayed on the main screen keys Select mail key Read mail key Delete the selected mail key Delete all mails Note If the receiver receives a new mail a mail...

Page 31: ...ns Freeview Plus has no subscription charges 13 1 Green Key Green program recommend and detailed program up down Red 13 2 Red Key service when you land on the channel the red the enhanced simply press...

Page 32: ...ay disconnected check your router is connected to the internet and check your cabling 5 Press Menu to return to live TV 14 2 Wireless LAN Connection 1 Connect the optional wireless dongle WL 85 is con...

Page 33: ...r 4 If the receiver is being used in conjunction with a Pay TV decoder there may be a conflict between the two devices if you are using one satellite TV cable We recommend that you purchase a dual or...

Page 34: ...them If the red light on the remote is flashing continously a key on the remote is jammed in Receiver Doesn t Record Programs 1 To record with this device you need to use and external hard disk drive...

Page 35: ...ptor or optional 12V cable are plugged into the 12V jack on the rear of the unit Satellite Receiver Freezes If the satellite receiver is unresponsive frozen on one channel or will not respond to the s...

Page 36: ...al 34 Freeview Plus Auto Power Saving 1 HDD Note If you can t solve the problems after referring to this trouble shooting section please contact your local dealer Twin Tuner Loop Cable SatKing TV App...

Page 37: ...PSK 8PSK FEC Mode QPSK 1 2 2 3 3 4 5 6 7 8 8PSK 1 2 2 3 3 4 3 5 4 5 5 6 8 9 9 10 CPU STiH 239 650MHz Flash 128MBytes DDR 512MBytes EEPROM 32 Kbyte Standard ISO IEC 13818 1 Standard ISO IEC 13818 3 Cha...

Page 38: ...rements Input Voltage 12VDC via 2 1mm DC Jack Input Current 2 0A Power Consumption 18W max inc s LNB power consumption Connections HD Video HDMI x1 Component x1 SD Video CVBS x1 Digital Audio Coaxial...

Page 39: ...DTV High Definition Television STB Set top Box RCU Remote Control Unit LNB Low Noise Block TV Television OSD On Screen Display OTA Over the Air USB Universal Serial Bus PVR Personal Video Recorder IR...

Page 40: ......

Reviews: