3. Installation
User's Manual
User's Manual
!
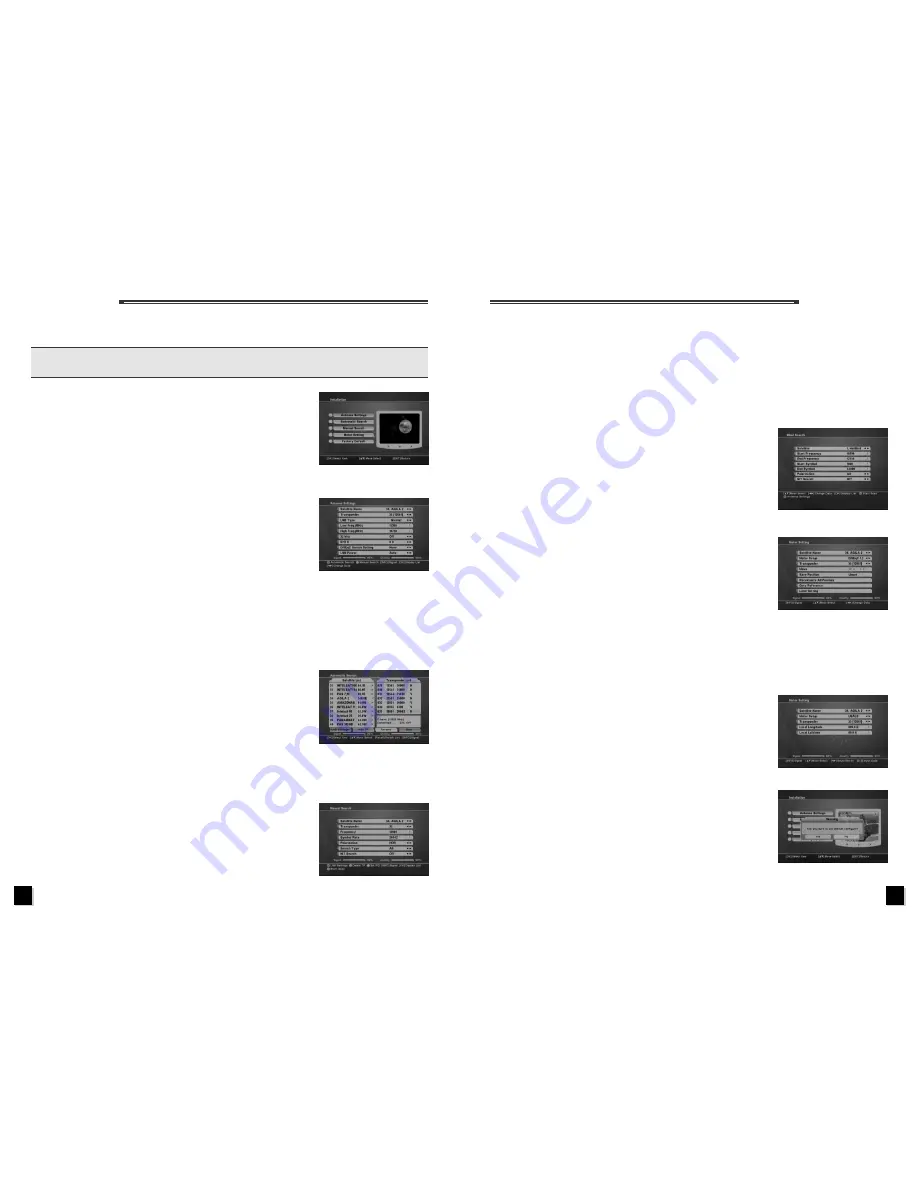
This menu consists of sub-menus as shown below:
Antenna Setting
Automatic Search
Manual Search
Blind Scan
Motor Setting
Factory Default
3.1 Antenna Setting
!
Under the
Antenna Setting
menu, you can edit satellite data and
LNB information.
!
Press
Red
key to enter
Automatic Search
menu.
!
Press
Green
key to enter
Manual Search
menu.
!
Satellite Name:
Select the satellite needs to search.
!
Transponder:
To show or edit transponder information under current
satellite.
!
LNB Type:
Select the type of your LNB. If you have universal LNB, select universal.
!
LNB Freq (Low/High Freq):
Enter the proper LNB frequency via RCU or use the keypad displayed
by pressing
OK
key.
!
Switches (22k, DiSEqC Switch Setting):
To configure the antenna.
!
LNB Power:
Select the LNB Power to Auto, Off, 14V or 18V.
3.2 Automatic Search
Automatic Search function is a convenient tool to search all preset
satellites at the same time.
!
Press
Up/Down
key to choose desired satellite then press
OK
key to
confirm, a tickle will appear to indicate the selected satellite.
!
Add TP:
Press
Green
key to add TP into default TP list, which is
shown in the right of screen.
!
Rename:
Press
Yellow
key to rename the satellite.
!
Scan:
After selecting the desired satellite, press
Blue
key to start
channel search through various search modes.
3.3 Manual Search
!
Satellite Name:
Select the satellite needs to search.
!
Transponder:
Press
Left/Right
key to select your desired
transponder. Press
OK
key to activate TP list.
!
Frequency& Symbol Rate:
Press
Left/Right
key to select the
appropriate item or use the numeric key of RCU to input the required
value.
!
Polarization:
Press
Left/Right
keys to select the polarization of
transponder between HOR and VER.
!
Search Type:
FTA means only free to air channels can be searched. CAS means only scrambled
channels can be searched. Select All to search all channels.
!
NIT Search:
Please
Left/Right
key to select On or Off.
!
Delete TP:
Press
Green
key to delete the current transponder.
!
Set PID:
Press
Yellow
key to set the PID and input the Video PID, Audio PID and PCR PID to
search.
3.4 Blind Search
!
Satellite Name:
Select the satellite needs to be search.
!
Start Frequency:
Edit the start frequency.
!
End Frequency:
Edit the end frequency.
!
Start Symbol:
Edit the start symbol rate.
!
End Symbol:
Edit the end symbol rate.
!
Polarization:
Select the polarization type as HOR, VER or ALL.
!
NIT Search:
Select NIT search as On or Off.
3.5 Motor Setting
If you connect a DiSEqC1.2 motor, select the Motor Setup type to
DiSEqC1.2.
!
Satellite Name:
Select the satellite that needs to move.
!
Motor Setup:
Press
Left/Right
key to select DiSEqC1.2.
!
Transponder:
Select the transponder to check the signal level.
!
Move:
Select this item and then keep pressing
Left/Right
keys to
move your antenna east or west. Use the signal strength and signal
quality bars at the bottom of the screen to judge the best position of
the antenna.
!
Store Position:
Press
OK
key to save the current position.
!
Recalculate All Position:
Press
OK
key to recalculate all satellite position.
!
Goto Reference:
Press
OK
key to move the motor to the reference position.
!
Limit Setting:
Press
OK
key to set West or East limit.
If you connect a USALS positioner, first get to know your local longitude
and latitude, then select the Motor Setup type as USALS.
!
Satellite Name:
Select the satellite that needs to move.
!
Motor Setup:
Press
Left/Right
key to select USALS.
!
Transponder:
Select the transponder to check its signal level.
!
Local Longitude:
Input the local longitude through numeric keys.
!
Local latitude:
Input the local latitude through numeric keys.
3.6 Factory Default
!
Factory default allows user to restore the factory-reset values.
!
When you press
OK
key, the Warning window will appear, if you
select Yes, the system setup will be reset to the default values.
Warning:
All previously set data and information will be lost after factory
default.
6
7


