Page 5 of 7
Notes:
This is a two person installation.
All marks made on tile, marble or fiberglass should be made lightly in
pencil so they can be removed after the installation is complete. An
optional method is to use masking tape on the walls and sill that can be
removed as the installation progresses.
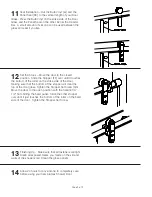
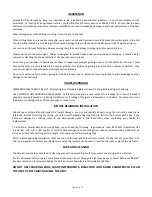
1
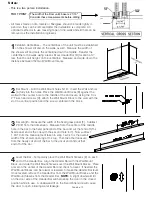
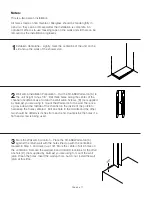
Establish Centerline – Lightly, mark the centerline of the unit on the
sill and up the walls of the shower stall.
2
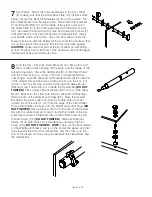
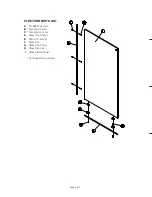
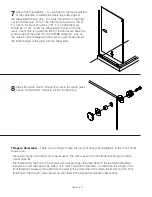
Wall Jamb Installation Preparation – Cut the SC-658 Wall Jamb [A] to
the unit height minus 1/8”. Drill three holes along the center of the
channel of sufficient size to clear the Wall Jamb Screws [B] (not supplied
by Alumax) you are using to mount the Wall Jamb to the wall. There is a
v-groove down the middle of the channel on the inside of the profile to
help keep the holes centered. Drill one hole in the middle and the other
two should be drilled six inches from each end. Countersink the holes if a
flat head screw is being used.
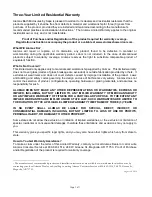
3
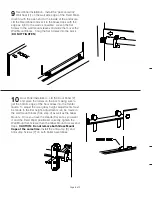
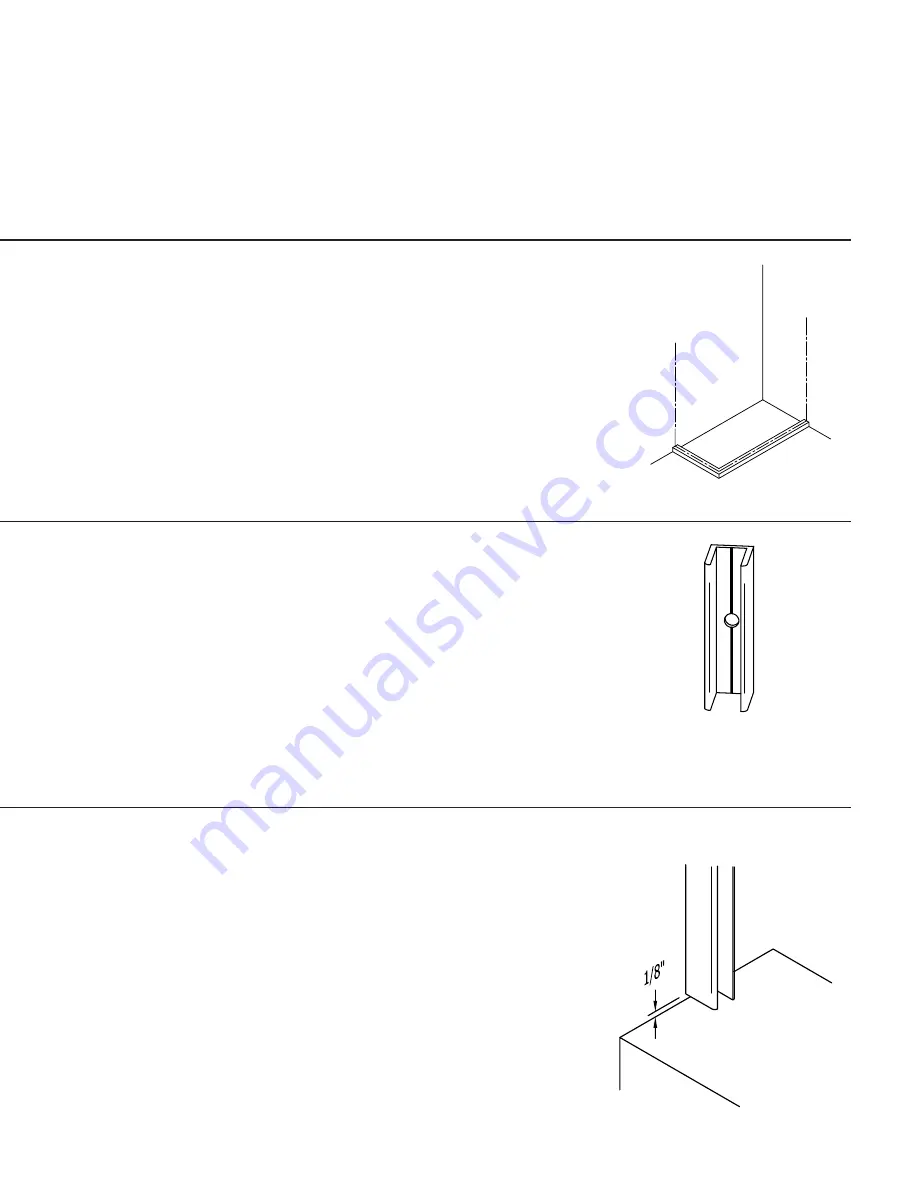
Mark the Wall Jamb Location – Place the SC-658 Wall Jamb [A]
against the return wall with the holes lined up with the centerline
marked in Step 1, and raise it up 1/8”. Mark the center of all 3 holes on
the centerline. Remove the wall jamb and drill all 3 locations for the Wall
Anchors [C] (not supplied by Alumax) you are using to mount the wall
jamb. Clean the holes. Insert the wall anchors, but do not install the wall
jamb at this time.


