-
13
-
5. CMOS (CCD) White Point Defect Detect Adjustment
Adjustment location:
CCD Defect of computer screen
Measuring location:
Computer screen
Measuring equipment:
Note:
If readjusting after it has already been adjusted, wait for 15
minutes or more for the unit to cool down first.
Adjustment method:
1. It turns on power while pushing the
ً
button and the
SET button of the CA-5 board.
2. Connect the camera’s USB terminal to the computer’
USB connector.
3. Double-click on the DscCalDi.exe.
4. Shield light with a lens cap to provide dark condition.
5. Select “CCD Defect” on the LCD “Test”, and click the “Yes”.
6. After the adjustment is completed, OK will display.
7. Click the OK.
6. CMOS (CCD) Black Point And White Point Defect
Detect Adjustment In Lighted
Adjustment location:
CCD Black of computer screen
Measuring location:
Computer screen
Measuring equipment:
Pattern box
Adjusting method:
1. It turns on power while pushing the
ً
button and the
SET button of the CA-5 board.
2. Set a distance of 0.5 - 1.0 cm between the pattern box and
the camera.
3. Connect the camera’s USB terminal to the computer’
USB connector.
4. Double-click on the DscCalDi.exe.
5. Select “CCD Black” on the LCD “Test”, and click the “Yes”.
6. After the adjustment is completed, the number of defect
will appear.
7. Click the OK.
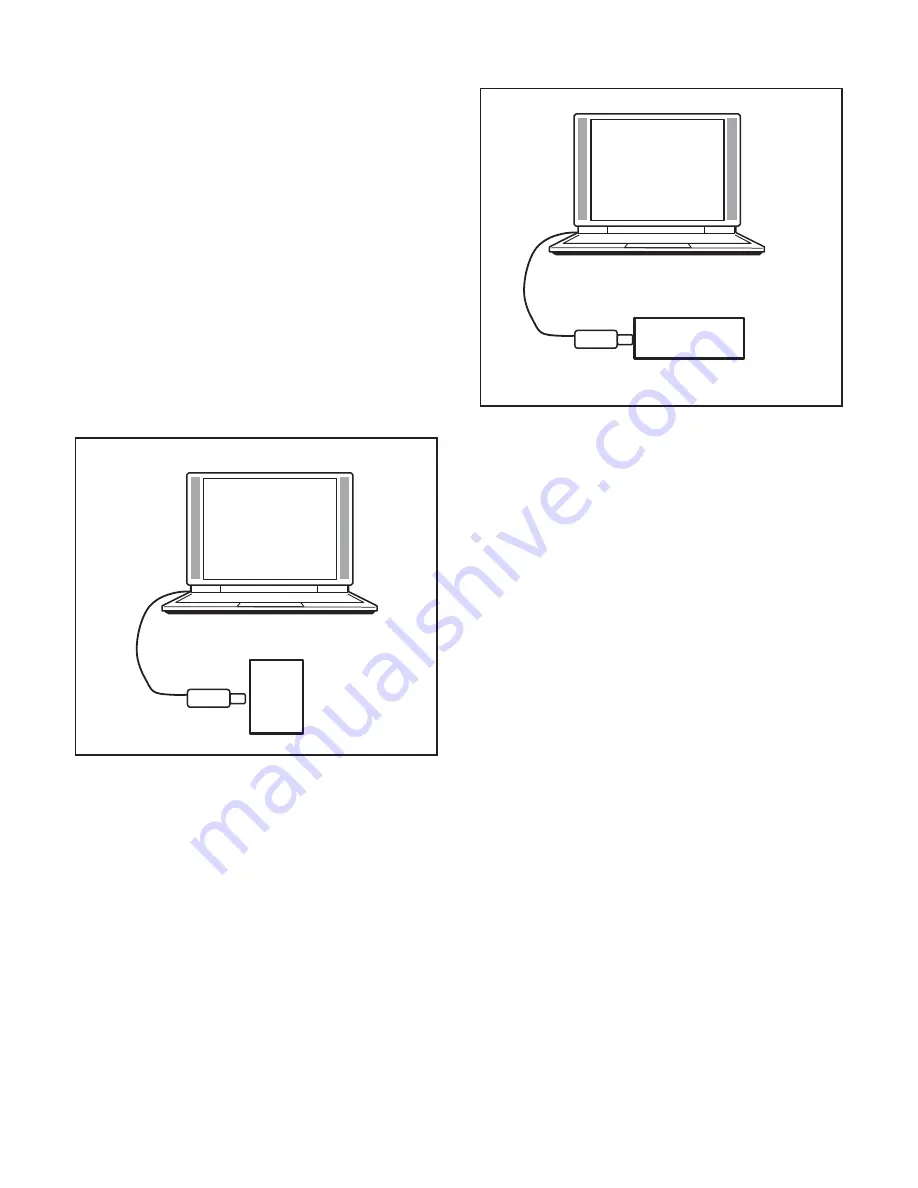
Camera
Pattern box
7. Privacy Masking Adjustment
Adjustment location:
Privacy Mode of computer screen
Measuring location:
Computer screen
Measuring equipment:
Collimator
Adjustment method:
1. Set the camera unit lens 10 ± 5 mm from the collimator.
(Do not enter any light.)
2. It turns on power while pushing the
ً
button and the
SET button of the CA-5 board.
3. Connect the camera’s USB terminal to the computer’
USB connector.
4. Double-click on the DscCalDi.exe.
5. Select “Privacy Mode” on the LCD “Test”.
6. Select “Privacy Mode” on the LCD “Privacy mask”.
7. Set the camera so that it becomes center of the screen in
the collimator.(Tele side)
8. “Wide” is click and it is made a wide side.
9. From the center of a privacy masking chart, masking
area is adjusted by "Left" and "Right" so that left and
right may become equal, and the upper and lower sides
may become equal by "Up" and "Down".
10 “Tele” is click and it is made a tele side.
11. Check that there is an even amount of space between
the masking area on the TELE screen and the top,
bottom, left and right edges of the monitor screen.
If there is a large amount of difference in the spaces, re-
adjust.
Camera
Collimator
Summary of Contents for THINK GAIA VCC-HD4600
Page 54: ...SIEMENS STAR CHART ...


