


6
BE SURE TO USE OR PLACE THE LCD PROJECTION TV
WITHIN THE TEMPERATURE RANGE INDICATED BELOW:
41 °F to 95 °F (5 °C to 35 °C)
14 °F to 140 °F (–10°C to 60°C)
Operating Temperature
Storage Temperature
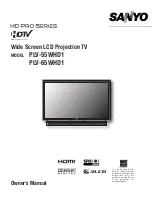
Exhaust Vents
(Hot air exhaust)
Air Intake Vents
• Handle the LCD Projection TV carefully when installing.
Do not drop.
• Locate the set away from heat, excessive dust, and
direct sunlight.
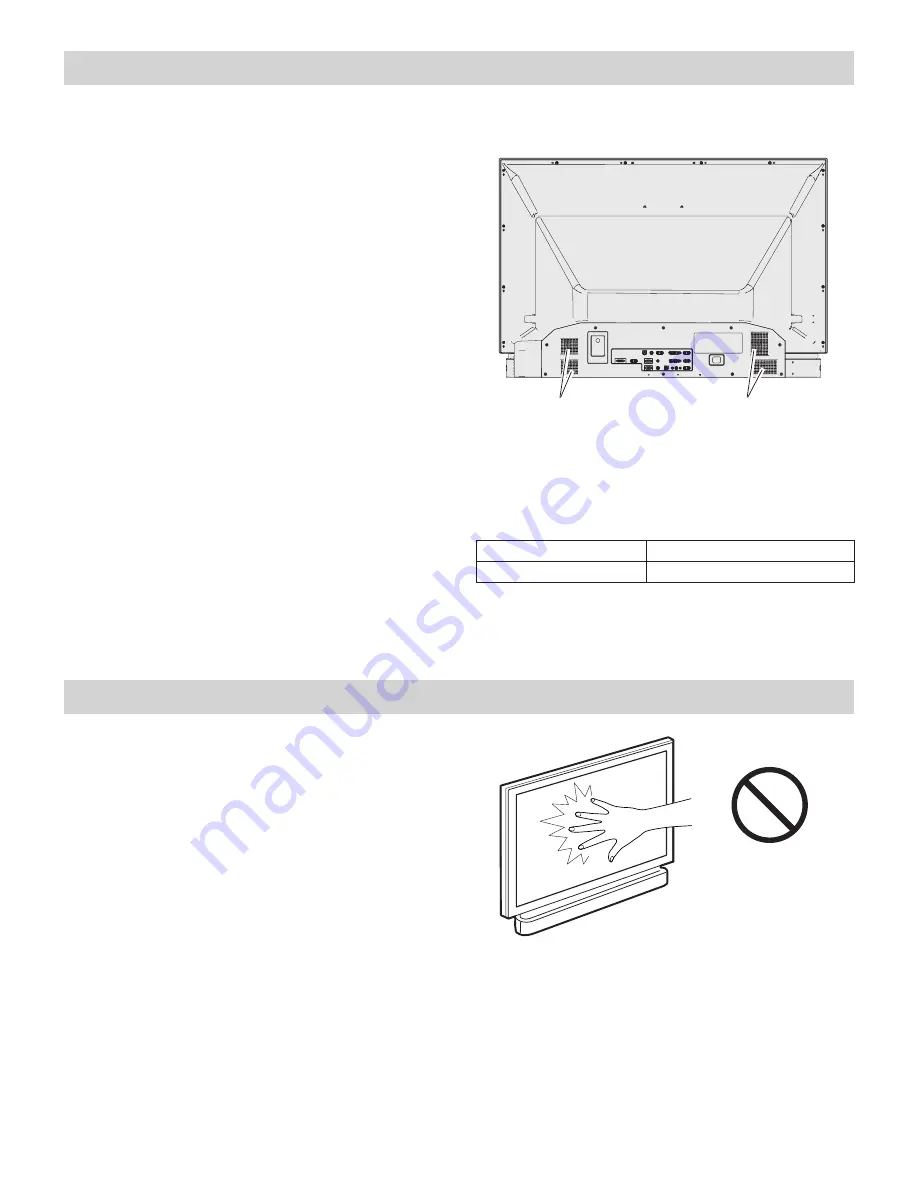
• Do not push or hit the screen surface.
• Do not write, paint, or affix anything on the screen.
• Do not put anything on the LCD Projection TV.
• Throughout the installation process, handling by more
than two people is recommended.
• Never touch the projection screen directly with hands.
Doing so may affect the projection image quality.
For cleaning the LCD Projection TV, refer to “Cleaning
the LCD Projection TV” on page 30.
Note:
Black dots or bright points of light (red, green, or blue)
may appear on the screen. This is a characteristic of the LCD
panels, not a malfunction of the LCD Projection TV.
DO NOT PUSH OR
HIT THE SCREEN.
HANDLING PRECAUTIONS
COOLING FANS
Cooling fans are provided to cool the LCD Projection
TV. The fans’ running speed is changed according to
the temperature inside the LCD Projection TV. When
the LCD Projection TV is cooled down enough, the fans
will stop running.
AIR CIRCULATION
The openings in the cabinet are provided for ventilation.
To ensure reliable operation of the product and protect
it from overheating, these openings must not be
blocked or covered.
Hot air is exhausted from the exhaust vent. When
using or installing the LCD Projection TV, the following
precautions must be taken.
• Do not put any flammable object or spray can near
the LCD Projection TV. Hot air is exhausted from the
ventilation holes.
• Keep the exhaust vent at least 4” (10 cm) away from
any objects.
• Do not touch the periphery of the exhaust vent,
especially screws and metallic part. These areas will
become hot while the LCD Projection TV is in use.
PRODUCT SAFETY FEATURES


