English
15
English
Installation
Powering On the Projector
1. Ensure that the power cable and signal cable are securely
connected. The POWER LED will turn orange.
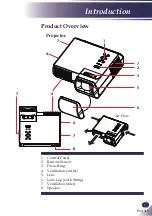
2. Remove the lens cap.
3. Turn on the lamp by pressing “
ON/STAND-BY
” on the
control panel.
The POWER LED will now flash green.
The startup screen will display in approximately 5 seconds.
When disappear startup screen, the POWER LED will turn
green.
4. Turn on your source (computer, notebook, video player,
etc.) The projector will detect your source automatically.
If you connect multiple sources at the same time, use the
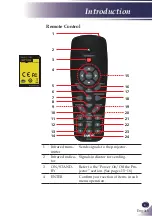
“INPUT” on the remote control or use “
COMPUTER 1”,
“
COMPUTER 2”, “S-VIDEO”, “VIDEO”, “HDMI”
on the
remote control to switch inputs.
Powering On/Off the Projector
Turn on the projector
first and then the signal
sources.
Note
Lens Cap
Power
1
2
Please adjust external
speaker volume to the
minimum before turn-
ing on the projector.
After the user presses
the power button and
green LED glitters, it
takes a little time for
the projector to project
the image.
Note
Summary of Contents for PDG-DWL100 - WXGA DLP Projector
Page 1: ...Multimedia Projector MODEL PDG DWL100 Owner s Manual ...
Page 63: ...KY5A ...


