Basic Operations
Changing Channels
Direct Accessing Channels
Press this button to switch between the current channel and the previous channel.
Press the number buttons to go directly to a channel.
To select a one-digit channel:
Input the channel number by using the 0-9 number buttons directly.
To select a two-digit channel:
Press -/-- to display “--” and then input the channel number by using the 0-9 number buttons.
To select a three-digit channel:
Press -/-- to display “---” and then input the channel number by using the 0-9 number buttons.
Note:
When you use the number buttons, You may directly select channels that were skipped.
Adjusting the Volume
Muting the Sound
Using the volume buttons (/-)
Press the or VOLUME- to increase or decrease the volume.
1
2
Using the Channel Buttons (C/-)
Using the RETURN button
Press the
C/-
to change channels.
When you press the /- , the unit changes channels in sequence. You will see all the channels that the unit has
memorized.
You will not see channels that were skipped.
Using the MUTE button
At any time, you can temporarily turn off the sound using the MUTE button.
Press the MUTE button and the sound turns off.
To turn mute off, press the MUTE button again.
19
Select Input Source Signal
1
1
TV-----------------Select TV signal.
Video ------------- select signal from Video terminal.
S-Video ----------- select signal from S-Video terminal.
SCART1 ---------select signal from 21-PIN SCART 1 interface.
SCART2 AV ----- select signal from 21-PIN SCART 2 interface.
SCART2 Y/C ----select SCART2 Y/C when viewing Y/C signal from 21-PIN SCART 2 interface.
YPbPr------------- select signal from YPbPr terminals.
D-Sub------------- select signal from D-Sub (15-pin D-sub) terminals.
HDMI------------- select signal from HDMI/DVI terminals.
Note:
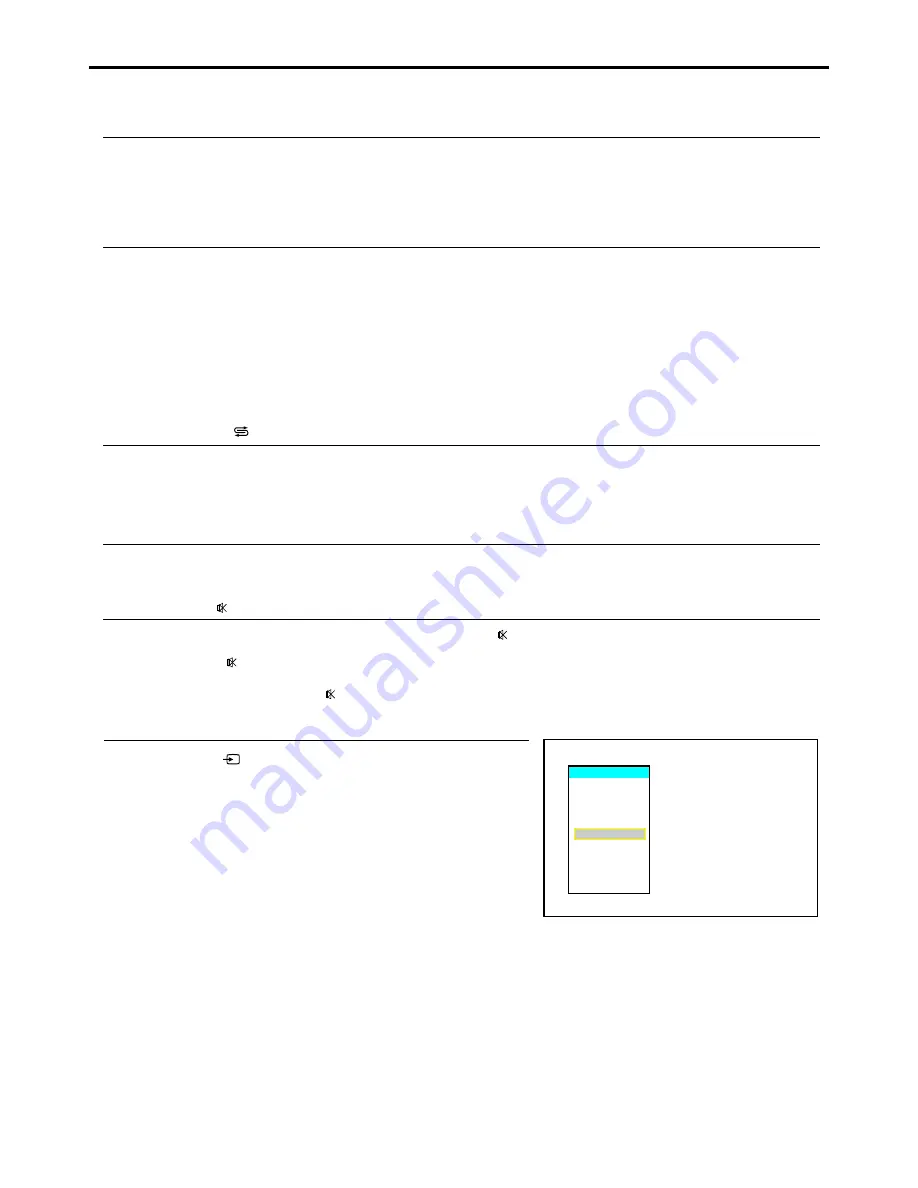
Press SOURCE to access source select menu.
Select Main Source
1. TV
2. Video
3. S-Video
4. Scart 1
6. Scart 2 Y/C
7. YPbPr
8. D-Sub
9. HDMI
5. Scart 2 AV
2
Push ENTER(Up/Down) to select a desired signal source.
You may directly press the relevant number button to select a desired
signal source.
3
Press ENTER to confirm.
=
when you select to view program from SCART2 and find the colour is not properly displayed, maybe the unit is receiving a Y/C
signal. To properly display the picture’s colour, please select Scart2 Y/C instead of Scart 2 AV.
=
When using 21-pin Scart Converter to connect to SCART 2 interface on the unit with your external devices, please select Scart 2
AV in source select menu.


