


1.
Press the FUNCTION button to select
“TAPE”.
2.
Press the STOP/EJECT button to open
the cassette holder.
3.
Load the cassette.
After loading the cassette, push the cas-
sette holder (PUSH TO CLOSE section)
back into position.
4.
Press the PLAY button to begin playback.
5.
Press the STOP/EJECT button to stop
playback at any time. Press it again to
remove the cassette.
When the end of the tape has been reached,
automatic stop will be activated.
Note:
-
Use the normal tape (TYPE 1).
-
Endless tapes cannot be used.
-
Do not use C-100 (or longer) tapes. They may jam in the mechanism.
Pause
Press the PAUSE button to temporarily stop playback or recording. Press
it again to resume operation.
Fast forward and rewind
Press the F FWD or REW button. When the desired location has been
reached, press the STOP/EJECT button.
LISTENING TO TAPES
Before use
When the unit is shipped from the factory, its AM frequency band is set as
“522 - 1710 kHz (in 9 kHz steps)”.
If your local AM broadcast system is organized in 10 kHz steps, change
the frequency band to “520 - 1710 kHz (in 10 kHz steps)” as follows.
1.
Press the power button to OFF.
2.
While pressing the TUNER/BAND button on the front panel, press the
power button to turn the power on.
To return the original setting, repeat steps above.
Automatic / Manual tuning
1.
Press the function button to select TUNER. The radio frequency
appears.
2.
Select the desired radio band with the TUNER/BAND button.
3.
Automatic tuning
Press the TU UP or TU DOWN button for at least 1 second to tune in
a station. The unit will scan up or down the band and receive the next
receivable station. Press the button again to continue.
-
The
e
or
f
button on the remote control can also be used.
Manual tuning
Press the TU UP or TU DOWN button briefly until the desired
frequency is displayed.
To preset stations
Up to 20 stations for FM band, 12 stations for AM band can be preset.
1.
Tune in the station to be preset as described above.
2. Press the MEMORY button.
LISTENING TO THE RADIO
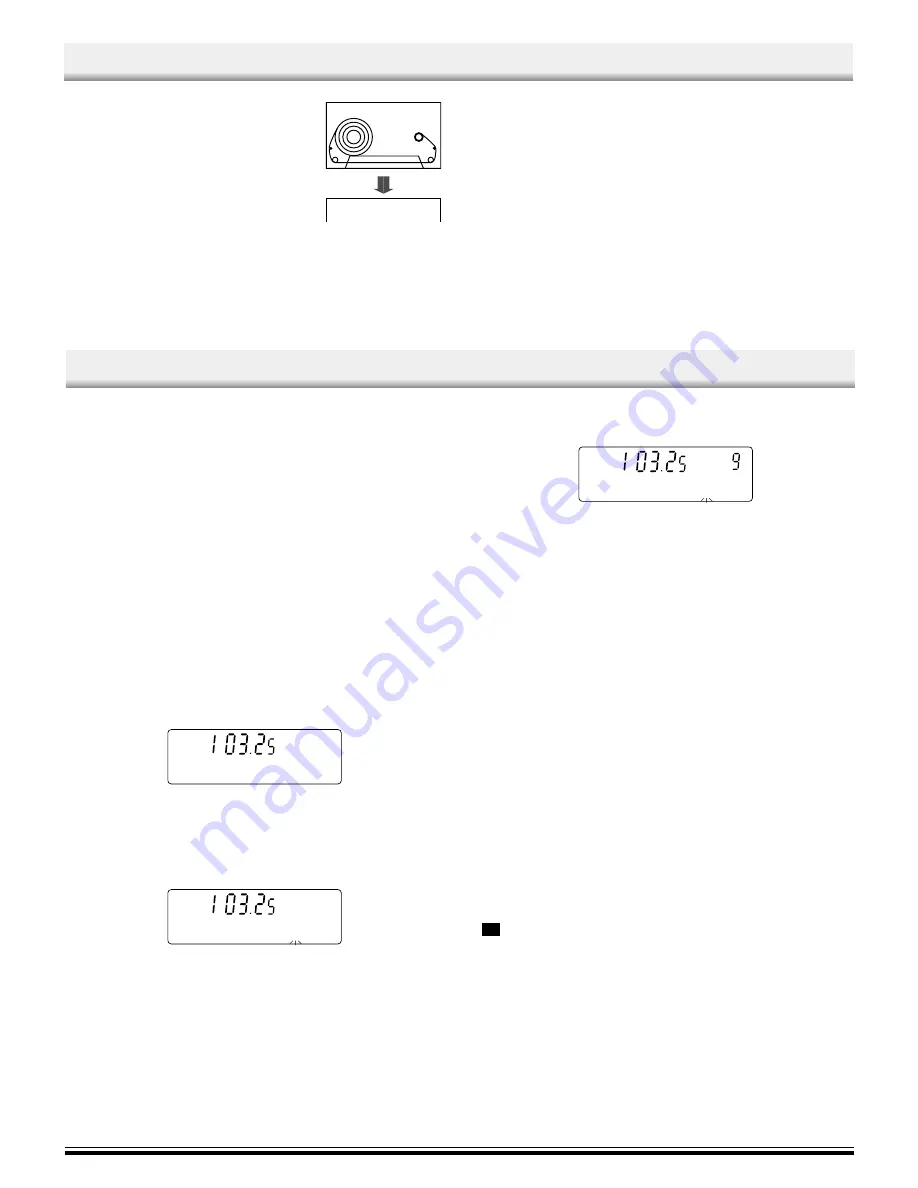
3.
While “PROG.” is blinking, press the PRESET button to select the
channel to be preset.
4.
While “PROG.” is blinking, press the MEMORY button. “PROG.”
disappears.
-
In this example, “103.25 MHz” FM station is preset on FM channel
9.
-
The number buttons on the remote control can also be used. In this
example, press 0, then 9 after the step 2 above.
5.
Repeat steps above to add more preset stations.
-
When presetting a new station, the previous preset station is
cleared.
Listening to preset stations
1.
Press the TUNER/BAND button to select FM, AM.
2.
Press the PRESET button on the front panel (or PRESET button on
the remote control) to select the desired channel number.
-
The number buttons on the remote control can also be used. Press
two number buttons within 2 seconds.
Presetscan tuning
1.
Select “TUNER” function and select the band.
2.
Press the PRESET button for at least 1 second. Each of the preset
stations is tuned in for 5 seconds.
3.
When the desired station has been tuned in, press the PRESET button
again to keep the reception locked at that station.
To receive FM stereo broadcasts
(Remote control only)
Make sure that “MONO” is not displayed. If “MONO” appears, press the
FM MODE button to turn the “MONO” indication off.
“
ST
” appears when an FM stereo broadcast is received.
-
If the signal from an FM stereo station is weak and reception is poor,
press the FM MODE button to change to the MONO mode. The
reception may be improved, but the sound will be monaural.
-5-
TR
PROG.
FM
MHz
CH
TR
PROG.
FM
MHz
CH
TR
MEM
FM
MHz
CH


