


Menu Operation
Setting menu
1
. Press the MENU button, then select “Setting” menu with
56
.
2
. Press
12
to display “Setting” menu.
3
. Select an item with
56
.
4
. Press
12
to set:
•
Child lock
(
On
,
Off
)
:
You can prevent that a small child operates television with the control
button of the TV set. When the power plug is pulled out, this function is
turned off.
•
OSD Language :
This is useful if you wish to change the On Screen Display language
(English, French, German, Italian, Spanish, Portuguese, Dutch or
Swedish).
•
AV1
: To choose VHS or S-VHS.
•
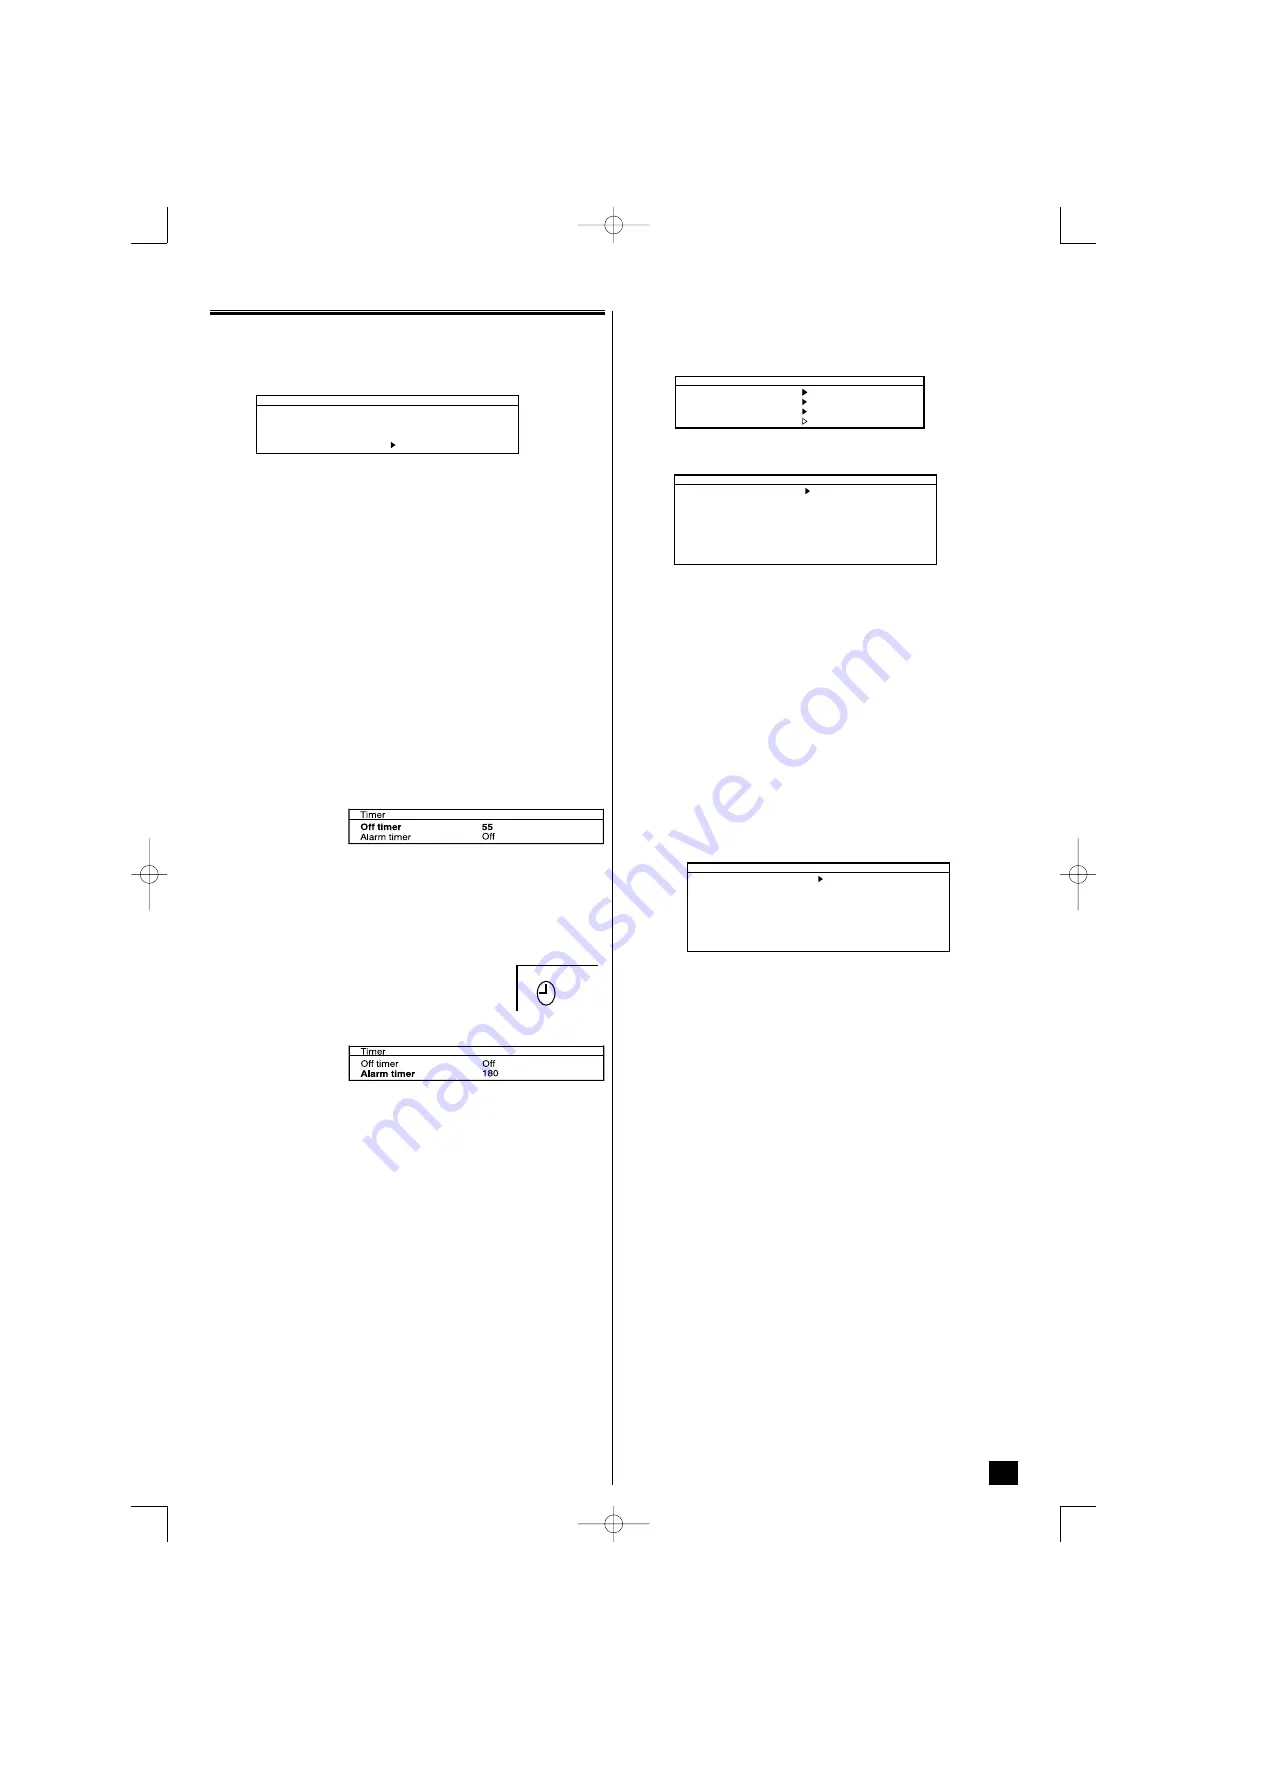
Off timer
:
The Off timer will switch the TV set into the standby mode when the selec-
ted time has elapsed.
1
. Select “Timer” in the Setting menu.
2
. Press
12
to display “Timer” menu.
3
. Select “Off timer” with
56
.
4
. Press
12
to set:
The time changes in 5 minutes steps.
The maximum time is 2 hours.
When the TV set is turned off, the Off Timer setting will be cancelled.
•
Alarm timer:
The alarm will ring for about 15 seconds when you
are watching the television and it reaches at the set-
up time.
1
. Select “Alarm timer” in the Timer menu.
2
. Press
12
to set.
The time changes in 1 minute steps.
The maximum time is 3 hours.
To stop the alarm sound and erase alarm mark, press one of the buttons
of the remote control or TV set.
If the power plug is pulled out, alarm timer is cancelled.
If the TV is switched off (in the standby mode) when the time set for the
Alarm has been reached, alarm setting will be cancelled.
5
. To exit the menu, press the
OK
button.
Preset Menu
The preset menu can be used to tune new channels, to re-order channels
and their programme positions, and to make fine adjustment to the tuning.
The preset menu is used for the following items:
Program sort
: To rearrange channel positions after Auto tuning.
Auto tuning
: To automatically search and store all receivable channels.
Frequency
: To manual search and add channels. To fine tune existing
channels.
Auto sort
1
. Press the
MENU
button, then select “Preset” menu with
56
.
2
. Press
12
to display “Preset” menu.
3.
Select “Auto sort” with
56
.
4
. Press the
OK
button
to start Auto tuning.
“Busy” changes into “OK?” after completing Auto tuning.
Auto sort can be cancelled at any time by pressing the
MENU
button.
5
. To exit the menu, press the
OK
button.
Manual Tuning (Frequency)
1
. Select “Program pos.” with
56
in the “Preset” menu.
2
. Select a programme position where you wish to preset a channel using
0-9
,
-/--
or
12
button.
3
. Select “Frequency” with
56
.
4
.
You can either
...
a)
Enter the frequency using the
0-9
buttons referring channel table.
b)
Press and hold
12
until the frequency starts scanning (about 5
seconds), scanning will stop when a channel is found. Keep pres-
sing
12
to retune the frequency. Repeat above until the correct
channel is found.
5
. Select “Memory” with
56
, and press the
OK
button to store your pre-
ferred channels.
"Program name"
: a name can be selected to make the identification of the
selected programme easier. 7 positions are available. To move from one
position to another the
12
buttons should be used. To change the cha-
racters within a position, the
56
buttons should be used. To quit this
option press
12
buttons when the cursor is in the first or last position
in the name.
6
. To exit the menu, press the
OK
button.
Setting
AV1
Child lock
OSD language
Off
English
Timer
Video
Preset
Program sort
Auto sort
Program pos.
Program name
Frequency
Skip
Memory
OK?
1
271.68 Mhz
Off
OK?
Setting
Picture
Preset
Sound
Main menu
Preset
Program sort
Auto sort
Program pos.
Program name
Frequency
Skip
Memory
OK?
1
2--.-- Mhz
Off
OK?
6
42251811.qxd 20/05/2005 19:06 PÆgina 7


