background image

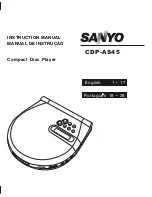
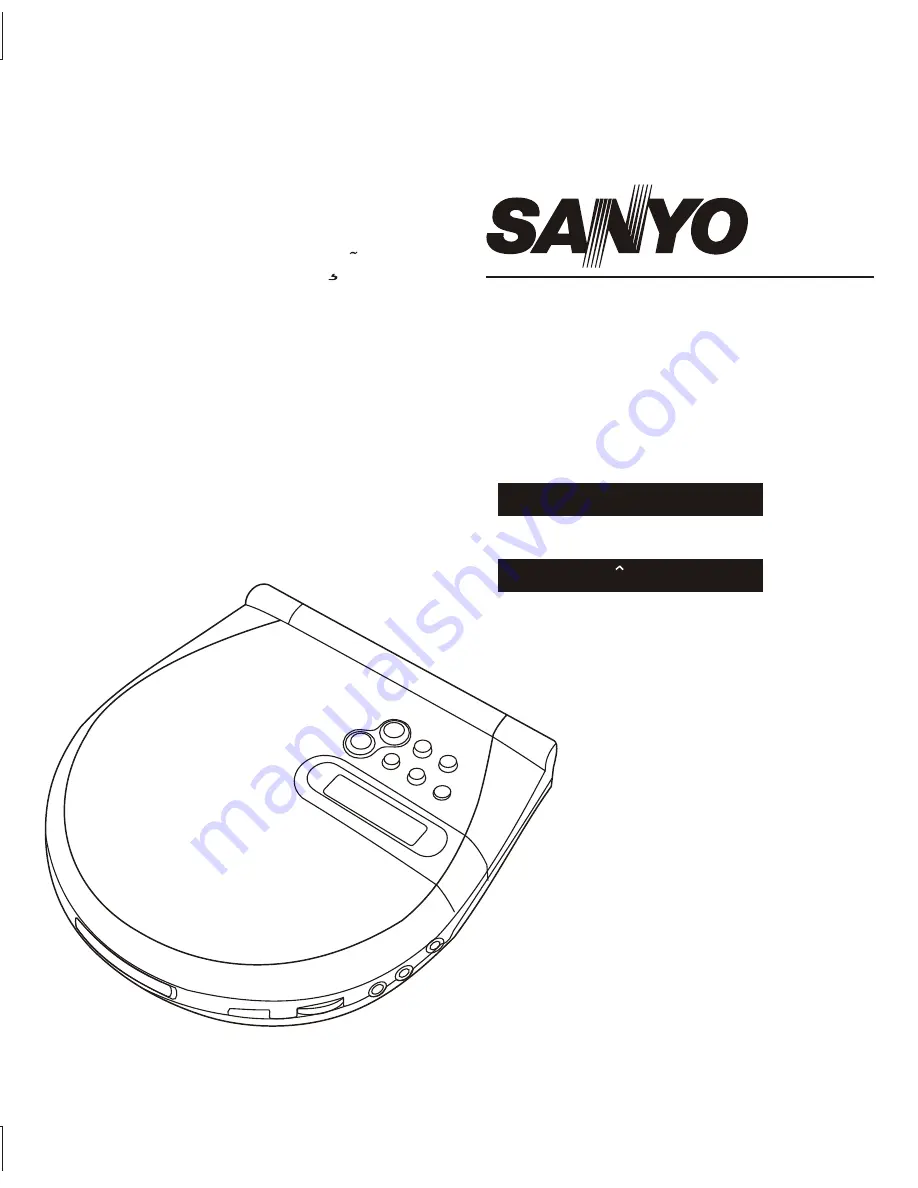
CDP-AS45

Compact  Disc  Player

INSTRUCTION MANUAL

English         1 ~ 17

Portugues  18 ~ 29

MANUAL DE  INSTRUCAO

Summary of Contents for CDP-AS45

Page 1: ...CDP AS45 Compact Disc Player INSTRUCTION MANUAL English 1 17 Portugues 18 29 MANUAL DE INSTRUCAO ...

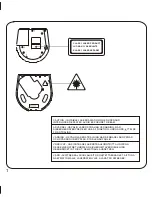
Page 2: ...TRALING VEDABNING NAR SIKKERHEDSAFBRYDERE ER UDE AF FUNKTION UNDGA UDS TTELSE FOR STRALING VARNING OSYNLIGLASER STRALNING NAR DENNADEL AROPPNAD OCH SPARRAR URKOPPLAD STRALENAR FARLIG VORSICHT UNSICHTBARE LASERSTRAHLUNGTRITT AUS WENN DECKEL GEOFFNET UNDWENN SICHERHEITSVERRIEGELUNG UBERBRUCKT IST NICHT DEMSTRAHL AUSSETZEN VARO AVATTAESSA JASUOJALUKITUS OHITETTAESSAOLET ALTTIINA NAKYMATTOMALLE LASERS...

Page 3: ...CHADELIJKE STRALINGEN VARNING OM APPARATEN ANVANDS PA ANNAT SATT AN VAD SOM BESKEIV I DENNA BRUKSANVISNING KAN ANVANDAREN UTSATTAS FOR OSYNLIG LASERSTRALNING SOM OVERSKRIDER GRANSEN FOR LASERKLASS I VAROITUS LAITTEEN KATTAMINEN MUULLA KUIN TASSA KAYTTOOHJEESSA MAINITULLA TAVALLA SAATTAA ALTISTAA KAYTTAJAN TURVALLISUUSLUOKAN I YLITTAVALLE NAKYMATTOMALLE LASERSATEILYLLE CAUTELA L USO DI COMANDI AGGI...

Page 4: ...9 336 et avec la directive BT 73 23 Dit toestel is in overeenstemming met EMC richtlijn 89 336 en met LVD richtlijn 73 23 Detta set uppfyller EMC direktivet 89 336 och lagspanningsdirektivet 73 23 Questo set aderisce alle direttive EMC 89 336 e alle direttive LVD 73 23 Este aparato cumple con la Directiva EMC 89 336 y con la Directiva LVD 73 23 Este conjunto satisfaz a Directiva EMC 89 336 e a Dir...

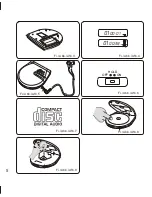
Page 5: ...Fi Abb Afb 1 Fi Abb Afb 2 4 1 2 3 4 5 6 7 8 9 10 11 12 14 15 16 13 ...

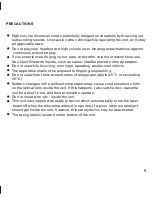
Page 6: ...01 00 01 01 00 38 Fi Abb Afb 4 Fi Abb Afb 3 HOLD ON OFF Fi Abb Afb 6 Fi Abb Afb 7 Fi Abb Afb 8 Fi Abb Afb 9 5 Fi Abb Afb 5 ...

Page 7: ...ized vehicle The apparatus shall not be exposed to dripping or splashing o Do not use where there are extremes of temperature below 5 C or exceeding o 35 C Sudden changes in the ambient temperature may cause condensation to form on the optical lens inside the unit If this happens take out the disc leave the unit for about 1 hour and then proceed to operate Do not insert pins etc inside the unit Th...

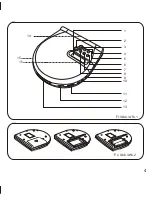
Page 8: ...DAS 6 Play mode button MODE 7 Programme button PROG 1 Display 14 External DC socket DC 4 5V 16 Battery compartment bottom 3 Play Pause button 2 Stop button 4 Skip Search button 5 Skip Search button 10 Headphones socket PHONES 11 Volume control VOLUME 15 Hold switch OFF ON 9 Line out jack LINE OUT ...

Page 9: ...teries disconnected Alkaline batteries Install two R6 AAbatteries not supplied as shown in Fig 3 Observe proper polarity Battery replacement If the battery weak and discharged blinks on the display then the power automatically turns off If this occurs replace the batteries Dispose of all used batteries safely and in accordance with all applicable laws Note When you are not going to use the unit fo...

Page 10: ...tening during walk or playing in a car When the button is pressed first time the anti rolling shock function turns on automatically appears on the display The changes to when the buffer memory is full of next 10 seconds music data Fig 4 Note Press the DAS button to turn the anti rolling shock function off disappears Press the button again to turn it on Sound may skip or mute for a few seconds when...

Page 11: ...he button is pressed accidentally HOLD appears briefly on the display To prevent play from being interrupted Set the HOLD switch to the on position Fig 6 after starting play HOLD appears If the operating buttons do not function when pressed 1 Check whether the HOLD switch is on or not 2 Remove the batteries and or disconnect the AC adaptor from the unit Wait a few seconds then reinstall the batter...

Page 12: ...or write anything on the disc surface Handle the disc by its edge Do not touch the playing surface of the disc with a soft cloth Fingerprints and dust should be carefully wiped off the playing surface of the disc with a soft cloth Wipe in a straight motion from the center to the outside of the disc Never use chemicals such as record cleaning sprays antistatic sprays or fluids benzene or thinner to...

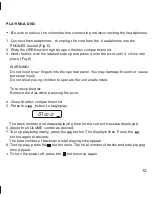
Page 13: ...r cause personal injury Do not allow young children to operate the unit unattended To remove the disc Remove the disc while pressing the pivot 4 Close the disc compartment lid 5 Press the button to begin play The track number and elapsed playing time for the current track are displayed 6 Adjust the VOLUME control as desired 7 To stop play temporarily press the button The display blinks Press the b...

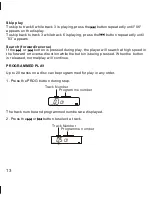
Page 14: ... during play the player will search at high speed in the forward or reverse direction while the button is being pressed When the button is released normal play will continue PROGRAMMED PLAY Up to 20 tracks on a disc can be programmed for play in any order 1 Press the PROG button during stop The track number and programmed number are displayed 2 Press the or button to select a track 01 01 Track Num...

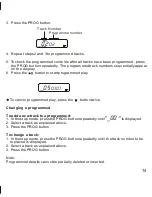
Page 15: ...y press the button twice Changing a programmed To add a new track to a programmed 1 In the stop mode press the PROG button repeatedly until is displayed 2 Select a track as explained above 3 Press the PROG button To change a track 1 In the stop mode press the PROG button repeatedly until the track number to be replaced is displayed 2 Select a track as explained above 3 Press the PROG button Note P...

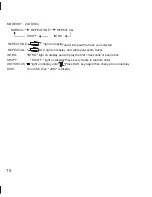
Page 16: ...ected REPEATALL ALL light on display and will repeat entire tracks INTRO INTRO light on display and will play the first 10 seconds of each track SHUFF SHUFF light on display Plays every tracks in random order ANTI SHOCK light on display until Press DAS key again then change to normal play DISC If no diSC then diSC is display ...

Page 17: ...s on the disc are played in shuff order To cancel shuff play press the MODE button once CLEANING Cleaning the pickup lens Dust on the pickup lens can lead to erratic operation and interruption of the sound during play To clean the pickup lens open the disc compartment lid Blow the dust off of the lens using a camera lens blower available at most camera stores Fig 9 Do not touch the surface of the ...

Page 18: ... Pickup wave length 790 nm Laser output 0 5 mW continuous wave max Terminal impedance PHONES 16 32 ohms Power source DC 4 5V AC adaptor DC 3V R6 AAx 2 2 4V Ni Cd battery NBP 50B or R6 AAx 2 Dimensions 128 x 28 5 x137 mm W x H x D Weight Approx 200 g without batteries Specifications subject to change without notice SPECIFICATIONS 17 ...

Page 19: ...SANYO ELECTRIC CO LTD OSAKA JAPAN ...

Reviews: