


25
To set the V-Chip
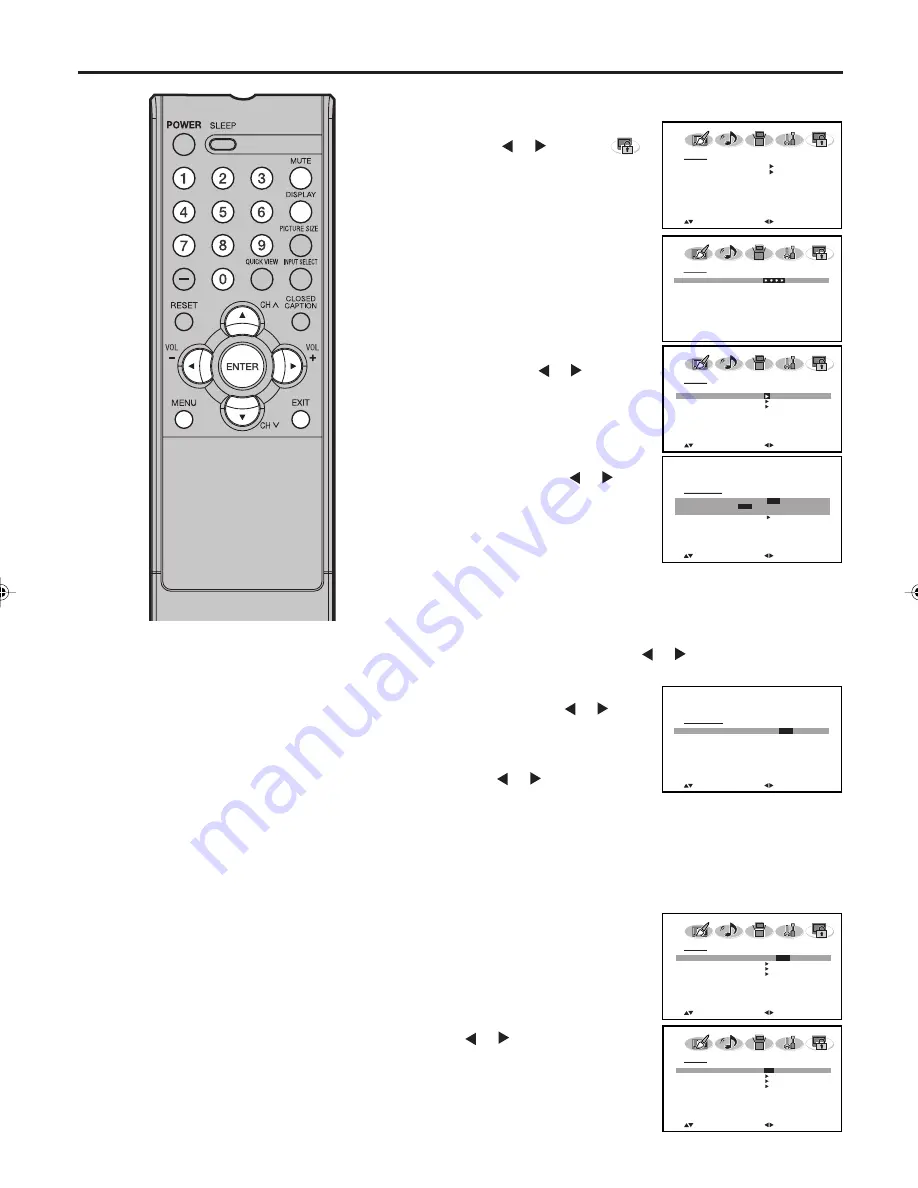
1
Press
MENU
.
Then press
or to select
(LOCKS) menu.
2
Press
▲
or
▼
to display the
password entering mode.
Use
Number buttons (0-9)
to
enter your password, then press
ENTER
. The LOCKS menu appears.
3
Press
▲
or
▼
to select “V-CHIP
SET”, then press
or . The V-
CHIP SET menu appears.
4
Press
▲
or
▼
to select “TV
RATING”. Then press
or to
display the desired rating.
OFF
:
TV RATING is not set
TV-Y
:
All children
TV-Y7
:
7 years old and above
TV-G
:
General audience
TV-PG
:
Parental guidance
TV-14
:
14 years old and above
TV-MA :
17 years old and above
• When you select TV-Y7, TV-PG, TV-14 or TV-MA, press
DISPLAY
to explain the rating. Press
▲
or
▼
to select the
desired rating you want. Press
or to select the setting
“ON” or “OFF”.
To use the TV after the TV is
protected.
When a program is received that is
blocked by the V-Chip, press
MUTE
and enter the password, then press
ENTER
. When the password is
entered correctly the protection will
be temporarily overridden. If the TV
is turned off, or the channel is
changed the V-Chip restriction will
be reactivated.
NOTES:
•
The V-Chip function is activated
only on programs and input
sources that include a rating
signal.
•
The V-CHIP SET (DTV) will only
be selectable when the TV
receives a digital broadcast using
the new rating system. It may take
several minutes for the initial V-
Chip Set-up to complete. At this
time some stations are still
developing this signal, in those
cases the V-CHIP SET (DTV) will
not function.
Setting the V-Chip
5
Press
▲
or
▼
to select “MOVIE
RATING”, then press
or . The
RATING SET menu appears.
6
Press
▲
or
▼
to select a rating,
then press
or to select ON or
OFF for each rating.
G
:
All ages
PG
:
Parental guidance
PG-13
:
Parental guidance less than 13 years old
R
:
Under 17 years old Parental guidance suggested
NC-17
:
17 years old and above
X
:
Adult only
7
Press
ENTER
twice to return to
the LOCKS menu, then press
▲
or
▼
to select “V-CHIP”.
8
Press
or to select “ON”.
Your settings are now set into
memory.
9
Press
EXIT
to return to the normal
screen.
L O C K S
PA S S W O R D
[ 0 - 9 ] : S E L E C T
E N T E R : S E T
E X I T : E N D
V- C H I P S E T
T V R AT I N G
O F F
O F F
/ T V- Y / T V- Y 7 / T V- G
T V- P G / T V- 1 4 / T V- M A
M O V I E R AT I N G
: S E L E C T
: A D J U S T
: A D J U S T
: S E L E C T
R AT I N G S E T
G
O N /
O F F
P G
O F F
P G - 1 3
O F F
R
O F F
N C - 1 7
O F F
X
O F F
L O C K S
V- C H I P
O F F
V- C H I P S E T
V- C H I P S E T ( D T V )
N E W PA S S WO R D
: S E L E C T
: A D J U S T
L O C K S
V- C H I P
O N /
O F F
V- C H I P S E T
V- C H I P S E T ( D T V )
N E W PA S S WO R D
: S E L E C T
: A D J U S T
L O C K S
V- C H I P
O N
/ O F F
V- C H I P S E T
V- C H I P S E T ( D T V )
N E W PA S S WO R D
: S E L E C T
: A D J U S T
L O C K S
V- C H I P S E T
N E W PA S S W O R D
: S E L E C T
: A D J U S T
31R0101C_En_p24-27
07.3.20, 6:27 PM
25


