6
GB
Configuration
Connecting your radio to your computer network
1. Place your radio on a flat surface and plug the mains lead into the mains socket located on the
rear of your radio ensuring that the plug is pushed fully into the socket.
2. Plug the other end of the mains lead into the wall socket and switch on the wall socket.
IMPORTANT:
The mains plug is used as the means of connecting the radio to the mains supply.
The mains socket used for the radio must remain accessible during normal use. In order to
disconnect the radio from the mains completely, the mains plug should be removed from the
mains socket outlet completely.
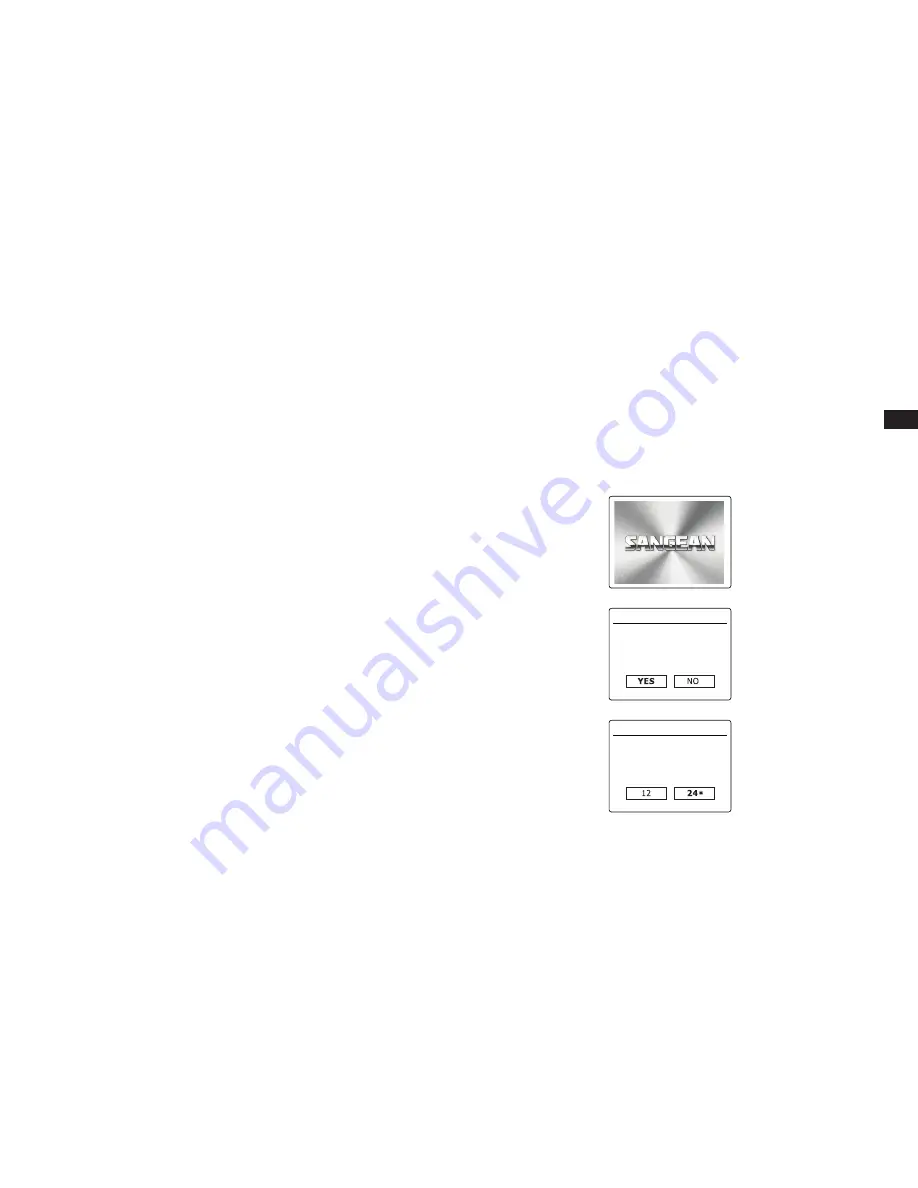
3. When you apply power, the display on the radio will light up and say: 'SANGEAN'. The first
time that you use your radio (or after Factory Reset) the display will show “Setup wizard” and
“YES” will be highlighted on the screen. Press the
Tuning Control Rotary
to start the setup
wizard. The screen will ask if you wish to run the setup wizard again at the next start up. This
will lead to the main menu.
4. Rotate the
Tuning Control Rotary
to highlight the desired clock format (either 12 or 24 hour)
then press the
Tuning Control Rotary
to enter your selection. A menu allowing you to specify
the auto update option for the clock will appear on the display. The default of ‘Update from
Network’ will be the best option for most users.
5. Rotate the
Tuning Control Rotary
to choose an auto-update option for the clock. This can
be updated from DAB or FM radio, from the Network, or not updated. The default is to auto
update from the network. If you choose any other option, go to step 8. Otherwise you will first
need to select the correct time zone and daylight savings setting, see steps 6 and 7. If you
choose “No update” you will need to set the clock manually later( see the section of ‘Manually
setting the clock’). Press the
Tuning Control Rotary
to confirm your choice.
6. Rotate the
Tuning Control Rotary
to highlight the time zone which is applicable to your
location. Press the
Tuning Control Rotary
to enter the setting.
7. You will then need to set the Daylight Savings option according to your location (Daylight
Savings is also known as Summer/Winter time ). Rotate the
Tuning Control Rotary
to
highlight “YES” to turn on daylight savings if required or ‘NO’ if you do not wish to use daylight
savings then press the
Tuning Control Rotary
to confirm the setting.
WELCOME TO
DIGITAL RADIO
Start now?
Setup wizard
12/24 hour format
Date/Time
Summary of Contents for WFR-70
Page 1: ...GB WFR 70 Version 1...


