7
How to Use the Printer
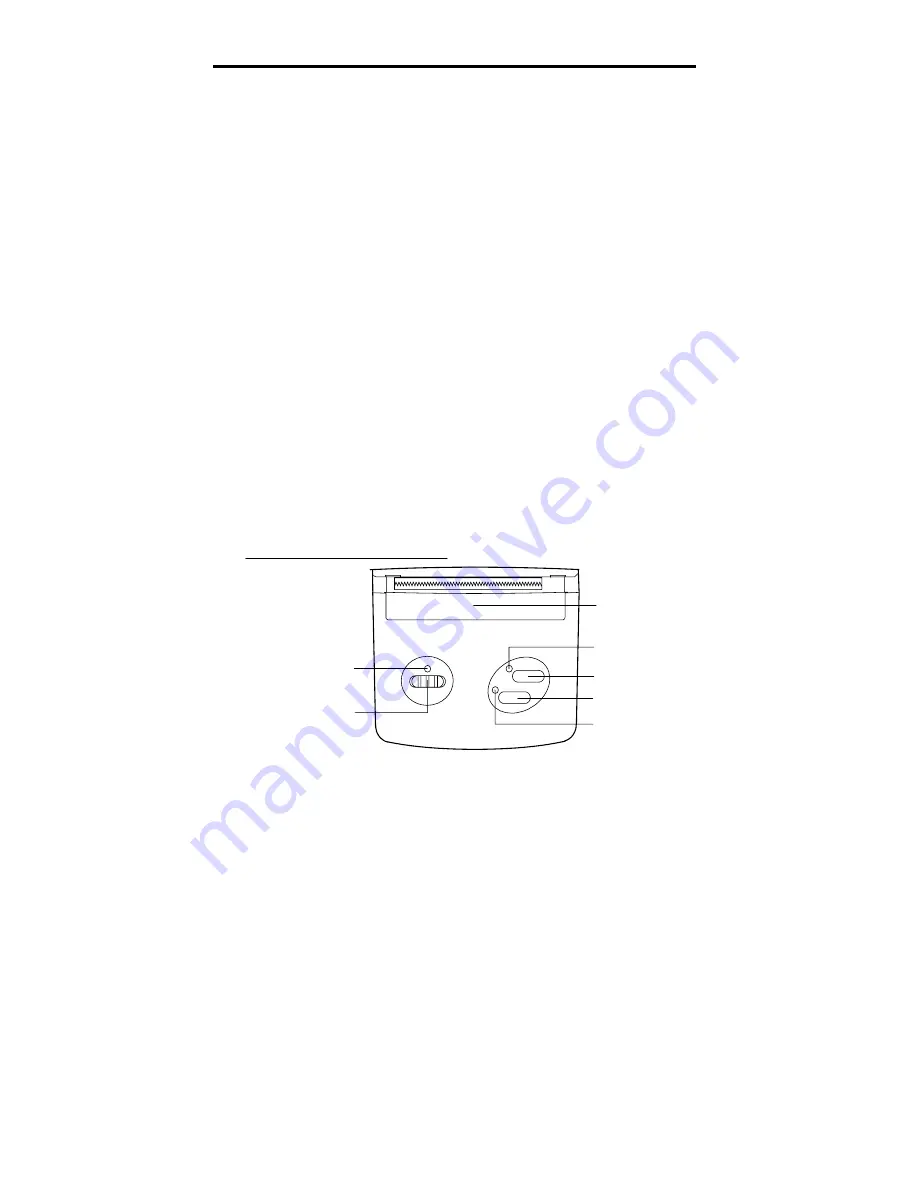
1. Description of the operation sections
(1) Power switch (slide type)
Setting the switch to ON turns on the power. The POWER LED goes on.
(2) POWER LED (green)
Turning on the power turns on the LED.
(3) SELECT switch
Changes over the ONLINE/OFFLINE status.
To temporarily stop printing, press this switch to establish the OFFLINE status.
(The SELECT LED goes off.) Pressing this switch again establishes the ONLINE
status (The SELECT LED goes on) and printing is restarted.
Note: The FEED switch functions are enabled at the OFFLINE status.
Also note: If the power is turned on with the switch pressed, the hexadecimal
dump printing mode is established.
(4) FEED switch
When you press this switch at the OFFLINE status, paper will be continuously
fed.
Note: If the power is turned on with the switch pressed, test printing is performed
(5) SELECT LED (green)
The LED goes in green when the ONLINE status is established. At the OFFLINE
status, it goes off.
Note: When the LED is turned on at the ONLINE status, it indicates that the
printer is ready for printing data (except when test printing is in progress.)
(6) PAPER END LED (red)
The LED goes on with paper roll not found.
(7) Paper cutter
This cuts off the paper sheets.
Note: By pulling up on paper, you can cut off a sheet.
POWER
OFF
ON
FEED
SELECT
⑤SELECT LED
①POWER switch
④FEED switch
③SELECT switch
⑥PAPER END LED
②POWER LED
⑦Paper cutter
Name of the operation sections
PE
Summary of Contents for Printy 3 BL-80RS II
Page 27: ...24 NOTE...
Page 28: ...25 NOTE...


