background image

57

TIME CONTROL

56

Setting the Environment

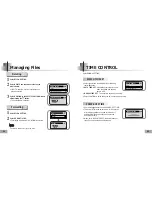
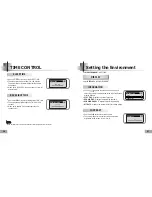
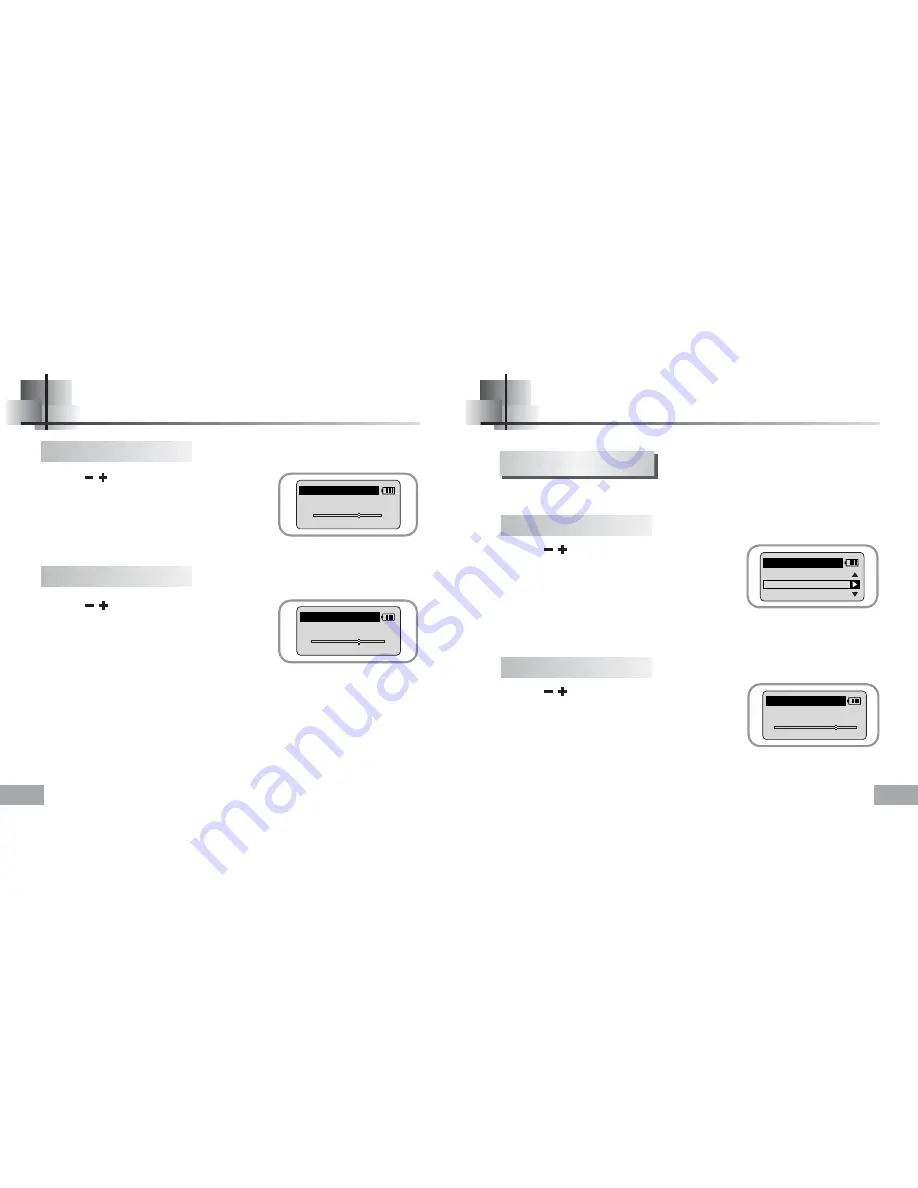
Use the      ,      buttons to set the SLEEP TIME.

The sleep time can be set from 3 to 180 minutes. 
The power turns off automatically after the set time 
has passed.

When set to NO SLEEP, the power does not turn off
automatically.

SLEEP TIME

1 5 0     m i n

BACKLIGHT TIME

1 5     s e c

Use the      ,      buttons to set the Backlight “ON” time. 

The setting range for Backlight-On Time is 0 to 30 
seconds.

When set to Always On, the backlight stays on 
continuously.

N

N

N

N

o

o

o

o

tt

tt

e

e

e

e

The backlight does not illuminate when the residual battery level is insufficient. 

SLEEP TIME

BACKLIGHT TIME

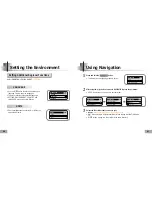
Use the      ,     buttons to select the music mode and 
select the content to be displayed at the top of the Screen
Display Window.

PLAY TIME

:

Displays the current play time

REMAIN TIME

:

Displays the remaining play time

REMAIN MEMORY

:

Displays the remaining memory

BIT RATE

:

Displays the wave bit rate that is being played

INFORMATION

EXIT

PLAY TIME

REMAIN TIME

Select 

ENVIRONMENT

in SETTING.

Select 

DISPLAY

in the ENVIRONMENT.

DISPLAY

INFORMATION

CONTRAST

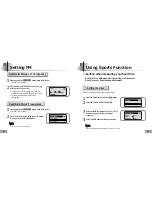
Use the      ,     buttons to set the Contrast.  

The setting range for the contrast, which adjusts the 
brightness of the screen, is from 0 to 15.

CONTRAST

11

Summary of Contents for yepp Sports 20051027152744500

Page 1: ...ding function 15 hours of continuous play AH68 01467F Rev 0 0 SAMSUNG ELECTRONICS CANADA INC HEADQUARTERS 7037 Financial Drive Mississauga Ontario Canada L5N 6R3 TEL 1 905 542 3535 www samsung ca SERVICE DIVISION 7037 Financial Drive Mississauga Ontario Canada L5N 6R3 1 800 SAMSUNG 1 800 726 7864 ...

Page 2: ...ONTROL 58 WOW LEVEL 58 ENCODE BIT RATE 59 BEEP ON OFF DEFAULT VOLUME 59 Setting Additional Regional Functions 60 LANGUAGE UNIT 60 Using Navigation 61 Setting FM 62 Using Sports Function 63 Appendix MENU Table 68 Customer Support Troubleshooting 70 Specifications 72 Safety Information 74 Warranty 76 Preparations Safety Instructions 4 Battery Charger Safety 6 Cautions for Recharging 7 Features 8 Acc...

Page 3: ...lene etc and does not use any unnecessary materials Ambient temperature 5 C 35 C 41 F 95 F Humidity 10 75 Read and understand all the instructions to avoid injury to yourself and damage to the equipment Please be aware that we claim no responsibility for damage from data loss due to breakdown repair or other causes Do not expose to extreme temperatures above 95 F or below 23 F Do not expose to moi...

Page 4: ...ger than the specified charge time to avoid risk of fire Do not plug several devices into the same outlet Do not use a damaged internal rechargable battery or recharge adapter When using the rechargeable battery for the first time or after several months of non use fully charge it first Do not charge the rechargeable battery for more than 6 hours Overcharging or overdischarging will reduce battery...

Page 5: ...e from an external source using the ENC jack on the main unit You can also convert an FM radio program into an MP3 file in real time 3D surround sound You will hear deep bass and 3D surround sound is a trademark of SRS Labs Inc WOW technology is incorporated under license from SRS labs Inc MP3 WMA Playback MP3 is an MPEG1 Layer3 audio format WMA is a Microsoft Windows Media audio format 8 9 ...

Page 6: ...or up to 15 hours Player Earphones USB cable Charger User manual The capacity of the useable built in memory is less than indicated as the internal firmware uses a part of the memory as well Design of accessories is subject to change for the purposes of improvement without notice Model Built in memory YP 60 H 128MB YP 60 V 256MB YP 60 X 512MB YP 60 Z 1GB Installation CD Earphone extension cable Li...

Page 7: ...sor 001 Track 1 Nor 07 32 NOR A M 0 0 0 1 3 0 Title track artist indicator Track Number indicator Mode indicator Play mode Interval repeat indicator Calorie Measurement Indicator Equalizer SRS indicator Time indicator Remaining Battery Power indicator Play Stop Pause indicator Folder Play Indicator Sleep Time indicator Playtime indicator Display N N N No o o ot t t te e e e If the device won t res...

Page 8: ...quirements The PC system must meet the following specifications Pentium 133MHz or greater Windows 98 SE ME 2000 XP 40MB of available hard disk space CD ROM drive double speed or greater USB port 1 1 supported VGA graphics DirectX 8 0 or above Continued N N N No o o ot t t te e e e Windows ME 2000 and XP can recognize the driver without installing the provided program However you must install the p...

Page 9: ...stalled with a message saying that it is searching for a new device You may not see the display screen during installation Go to the device manager to check that installation has been successfully completed 6 USB connect cable How to check the USB driver Windows 98 ME Control Panel System Device Manager Disk drives SAMSUNG YP 60 Windows 2000 Control Panel System Hardware Device Manager Disk drives...

Page 10: ...anel System Hardware Device Manager Windows XP Control Panel System Hardware Device Manager 1 Check if there is a device listed with an exclamation point or a question mark displayed as unknown device or USB device 2 Double click on the device listed with an exclamation point or a question mark 3 After selecting the driver click on Update Driver 4 Select a compatible driver click on Next to finish...

Page 11: ...ovable media or select Include this location in the search and designate CDROM Drivers win2k_winxp For example E Driver win2k_winxp 2 Click the Finish button when installation is complete 3 You must reboot your computer to complete the installation In Windows XP Manual Installation of the USB Driver ...

Page 12: ...nstallation Select Specify a location and then select CD ROM Drivers win2k_winxp Select Specify a location and then select CD ROM Drivers win98_winme Click Next in the series of windows that appear Click Next in the series of windows that appear In Windows 2000 In Windows 98 Manual Installation of the USB Driver ...

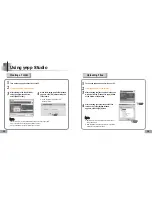
Page 13: ...d files to the Music folder in the yepp window or click the Transmit to yepp button to move the files 5 When the Download List Window appears click the button The selected files are sent to the yepp You can change to the desired font when downloading N N N No o o ot t t te e e e Refer to Help for more detailed information about using yepp Studio When running the yepp Studio for the first time inpu...

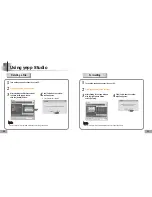
Page 14: ...p Studio Albums can only be downloaded to the Music folder 1 Click the button on the Download List Window 2 After selecting the Limit BitRate first move scroll bar with mouse to adjust the file size 3 Click the button Files converted to 2xMP3 are sent to the yepp N N N No o o ot t t te e e e Refer to Help for more detailed information about using yepp Studio Limit Bitrate means the minimum sound q...

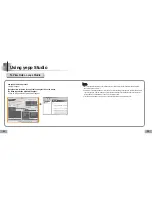
Page 15: ...formatted files that are in the Music folder are not uploaded to the PC 1 Turn on the yepp and connect it to your PC 2 Click yepp Studio on the desktop 3 After clicking in the Music folder using the right mouse button select Make Folder 4 When the Making New Folder Window appears click OK after entering the folder name A new sub folder is created under the Music folder N N N No o o ot t t te e e e...

Page 16: ...eleted N N N No o o ot t t te e e e Refer to Help for more detailed information about using yepp Studio 1 Turn on the yepp and connect it to your PC 2 Click yepp Studio on the desktop 3 After clicking in the yepp window with the right mouse button select Format 4 Click Yes when the confirm window appears N N N No o o ot t t te e e e Refer to Help for more detailed information about using yepp Stud...

Page 17: ...o ot t t te e e e Music recognition technology and related data are provided by Gracenote and Gracenote CDDB Music Recognition ServiceSM CDDB is a registered trademark of Gracenote The Gracenote logo and logotype the Gracenote CDDB logo and logotype and the Powered by Gracenote CDDB logo are trademarks of Gracenote Music Recognition Service and MRS are service marks of Gracenote If a firewall is i...

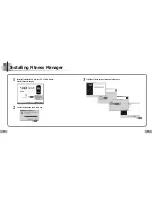
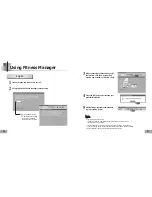
Page 18: ...35 34 Installing Fitness Manager 1 Insert the Installation CD into your PC s CD ROMdrive Select Fitness Manager 2 Choose the language you wish to use 3 Click Next in the series of windows that appear ...

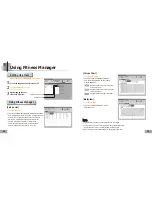
Page 19: ... create a new username of 6 letters or less Log In Set a nickname for the YP 60 that you are using No more than 6 English characters can be entered N N N No o o ot t t te e e e Input up to six English letters In order to upload the measured data that was saved on the device to a PC yepp Studio must be installed If Fitness Manager is run after connecting the device to the PC the measured data saved...

Page 20: ...ys the contents that a user enters Setting Up a New User Deleting a User Setting Up a User Using Fitness Manager Click Calorie Chart You can check the calories consumed as a result of exercise in units of years months and days Calorie Chart Click Biorhythm You can check the biorhythm of the selected user Biorhythm N N N No o o ot t t te e e e If Edit Profile is clicked personal information can be ...

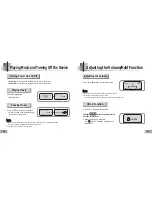
Page 21: ...sed the HOLD message will appear on the display Press the button Playback starts Power On Press and hold the button to turn on the power Power Off Press and hold the button to turn off the power Press the button to pause playback While in Pause mode briefly press again to resume playback N N N No o o ot t t te e e e WMA files can be played only as music files with a compression rate of 64Kbps 192K...

Page 22: ...s are pressed when stopped the yepp moves to the previous or next track respectively To change tracks when stopped 1 Connect the Audio Output port on the external audio source or the Line Out port to the ENC port on the device with the Line in cable 2 If the ENC button is pressed MP3 encoding begins If the button is pressed encoding is paused and if the button is pressed again the encoding resumes...

Page 23: ...utton during FM reception Encoding of the currently transmitted FM broadcast begins 2Press the ENC button again A file is created and the encoding stops Files are saved in order starting FM001 FM002 etc and stop automatically when the memory is full N N N No o o ot t t te e e e During encoding there is no beeping sound and the button lights and back light do not illuminate Encoded files will becom...

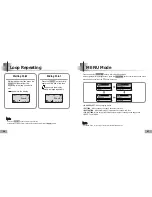
Page 24: ... Track 1 Nor 07 32 A B A M 0 0 0 1 3 8 MODE SELECT When changing modes SETTING When changing the yepp s advanced functions NAVIGATION When performing a simple search for saved music files FM SETTING When saving frequencies automatically or checking saved frequencies EXIT To exit MENU N N N No o o ot t t te e e e In MENU mode no input for 30 seconds will cancel the MENU mode Press and hold the butt...

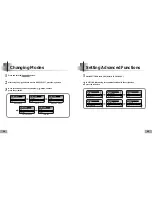
Page 25: ...CT press the button 3 Move to the mode you want by using the button and then press the button Music Mode FM ENC Mode FM Mode EXIT LINE ENC Mode 1 Select SETTING in the MENU Refer to MENU Mode 2 In SETTING after moving to the desired function with the button press the button SETTING EXIT FOLDER PLAY PLAY MODE SETTING ENVIRONMENT EXIT FOLDER PLAY SETTING TIME ENVIRONMENT EXIT SETTING FILE TIME ENVIR...

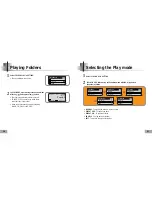
Page 26: ... or LINE ENC 001 Track 1 Nor 07 32 NOR A M 0 0 0 1 3 0 FOLDER PLAY MUSIC F Love You LOCK PLAY MODE EXIT NORMAL REPEAT ONE PLAY MODE NORMAL REPEAT ONE REPEAT ALL PLAY MODE REPEAT ONE REPEAT ALL SHUFFLE PLAY MODE REPEAT ALL SHUFFLE EXIT PLAY MODE SHUFFLE EXIT NORMAL 1 Select PLAY MODE in SETTING 2 In PLAY MODE after moving to the desired mode with the button press the button NORMAL To play all the t...

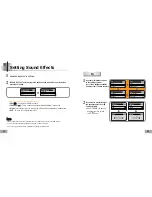
Page 27: ...ASS TREBLE 6 5 EQ You can adjust the equalizer manually SRS You will hear 3D Stereo sound TRUBASS This is a bass boost feature that adds fullness to the sound WOW This feature allows you to enjoy the SRS and Trubass features simultaneously EXIT To move to the higher level menu EQ 2 If you want to manually adjust the equalizer select User EQ and Bass Treble BASS TREBLE can each be adjusted from 0 t...

Page 28: ... t t te e e e All files are deleted if the yepp is fomatted Select the method of setting the clock time using the button AUTO TIME SET Automatically sets the clock time when connected and sending data to a PC MANUAL TIME SET The clock time can be set manually Select CONFIRM to finish setting the time after setting manually Use the buttons to set the POWER OFF TIME The power off time can be set fro...

Page 29: ... The backlight does not illuminate when the residual battery level is insufficient SLEEP TIME BACKLIGHT TIME Use the buttons to select the music mode and select the content to be displayed at the top of the Screen Display Window PLAY TIME Displays the current play time REMAIN TIME Displays the remaining play time REMAIN MEMORY Displays the remaining memory BIT RATE Displays the wave bit rate that ...

Page 30: ... the desired MP3 encoding bit rate You can set the desired bit rate to 64kbps 96kbps or 128kbps when doing MP3 encoding ENCODE BIT RATE 96 kbps ENCODE BIT RATE Use the buttons to set the BEEP mode BEEP ON A beep sounds each time a button is pressed BEEP OFF No beep sounds when a button is pressed BEEP ON OFF ON OFF DEFAULT VOLUME 22 Use the buttons to set the DEFAULT VOLUME It is possible to set t...

Page 31: ... LANGUAGE UNITS Using Navigation 1 Press and hold the button The file that is currently being played is shown 2 After using the button to move to NAVIGATION press the button If EXIT is selected you can move to another folder NAVIGATION EXIT 001 Track 1 MP3 002 Track 2 MP3 NAVIGATION 002 Track 2 MP3 EXIT 001 Track 1 MP3 NAVIGATION EXIT MUSIC Love You NAVIGATION EXIT 001 Track 1 mp3 002 Track 2 mp3 ...

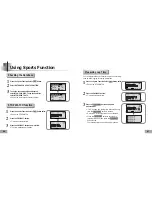
Page 32: ...the desired FM CHANNEL Searching Stored Frequencies N N N No o o ot t t te e e e You can store up to 20 frequencies Using Sports Function 1 Press the Sports Function Select button 2 Select PROFILE in SPORTS FUNCTION 3 Select a user ID registered on the PC or TRY IT and set the age sex height and weight of the user 4 Select CREATE after the setting is complete Before using the sports functions sele...

Page 33: ... has started CALORIE COUNTER Place your finger on sensor and press button CALORIE COUNTER Measuring 82bpm CALORIE COUNTER USER 1st Check END CALORIE Try It 1 Press the Sports Function Select button 2 Press the button in SPORTS FUNCTION and select HEART RATE MONITOR The selected user and whether a measurement has started will be shown 3 After putting your finger on the sensor on the top of the devi...

Page 34: ...e measurement finishes VIEW CALORIE S CALORIE 03 01 01 12 07 576 72 E D T 101 VIEW HEART RATE HEART RATE 96 DATE 03 01 01 12 07 TIME 1 Press the Sports Function Select button twice Shows the STOP WATCH 2 Press the ENC NAVI button Time measurement starts 3 Press the button during time measurement LAP is shown and the lap time is recorded every time the button is pressed A maximum of three lap times...

Page 35: ...69 MENU Table 68 Use the button to navigate and then select using the button ...

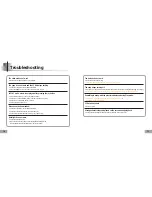
Page 36: ... the yepp s power Backlight does not work Check the backlight setup When the current and voltage of the rechargeable battery are low the backlight automatically stays off in order to play longer The buttons do not work Check the Hold switch setting Press the RESET hole on the side of the main unit with a pin The yepp keeps turning off In Stop mode the power is automatically turned off after ten se...

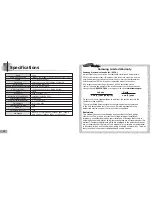
Page 37: ...ective material SECA will repair or replace the product at its option All warranty repairs must be performed by a SECA authorized service centre The name and address of the location nearest you can be obtained by calling toll free 1 800 726 7864 or visiting our web site at www samsung ca Labour Parts one 1 year carry in one 1 year On carry in models transportation to and from the service centre is...

Page 38: ...MEMO MEMO ...

Reviews: