background image

English - 20

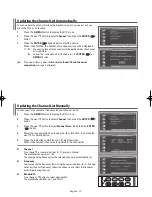
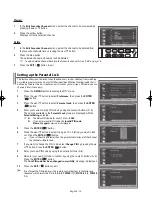
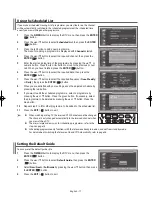
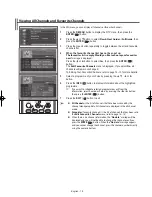
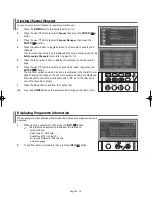
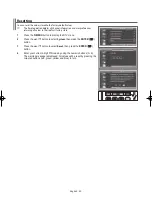
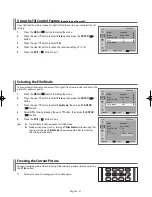
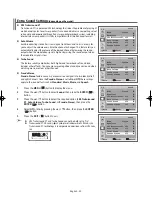
Using the Preferences

You can use various settings to suit your personal preferences.

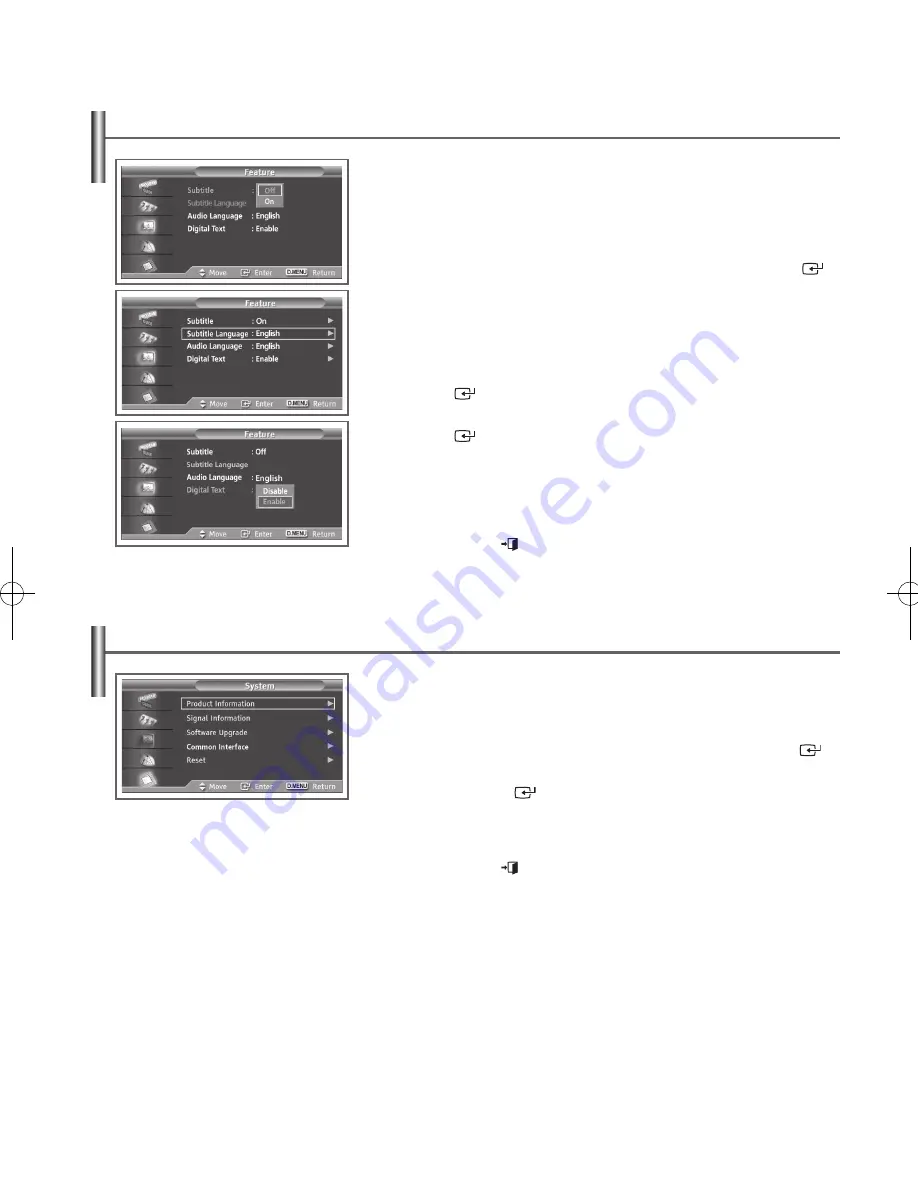
  Activating/deactivating the Subtitle

  Changing the default value for subtitle and audio languages

  Activating/deactivating the Digital Text

Press the 

D.MENU

 button to display the DTV menu.

Press the 

 or 

 button to select 

Feature

, then press the 

ENTER

 (

button.


Subtitle


Subtitle Language


Audio Language


Digital Text

Select your required menu by pressing the ▲ or ▼ button, then press the 

ENTER

 (

) button.

Select the required option by pressing the ▲ or ▼ button, then press the 

ENTER

 (

) button to change the setting.


Subtitle : On 

or

 Off


Subtitle Language


Audio Language


Digital Text : Disable

 or 

Enable

  If the programme is broadcast with digital text, this feature is enabled.

Press the 

EXIT

 (

) button to exit.

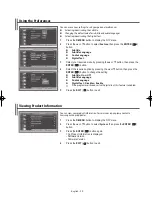
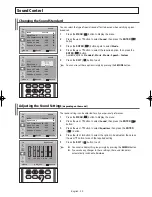
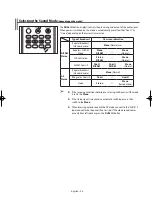
Viewing Product Information

You can view your product information. For service or repair please contact a 

Samsung authorized dealer.

Press the 

D.MENU

 button to display the DTV menu.

Press the ▲ or ▼ button to select 

System

, then press the 

ENTER

 (

button.

Press the 

ENTER

 (

) button again. 

The Product Information is displayed. 

- Software Version 

- Firmware Version

Press the 

EXIT

 (

) button to exit.

AA68-03776A-X0Eng.indd   20

2006-04-04   ソタタ・10:04:38

Summary of Contents for WS-32Z408D

Page 1: ...tions Before operating the unit please read this manual thoroughly and retain it for future reference ON SCREEN MENUS DIGITAL TERRESTRIAL RECEIVER TELETEXT depending on the model Register your product at www samsung com global register ...

Page 2: ...s and images on screen such as the dark side bars on non expanded standard format television video and programming should be limited to no more than 15 of the total television viewing per week Additionally viewing other stationary images and text such as stock market reports video game displays station logos web sites or computer graphics and patterns should be limited as described above for all t...

Page 3: ...mation 20 Checking the Signal Information 21 Upgrading the Software depending on the model 21 Viewing Common Interface 22 Selecting the CI Menu 22 Resetting 23 Channel Control Storing Channels Automatically 24 Storing Channels Manually 25 Skipping Unwanted Channels 26 Sorting the Stored Channels 26 Assigning Names to Channels 27 Fine Tuning Channel Reception 27 Using the LNA Low Noise Amplifier Fea...

Page 4: ...tures 5 Press to decrease or increase the volume In the on screen menu use the buttons as you use the and buttons on the remote control 6 C P Press to change channels In the on screen menu use the C P buttons as you use the and buttons on the remote control Accessories Please make sure the following items are included with your TV If any items are missing contact your dealer The items colour and s...

Page 5: ... the documentation supplied with your equipment for detailed connection instructions and associated safety precautions Please be sure to match the color coded input terminals and cable jacks Rear of the TV Side of the TV Cable Television Network or 1 Inserting the CI Common Interface card If you want to watch the scrambled channel insert the CI card into the COMMON INTERFACE slot Please insert the...

Page 6: ...ultimedia interface allows the transmission of high definition digital video data and multiple channels of digital audio 5 1 channels The HDMI DVI terminal supports DVI connection to an extended device with the appropriate cable not supplied The difference between HDMI and DVI is that the HDMI device is smaller in size has the HDCP High Bandwidth Digital Copy Protection coding feature installed an...

Page 7: ...y EPG Display favourite channel edition Picture effect selection Picture menu display Sound effect selection Sound menu display External input selection Switch repeatedly between the last two channels displayed Automatic switch off DTV Menu Display a Next channel b Previous channel c Exit from any display d Change confirmation e Information display f Picture size selection g Digital subtitle displ...

Page 8: ...sion and the frequency is 50 or 60Hz 2 Press the button On Off on the front of the television The standby indicator on the front of the television lights up 3 Press the POWER button on the remote control to switch the television on The programme that you were watching last is re selected automatically If you have not yet stored any channels no clear picture appears Refer to Storing Channels Automa...

Page 9: ...nd automatically After all the available channels are stored the Clock Set menu appears Refer to Storing Channels Automatically on page 24 7 Press the or button to move to the hour or minute Set the hour or minute by pressing the or button Refer to Setting and Displaying the Current Time on page 35 You can set the hour and minute directly by pressing the numeric buttons on the remote control 8 Whe...

Page 10: ...ision programme again press the TV DTV button and select the channel number required Editing Device Names depending on the model You can give a name to the external source 1 Press the MENU button to display the menu 2 Press the ENTER button to select Input 3 Press the or button to select Edit Name then press the ENTER button 4 Press the or button to select the external source to be edited then pre...

Page 11: ...l Guide Preference Preferred Subtitle Language English Welsh Gaelic Irish Preferred Audio Language English Welsh Gaelic Irish OSD Language English Deutsch Français Italiano Svenska Translucency Level High Medium Low Opaque Parental Lock Parental Rating Change PIN Feature Subtitle Off On Subtitle Language Audio Language English Digital Text Disable Enable Channel Auto Store Manual Store Channel Fre...

Page 12: ... button 6 Select the appropriate language by pressing the or button then press the ENTER button 7 Press the or button to select OSD Language then press the ENTER button 8 Select the appropriate language by pressing the or button then press the ENTER button 9 Press the EXIT button to exit Adjusting theTranslucency Level You can set the translucency of the on screen menu 1 Press the D MENU button to...

Page 13: ...fy the channel or frequency for a fast channel search 1 Press the D MENU button to display the DTV menu 2 Press the or button to select Channel then press the ENTER button 3 Press the or button to select Manual Store then press the ENTER button 4 Select the required option by pressing the or button then press the or or numeric button 5 Press the red button to start the scan for digital services Wh...

Page 14: ...e channels have been selected 1 Press the D MENU button to display the DTV menu 2 Press the or button to select Channel then press the ENTER button 3 Press the or button to select Edit Favourite Channels then press the ENTER button 4 Press the red button in the Edit Favourite Channels menu To add more channels refer to the step 5 above To add all channels to the favourites channel list press the r...

Page 15: ...ER button 3 Press the or button to select Parental Lock then press the ENTER button 4 Enter your current 4 digit PIN code by using the numeric buttons 0 9 The options available in the Parental Lock group are displayed with the Parental Rating selected The default PIN code for a new TV set is 0000 If you enter a invalid PIN code the Invalid PIN code Please try again message is displayed 5 Press the...

Page 16: ...programme by pressing the or button then press the ENTER button If the next programme is selected it is scheduled with the clock icon displayed If the ENTER button is pressed again the scheduling is canceled with the clock icon gone For details about scheduling programmes refer to the next page Toggle between the Now Next Guide or Full Guide Press the red button repeatedly Display the Favourites a...

Page 17: ...are satisfied with your settings save the adjusted schedule by pressing the red button 9 If you want to edit the scheduled programme select a programme by pressing the or button Press the green button If necessary select the programme to be deleted by pressing the or button Press the blue button 10 Repeat step 3 to 8 for other programme to be added to the scheduled list 11 Press the EXIT button to...

Page 18: ...nnels refer to page 14 15 for more details 5 Select a programme of your choice by pressing the or button 6 Press the INFO button to display information about the highlighted programme If you want to schedule selected programme or exit from the information select Remind or Return by pressing the or button then press the ENTER button 7 Press the EXIT button to exit All Channels is the list of channe...

Page 19: ...l to be tuned then press the ENTER button The channel number name and an icon are displayed in the top left corner while changing the channel The channel number and name are displayed if the channel is one of the all channels and a icon if the channel is one of the favourite channels 7 Press the blue button to exit from the channel list Press the CH MGR button on the remote control to bring up the...

Page 20: ...R button 4 Select the required option by pressing the or button then press the ENTER button to change the setting Subtitle On or Off Subtitle Language Audio Language Digital Text Disable or Enable If the programme is broadcast with digital text this feature is enabled 5 Press the EXIT button to exit Viewing Product Information You can view your product information For service or repair please cont...

Page 21: ...ou select Upgrade Now the iDTV immediately installs the new upgrade and then restarts Upgrade Later If you select Upgrade Later the upgrade is postponed until the next restart or channel change some 90 minutes later when the upgrade dialog appears again Don t Upgrade If you select Don t Upgrade the iDTV does not perform the upgrade and the software upgrade banner is not displayed again The upgrade...

Page 22: ...or your application 5 Press the EXIT button to exit Selecting the CI Menu This helps the user select an item from the CAM supported menu 1 Press the D MENU button to display the DTV menu 2 Press the or button to select System then press the ENTER button 3 Press the or button to select Common Interface then press the ENTER button 4 Press the or button to select CI Menu then press the ENTER button 5...

Page 23: ...t factory state 1 Press the D MENU button to display the DTV menu 2 Press the or button to select System then press the ENTER button 3 Press the or button to select Reset then press the ENTER button 4 Enter your current 4 digit PIN code by using the numeric buttons 0 9 The warning message is displayed All values will be reset by pressing the coloured buttons red green yellow and blue in turn ...

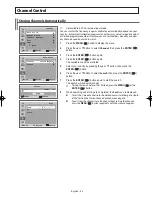
Page 24: ...r button then press the ENTER button 6 Press the or button to select Search then press the ENTER button 7 Press the ENTER button again to start the search The search will end automatically To stop the search before it has finished press the MENU or the ENTER button 8 When searching and storing are completed the Sort menu is displayed To sort the stored channels into the desired numerical order go ...

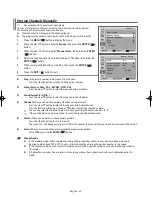
Page 25: ...the or button to select C Air channel or S Cable channel Press the button then press the or button to select the required number You can also select the channel number directly by pressing the numeric buttons 0 9 If there is abnormal sound or no sound re select the sound standard required Search When you do not know the channel numbers Press the or button to start the search The tuner scans the fr...

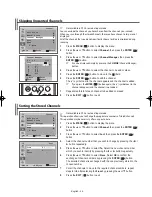
Page 26: ...ilable in DTV or external input mode This operation allows you to change the programme numbers of stored channels This operation may be necessary after using auto store 1 Press the MENU button to display the menu 2 Press the or button to select Channel then press the ENTER button 3 Press the or button to select Sort then press the ENTER button 4 Select the channel number that you wish to change by...

Page 27: ...in DTV or external input mode If the reception is clear you do not have to fine tune the channel as this is done automatically during the search and store operation If the signal is weak or distorted you may have to fine tune the channel manually 1 Press the MENU button to display the menu 2 Press the or button to select Channel then press the ENTER button 3 Press the or button to select Fine Tune...

Page 28: ...re quality that is currently displayed Depending on areas factory mode of LNA will be set up as On or Off Changing the Picture Standard You can select the type of picture which best corresponds to your viewing requirements 1 Press the MENU button to display the menu 2 Press the or button to select Picture then press the ENTER button 3 Press the ENTER button twice to select Mode 4 Press the or butt...

Page 29: ... to select the required option then press the ENTER button Available options Cool2 Cool1 Normal Warm1 Warm2 Resetting the Picture Settings to the Factory Defaults 10 Press the or button to select Reset then press the ENTER button The previously adjusted settings will be reset to the factory defaults 11 Press the EXIT button to exit You can also display this group simply by pressing the P MENU butt...

Page 30: ...cture to 4 3 normal mode You can also set these options simply by pressing the P SIZE button Setting the Digital Noise Reduction If the signal received by your television is weak you can activate this feature to reduce any static and ghosting that may appear on the screen 1 Press the MENU button to display the menu 2 Press the or button to select Picture then press the ENTER button 3 Press the or ...

Page 31: ...ton 3 Press the or button to select Film Mode then press the ENTER button 4 Select Off or On by pressing the or button then press the ENTER button 5 Press the EXIT button to exit Not available in the Component or HDMI mode Mode discrepancies such as turning off Film Mode while viewing a film source or turning on Film Mode while viewing Non film sources may affect the picture quality Freezing the C...

Page 32: ... be used when watching a given broadcast 1 Press the MENU button to display the menu 2 Press the or button to select Sound then press the ENTER button 3 Press the ENTER button again to select Mode 4 Press the or button to select the required option then press the ENTER button Available options Standard Music Movie Speech Custom 5 Press the EXIT button to exit You can also set these options simply ...

Page 33: ... signal into two identical left and right channels Once the Pseudo Stereo is set to On or Off these settings apply to the sound effects such as Standard Music Movie and Speech 1 Press the MENU button to display the menu 2 Press the or button to select Sound then press the ENTER button 3 Press the or button to select the required option SRS TruSurround XT Auto Volume Turbo Sound or Pseudo Stereo th...

Page 34: ... Mono Normal NICAM Stereo Stereo NICAM Mono Normal NICAM Dual I II Dual I NICAM Dual II NICAM Mono Normal A2 Stereo Regular broadcast Standard audio Mono Normal Bilingual or Dual I II Dual I Dual II Stereo Stereo Mono Forced mono If the receiving conditions deteriorate listening will be easier if the mode is set to the Mono If the stereo signal is weak and an automatic switching occurs then switch...

Page 35: ...ontrol Setting the Sleep Timer You can set your TV to automatically turn off after a preset interval 1 Press the MENU button to display the menu 2 Press the or button to select Setup then press the ENTER button 3 Press the or button to select Time then press the ENTER button 4 Press the or button to select Sleep Timer then press the ENTER button 5 Press the or button to select the preset time inte...

Page 36: ... then press the or button to select Yes 7 Press the MENU or ENTER button 8 Press the or button to select Off Timer In the same above set the time at which you wish the television to be switched off automatically 9 Press the EXIT button to exit You can set the hour and minute directly by pressing the numeric buttons on the remote control Absent Power Off When you set the timer On your television wi...

Page 37: ...he MENU button to display the menu 2 Press the or button to select Setup then press the ENTER button 3 Press the or button to select Blue Screen then press the ENTER button 4 Select Off or On by pressing the or button then press the ENTER button 5 Press the EXIT button to exit Selecting the Melody You can hear melody sound when the television is powered on or off 1 Press the MENU button to display...

Page 38: ... once again store Used to store the teletext pages hold Used to hold the display on a given page if the selected page is linked with several secondary pages which follow on automatically To resume press it again page up Used to display the next teletext page mode Press to select the teletext mode LIST FLOF If you press it in the LIST mode it switches into the List save mode In the List save mode y...

Page 39: ...e number or search indications D Date and time E Text F Status information FASTEXT information Teletext information is often divided between several pages displayed in sequence which can be accessed by Entering the page number Selecting a title in a list Selecting a coloured heading FASTEXT system Press the TV DTV button to exit from the teletext display ...

Page 40: ...l and serial number of the television and contact the help desk at 0870 242 0303 or dttvsupport seri co uk No sound or picture Check that the mains lead has been connected to a wall socket Check that you have pressed the button On Off and the POWER button Check the picture contrast and brightness settings Check the volume Normal picture but no sound Check the volume Check whether the volume MUTE b...

Page 41: ...This page is intentionally left blank ...

Page 42: ...This page is intentionally left blank ...

Page 43: ...or human health from uncontrolled waste disposal please separate this from other types of wastes and recycle it responsibly to promote the sustainable reuse of material resources Household users should contact either the retailer where they purchased this product or their local government office for details of where and how they can take this item for environmentally safe recycling Business users ...

Page 44: ... www samsung com fr GERMANY 01805 121213 0 12 Min www samsung de HUNGARY 06 40 985 985 www samsung com hu ITALIA 199 153 153 www samsung com it LUXEMBURG 02 261 03 710 www samsung lu NETHERLANDS 0900 20 200 88 0 10 Min www samsung com nl NORWAY 231 627 22 www samsung com no POLAND 0 801 801 881 www samsung com pl PORTUGAL 80 8 200 128 www samsung com pt RUSSIA 8 800 200 0400 www samsung ru SLOVAKI...

Reviews: