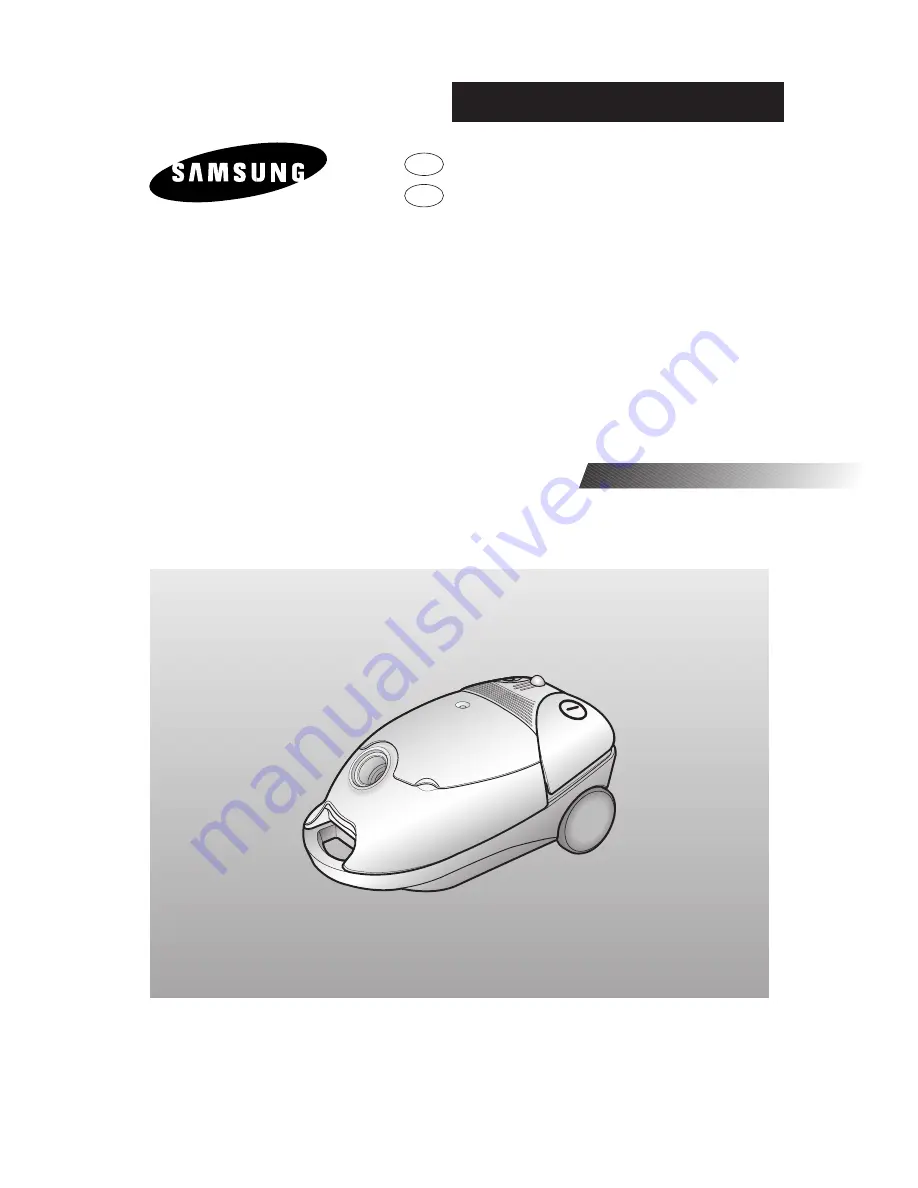
background image

Operating lnstructions
Manuel d’instructions

For household use only
Pour usage résidentiel seulement

Models

VAC7049G

VACUUM CLEANER
ASPIRATEUR

Before operating this unit, please read the instructions carefully.

Avant de vous servir de cet appareil, veuillez lire les instructions attentivement.

EN

F

Summary of Contents for VAC7049G

Page 1: ...CODE NO DJ68 00006T REV 0 1 ...

Page 2: ...r household use only Pour usage résidentiel seulement Models VAC7049G VACUUM CLEANER ASPIRATEUR Before operating this unit please read the instructions carefully Avant de vous servir de cet appareil veuillez lire les instructions attentivement EN F ...

Page 3: ...er s recommended attachments 5 Do not use with damaged cord or plug If appliance is not working as it should has been dropped damaged left outdoors or dropped into water take it to a service center 6 Do not pull or carry by cord use cord as a handle close a door on cord or pull cord around sharp edges or corners Do not run appliance over cord Keep cord away from heated surfaces 7 Do not unplug by ...

Page 4: ... an outlet with inadequate current carrying capacity 18 Hold plug when rewinding onto cord reel Do not allow plug to whip when rewinding 19 Always turn off this appliance before connecting or disconnecting turbine nozzle 20 Unplug before connecting turbine nozzle SAVE THESE INSTRUCTIONS To reduce the risk of electric shock this appliance has a polarized plug one blade is wider than the other This ...

Page 5: ...o the suction tube 2 Connect the suction tubes together depending on model 4 Connect the hose clamper to the body of the cleaner 3 EN HANDLE SUCTION HOSE TOOL STORAGE COVER DUST FULL INDICATOR CORD REWIND BUTTON POWER CONTROL SWITCH ON OFF BUTTON CLAMPER FOR DUST BAG COMPARTMENT AIR REGULATOR TUBE FLOOR NOZZLE RUG FLOOR SELECTOR BUTTON FOR SUCTION HOSE REMOVAL CARRYING HANDLE ...

Page 6: ... With the cord plugged into an electrical outlet start or stop the vacuum cleaner by pushing lightly down ward on the switch with your toe POWER CONTROL VARIABLE CONTROL TYPE ONLY The vacuuming power can be adjusted to suit any situation with the electrical power control MIN For delicate fabrics e g net curtains MAX For hard floors and heavily soiled carpets NOTE When removing the power cord from ...

Page 7: ...d check whether the hose tube or nozzle is clogged Pull the tool storage cover upward Crevice tool for radiators crevices corners between cushions Upholstery brush for cushions and drapery Dusting brush for furniture shelves books etc USING THE BLOWER Located on the left rear side of the cleaner 1 Disconnect the hose from the body of the cleaner 2 Connect the hose clamper to the blow hole DUSTING ...

Page 8: ...RING THE VACUUM CLEANER For easy storage and transportation this vacuum cleaner has a clip system built onto the body which will keep the tube hose and nozzle in a vertical position REPLACING THE DUST BAG 1 To open the dust cover of the dust bag compart ment press the clamper upward The clamper is located at the front of the dust cover 2 Remove the carrying bag from the cleaner ...

Page 9: ...d unevenly down the Cord rewind button After using if the cloth filter bag is full of dust clean the cloth filter bag and use it again 1 INLET FILTER Open the dust cover After detaching the filter wash it lightly with water dry it in the shade then insert it in its original position Close the dust cover 2 OUTLET FILTER Open the dust cover then pull the grille filter forward Remove and replace the ...

Page 10: ...e pas de façon normale s il a été échappé endommagé laissé à l extérieur ou immergé dans l eau il faudra l ap porter au centre de service 6 Ne pas tirer sur le cordon ou prendre l appareil par le cordon ne pas utiliser le cordon comme une poignée ne pas fermer la porte sur le cordon ou tirer sur le cordon pour qu il fasse le tour d objets pointus ou de coins pointus Ne pas passer l aspirateur sur ...

Page 11: ...u une sortie électrique dont la capacité de courant est inadéquate 18 Tenir la fiche lorsque vous placez le cordon de l appareil Ne pas permettre à la fiche d être sec ouée lors du défilement du cordon 19 Arrêtez toujours l appareil avant de brancher ou débrancher le balai d air 20 Débrancher l appareil avant de brancher Bec De Trubine CONSERVER CES INSTRUCTIONS Pour réduire le risque de chocs éle...

Page 12: ... de contrôle de la puis sance Touche ON OFF Clenche du compartiment à sac Régulateur d air Tube Embout pour plancher SÉLÉCTEUR DE BROSSE Clenche pour tuyau à succion Poignée ASSEMBLAGE DE L ASPIRATEUR POUR EN FAIRE L UTILISATION 1 Raccorder le tuyau à succion au tube 1 Raccorder les différentes sec tions du tube selon le modèle 1 Raccorder l embout pour plancher au tube 1 Raccorder l embout du tuy...

Page 13: ... Lorsque l aspirateur est branché à une sortie élec trique simplement appuyer sur la touche avec votre orteil vers le bas pour mettre l appareil en marche ou l arrêter CONTRÔLE DE LAPUISSANCE pour modèles à contrôle variable seulement La puissance de l aspirateur peut être ajustée selon chaque situation grâce au contrôle de la puissance MIN pour tissus délicats e g rideaux MAX pour les planchers d...

Page 14: ...trués Soulever le couvercle du compartiment à accessoires vers le haut Suceur plat radiateurs crevasses coins entre les coussins Brosse pour les meubles capitonnés pour les coussins et les rideaux Brosse pour époussetage mobilier étagères livres etc COMMENT UTILISER LA SOUFFLEUSE La souffleuse est située à l arrière de l appareil du côté gauche 1 Débrancher le tuyau de l appareil 2 Brancher le tuy...

Page 15: ...T DE L ASPIRATEUR Pour un rangement ainsi qu un transport faciles cet aspirateur possède un système d enclenchement intégré qui maintiendra le tube le tuyau et l embout dans une position verticale REMPLACEMENT DU SAC À POUSSIÈRE 1 Pour ouvrir le couvercle du compartiment à poussière appuyer sur la clenche vers le haut la clenche se situe en avant du couvercle du compartiment 2 Enlever le sac de l ...

Page 16: ...uvercle du compartiment tirer sur le filtre de la grille vers l avant Enlever et remplacer le filtre souillé Placer le nouveau filtre en poussant et fermer le couvercle du compartiment 3 Après avoir enlevé le sac usagé insér er le nouveau sac dans son comparti ment dans la position appropriée 4 Fermer le couvercle doucement jusqu à ce que la clenche se verrouille 7 F Problème Cause Solution Pas d ...

Reviews: