


58
Chapter 3.
Using the computer
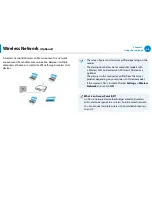
Using the Sound Recorder
The procedures to record sound using the Windows Recorder are
described below.
1
Connect a microphone to the microphone jack.
Or use built-in microphone.
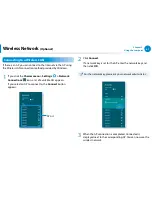
2
Right-click over the
Volume
icon on the taskbar and select
Recording Device
.
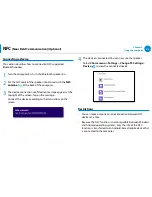
3
Check if the microphone is set as the default recording
device.
If this is the case, it is already set as the default device. If not,
right-click over the microphone and select
Set default
.
4
Right-click over the
Charms
menu
> Start
áᔪ
Ŗᮁ
᯲
ᰆ⊹
ᖅᱶ
to click
All
Apps
> Sound Recorder
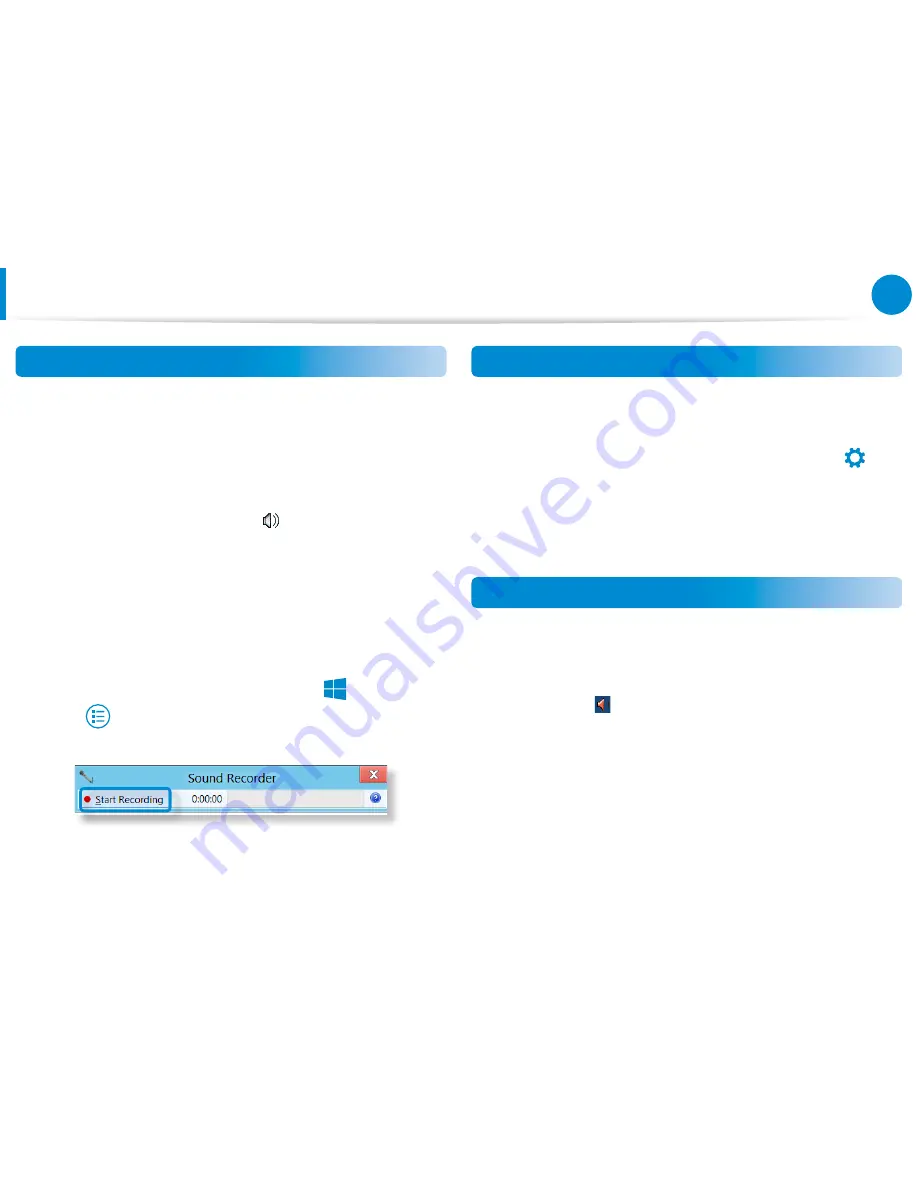
. Then press
Start Recording
to
record.
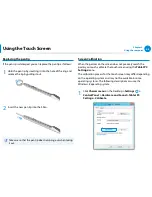
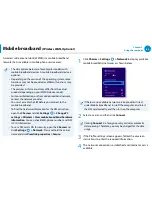
Connecting and using a Ear-set / headset Jack
When there is no sound after connecting an earset or headset,
configure the settings as follows.
1
On the Desktop, click the
Charms menu > Settings
áᔪ
Ŗᮁ
᯲
ᰆ⊹
ᖅᱶ
>
Control Panel > Hardware and Sound > Sound > Play
tab.
2
Select the
Speakers (Intel SST Audio Device (WDM))
, click
Set Default
and click
OK
.
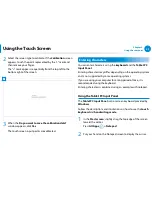
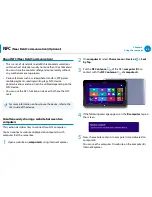
Using the Microphone (Optional)
You can optimize the microphone’s performance for a single user
only or for sharing with others.
1
On the notification area of the taskbar, right-click the Audio
Manager icon , and then click
Sound Manager
.
2
On the
Microphone
tab, select an option to enable, and then
click
OK
.
.
Narrow
: The computer recognizes sound only from a front
45 degree angle. Select this option if only a single user uses
the microphone.
.
Wide
: The computer recognizes sound from any front angle
so that the microphone can be shared with other people.
However, this option may cause noise.
Adjusting the Volume


