


Troubleshooting
Self-Test Feature Check
Note
•
Check the following items yourself before calling for service. Contact the service center for prob-
lems that you cannot solve by yourself.
•
Your monitor provides a self test feature that allows you to check whether your monitor is func-
tioning properly.
Self-Test Feature Check
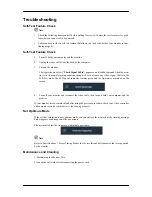
1.
Turn off both your computer and the monitor.
2.
Unplug the video cable from the back of the computer.
3.
Turn on the monitor.
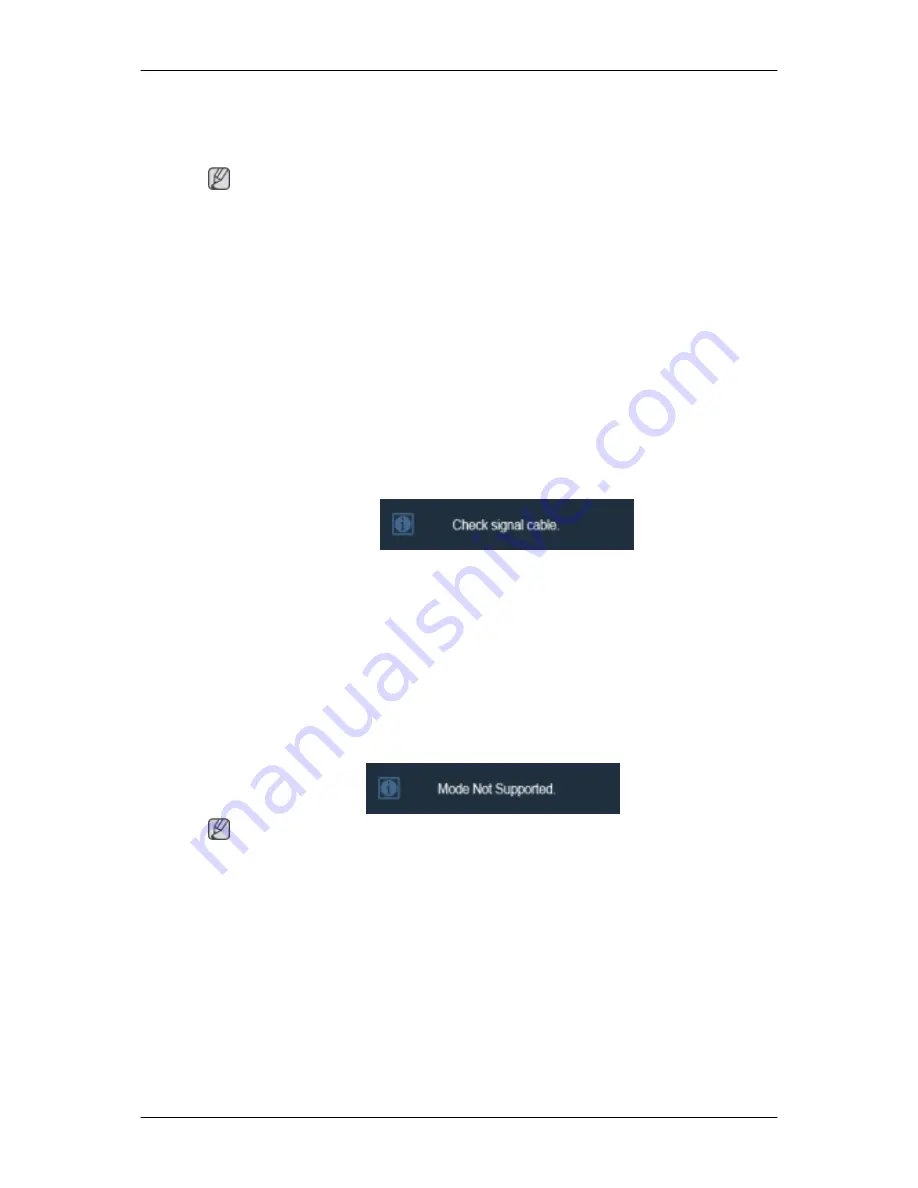
The figure shown below ("
Check Signal Cable
") appears on a black background when the mon-
itor is in its normal working condition though it does not sense any video signal: While in the
Self-Test mode, the LED power indicator remains green and the figure moves around on the
screen.
4.
Turn off your monitor and reconnect the video cable; then turn on both your computer and the
monitor.
If your monitor screen remains blank after using the previous procedure, check your video controller
and computer system;
your monitor is functioning properly.
Not Optimum Mode
If the vertical resolution is not optimum mode, you can still see the display but the warning message
below appears and disappears after one minute.
The user must adjust the frequency within that one minute.
Note
Refer to Specifications > Preset Timing Modes for the resolutions or frequencies that are supported
by the monitor.
Maintenance and Cleaning
1. Maintaining the Monitor Case.
Clean with a soft cloth after disconnecting the power cord.


