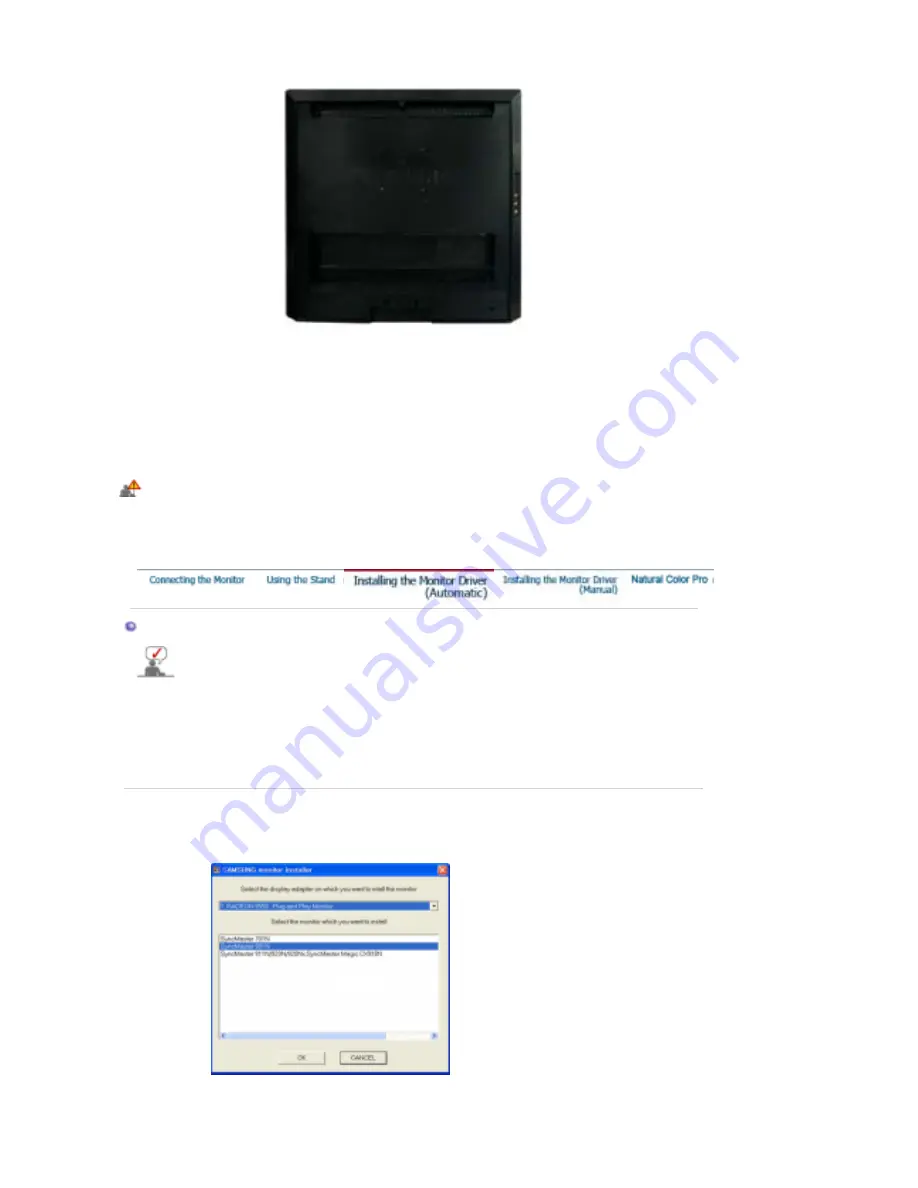
background image


A.

 Monitor  


B.

 Mounting interface pad (sold separately)  


1. Turn off your monitor and unplug its power cord.  
2. Lay the LCD monitor face-down on a flat surface with a cushion beneath it to protect the screen.  
3. Fold the stand 90 degrees perfectly.  
4. Align the mounting interface pad with the holes in the rear cover mounting pad and secure it with four 

screws that came with the arm-type base, wall mount hanger or other base. 

To mount the monitor on a wall, you should purchase the wall mounting kit that allows you to mount the 
monitor at least 10 cm away from the wall surface. Contact the nearest Samsung Service Center for 
more information. 
Samsung Electronics will not be responsible for damages caused by using a base other than those 
specified.


Installing the Monitor Driver (Automatic) 

When prompted by the operating system for the monitor driver, insert the CD-ROM 
included with this monitor. Driver installation is slightly different from one operating 
system to another. Follow the directions appropriate for the operating system you have.


Prepare a blank disk and download the driver program file at the Internet web site shown 
below. 

z

Internet web site :  

http://www.samsung.com

 (Worldwide)

http://www.samsung.com/monitor

 (U.S.A)

http://www.sec.co.kr/monitor

 (Korea)

http://www.samsungmonitor.com.cn/

 (China)


1. Insert the CD into the CD-ROM drive.  
2. Click 

"Windows"


3. Choose your monitor model in the model list, then click the 

"OK"

 button. 


4. If you can see following message window, then click the 

"Continue Anyway"

 button. Then 

click the 

"OK"

 button. (Microsoft

®

 Windows

®

 XP/2000 Operating System)  

Summary of Contents for SyncMaster 741MP

Page 1: ...SyncMaster 741MP Install Driver Install Program SyncMaster 741MP G G G G GG G SyncMaster 941MP...

Page 2: ...hibited Important to read and understand at all times Do not disassemble Disconnect the plug from the outlet Do not touch Ground to prevent an electric shock Power When not used for extended period of...

Page 3: ...bjects upon them which could cause damage z This may cause electric shock or fire Do not connect too many extension cords or plugs to one outlet z This may cause fire Do not disconnect the power cord...

Page 4: ...or shelf z Dropping the product may cause damage to the product or the person carrying it Do not place the product on the floor z Take care as someone specifically children may trip over it Do not pl...

Page 5: ...running along the outdoor antenna cable and into the house ensure that the outdoor portion of the cable is hanging below the point of entry z If the product is exposed to rainwater it may cause elect...

Page 6: ...y chemicals such as wax benzene alcohol thinners insecticide air freshener lubricant or detergent Contact a Service Center or Customer Center for interior cleaning once a year z Keep the product s int...

Page 7: ...r by pulling only the wire or the signal cable z This may cause a breakdown electric shock or fire due to damage to the cable Do not move the monitor right or left by pulling only the wire or the sign...

Page 8: ...omfortable level when using the headphones z Excessively loud volume level may damage hearing Viewing the monitor continuously at a too close angle may result in damage to your eyesight To ease eye st...

Page 9: ...used batteries together z This may cause a battery to break or leak and could lead to fire injury or contamination damage The battery and rechargeable battery is not ordinary refuse and must be retur...

Page 10: ...tor If any items are missing contact your dealer Contact a local dealer to buy optional items Unpacking Monitor Type A Monitor Type B Manual Quick Setup Guide Warranty Card Not available in all locati...

Page 11: ...6 Power button 7 Remote Control Sensor 8 Speaker 1 SOURCE Switches from PC mode to Video mode Changing the source is only allowed for external devices that are connected to the monitor at the time To...

Page 12: ...Power indicator Power Indicator shows power saver mode by green blinking 6 Power button Use this button to turn the monitor On Off 7 Remote Control Sensor Aim the remote control towards this spot on...

Page 13: ...AUDIO Audio Connection Terminal 4 EXT RGB EXT RGB Connection Terminal EXT RGB is mainly used in Europe As for EXT RGB port of the monitor it makes TV or Video signal input and output 5 ANT IN TV Conn...

Page 14: ...system when using it in a public place The locking device has to be purchased separately For using a locking device contact where you purchase it See Connecting the Monitor for further information reg...

Page 15: ...step back in the menu 7 MagicBright PC Mode MagicBright is a new feature providing the optimum viewing environment depending on the contents of the image you are watching Then press the button again...

Page 16: ...e operated depending on broadcasting type by using DUAL button on the remote control while watching TV 17 SLEEP Turns the monitor off after a pre determined period of time 18 P MODE When you press thi...

Page 17: ...power cord for the monitor into a nearby outlet 2 Using the D sub Analog connector on the video card Connect the signal cable to the 15 pin D sub connector on the back of your monitor 3 Connect the au...

Page 18: ...es The configuration at the back of the monitor may vary from product to product 1 1 Connecting AV Devices The monitor has AV connection terminals to connect AV input devices like DVD VCR or Camcorder...

Page 19: ...parate TV reception hardware or software on your computer 1 Connect the CATV or antenna coaxial cable to the antenna terminal on the rear of the monitor You need to use a coaxial antenna cable 2 Turn...

Page 20: ...ion terminal Using the Stand This monitor supports various types of VESA standard bases You need to either fold or remove the base in use to install a VESA base 1 Folding the Base The monitor may be r...

Page 21: ...r damages caused by using a base other than those specified Installing the Monitor Driver Automatic When prompted by the operating system for the monitor driver insert the CD ROM included with this mo...

Page 22: ...er installation is slightly different from one operating system to another Follow the directions appropriate for the operating system you have Prepare a blank disk and download the driver program file...

Page 23: ...t or then click Next button 6 Select Don t search I will then click Next and then click Have disk 7 Click the Browse button then choose A D Driver and choose your monitor model in the model list and c...

Page 24: ...play icon 3 Choose the Settings tab and then click Advanced 4 Choose Monitor 5 Click Driver and then click Update Driver then click on the Next button 6 Choose Display a list of the known drivers for...

Page 25: ...and then click OK 4 Click the Apply button if you see the screen working normally after clicking Test If the screen is not normal change to a different mode lower mode of resolution colors or frequen...

Page 26: ...software program How to install the Natural Color pro software Insert the CD included with the Samsung monitor into the CD ROM Drive Then the initial screen of the program Natural Color Pro will be e...

Page 27: ...he selected resolution OSD Description Play Stop Source List Use to select PC TV or other external input sources connected to the Monitor Use to select the screen of your choice The direct button on t...

Page 28: ...the image you are watching Currently four different modes are available Text Internet Entertain and Custom Each mode has its own pre configured brightness value You can easily select one of four sett...

Page 29: ...turn to the Custom mode Image Lock Image Lock is used to fine tune and get the best image by removing noise that creates unstable images with jitter and shimmer If satisfactory results are not obtaine...

Page 30: ...mote control is the P MODE button 1 Dynamic 2 Standard 3 Movie 4 Custom Custom You can use the on screen menus to change the contrast and brightness according to personal preference 1 Contrast Adjusts...

Page 31: ...r concerts 3 Movie Choose Movie when viewing movies 4 Speech Choose Speech when watching a show that is mostly dialogue i e news 5 Custom Choose Custom if you want to adjust the settings according to...

Page 32: ...a and store all the channels found automatically Manual Store You can scan the frequency ranges available on your television in your area and store all the channels found manually 1 Programme Inputtin...

Page 33: ...mes or assign new names as required Fine Tune Due to weak signals or an incorrect antenna configuration some of the channels may not be tuned correctly Setup Available Mode PC TV Ext AV S Video The de...

Page 34: ...ue Screen If no signal is being received or the signal is very weak a blue screen automatically replaces the noisy picture background If you wish to continue viewing the poor picture you must set the...

Page 35: ...ains green and the figure moves around on the screen Failure of any of the boxes to appear indicates a problem with your monitor This box also appears during normal operation if the video cable become...

Page 36: ...le on your computer Run Setup exe or Install exe which is found in the Adapter Driver Setup file 4 Maintenance and Cleaning 1 Maintaining the Monitor Case Clean with a soft cloth after disconnecting t...

Page 37: ...mputer TV TV screen is blurred or shows noise signals z Check if the TV antenna connector is securely connected to the external antenna Refer to Connecting TV TV signal is not received z Check Channel...

Page 38: ...o Problems related to audio signals and their solutions are listed below Problems Solutions No sound z Ensure that the audio cable is firmly connected to both the audio in port on your monitor and the...

Page 39: ...Saving function z Windows XP Set the resolution in the Control Panel Appearance and Themes Display Screen Saver Set the function in the BIOS SETUP of the computer Refer to Windows Computer Manual z W...

Page 40: ...81 kHz Vertical 56 75 Hz Display Color 16 2 M Resolution Optimum resolution SXGA 1280 x 1024 60 Hz Maximum resolution SXGA 1280 x 1024 75 Hz Input Signal Terminated RGB Analog Compliant Digital RGB 0...

Page 41: ...sign and specifications are subject to change without prior notice Class B Equipment Information Communication equipment for residential use This product complies with the Electromagnetic Compatibilit...

Page 42: ...6 74 551 57 284 MAC 1152 x 870 68 681 75 062 100 000 VESA 640 x 480 37 861 72 809 31 500 VESA 640 x 480 37 500 75 000 31 500 VESA 800 x 600 35 156 56 250 36 000 VESA 800 x 600 37 879 60 317 40 000 VES...

Page 43: ...Egypt Russia Hungary Bulgaria Poland France Horizontal Frequency The time to scan one line connecting the right edge to the left edge of the screen horizontally is called the Horizontal Cycle and the...

Page 44: ...81 kHz Vertical 56 75 Hz Display Color 16 7 M Resolution Optimum resolution SXGA 1280 x 1024 60 Hz Maximum resolution SXGA 1280 x 1024 75 Hz Input Signal Terminated RGB Analog Compliant Digital RGB 0...

Page 45: ...sign and specifications are subject to change without prior notice Class B Equipment Information Communication equipment for residential use This product complies with the Electromagnetic Compatibilit...

Page 46: ...6 74 551 57 284 MAC 1152 x 870 68 681 75 062 100 000 VESA 640 x 480 37 861 72 809 31 500 VESA 640 x 480 37 500 75 000 31 500 VESA 800 x 600 35 156 56 250 36 000 VESA 800 x 600 37 879 60 317 40 000 VES...

Page 47: ...Egypt Russia Hungary Bulgaria Poland France Horizontal Frequency The time to scan one line connecting the right edge to the left edge of the screen horizontally is called the Horizontal Cycle and the...

Page 48: ...m cl COSTA RICA 0 800 507 7267 http www samsung com latin ECUADOR 1 800 10 7267 http www samsung com latin EL SALVADOR 800 6225 http www samsung com latin GUATEMALA 1 800 299 0013 http www samsung com...

Page 49: ...NE 8 800 502 0000 http www samsung com ur Asia Pacific AUSTRALIA 1300 362 603 http www samsung com au CHINA 800 810 5858 010 6475 1880 http www samsung com cn HONG KONG 2862 6001 http www samsung com...

Page 50: ...erlace method is the same as that used in TVs Plug Play This is a function that provides the best quality screen for the user by allowing the computer and the monitor to exchange information automatic...

Page 51: ...is used to link a wide antenna cable feeder cable to the TV English Caption Caption Setting A kind of language selection feature that provides English subtitles caption or character information servic...

Page 52: ...nel for a long time as it can cause screen image retention This image retention is also known as screen burn To avoid such image retention reduce the degree of brightness and contrast of this screen w...

Page 53: ...ave Mode Ex z Turn the power off when using a stationary pattern z Use a Screen saver if possible z Set the Monitor to power off with the PC Display Properties Power Scheme Turn the power off for 4 ho...

Page 54: ...atterns When the LCD panel is operated for a long time with a fixed pattern over 12 hours there may be slight difference in voltage between electrodes that work the liquid crystal LC in a pixel The vo...

Page 55: ...ment or human health from uncontrolled waste disposal please separate this from other types of wastes and recycle it responsibly to promote the sustainable reuse of material resources Household users...

Reviews: