background image


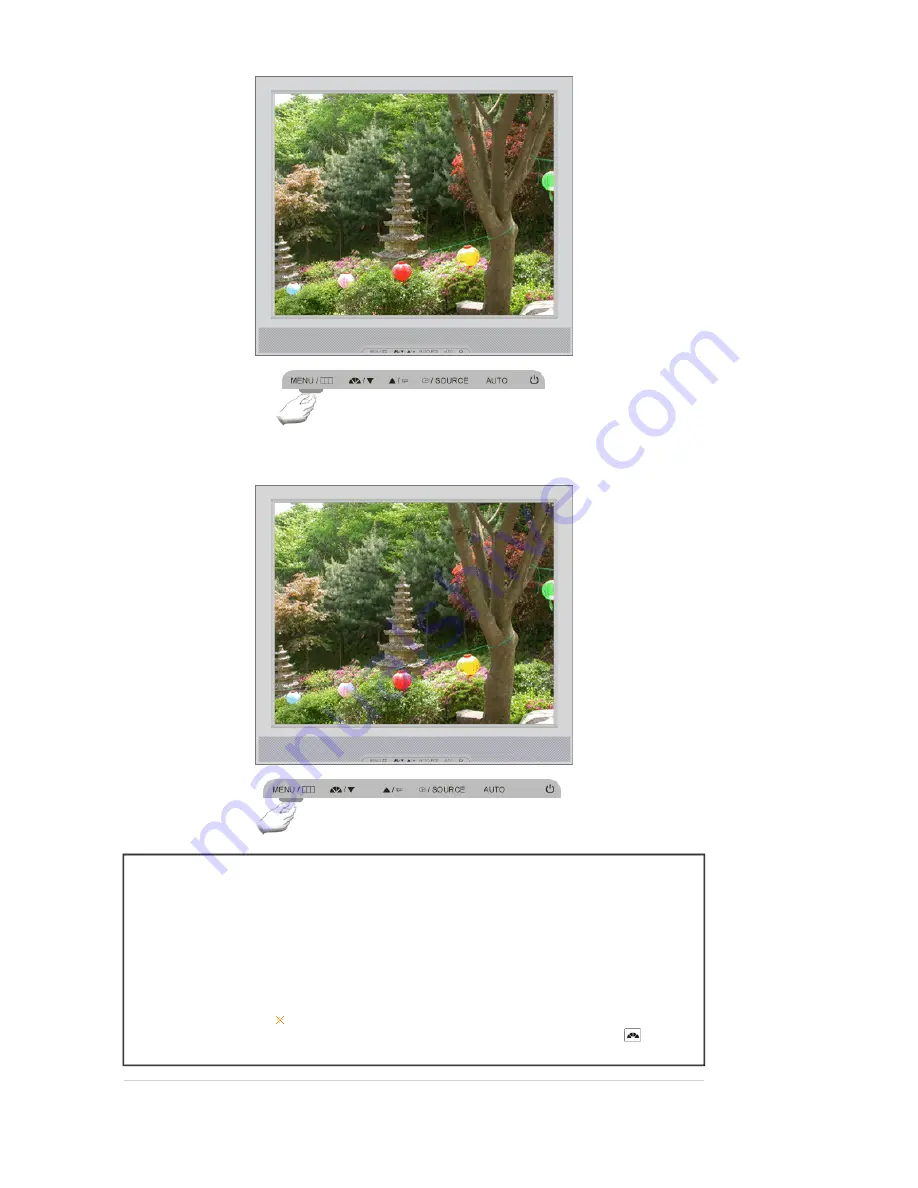
When pressing the MENU button after locking the OSD


Menu

Description

Locked

This is the function that locks the OSD in order to keep the current states of 
settings or prevent others from adjusting the current settings.  


Lock

 : Hold down the menu button for more than five seconds to activate 

the OSD adjustment lock function. 
 

Unlock

 : Hold down the menu button for more than five seconds to 

deactivate the OSD adjustment lock function. 
 

Though the OSD adjustment lock function is activated, you can still 
adjust the brightness and contrast, and adjust MagicBright (

using the Direct button.


Summary of Contents for SyncMaster 714BM

Page 1: ...Install driver Install programs SyncMaster 714BM ...

Page 2: ...nd understand at all times Do not disassemble Disconnect the plug from the outlet Do not touch Ground to prevent an electric shock Power When not used for an extended period of time set your computer to DPM If using a screen saver set it to active screen mode The images here are for reference only and are not applicable in all cases or countries ...

Page 3: ...heavy objects upon them which could cause damage z This may cause electric shock or fire Do not connect too many extension cords or plugs to one outlet z This may cause fire Do not disconnect the power cord while using the monitor z A surge may be caused by the separation and may damage the monitor Do not use the power cord when the connector or plug is dusty z If the connector or plug of the powe...

Page 4: ...p the monitor when moving it z This may cause damage to the product or the person carrying it Install the monitor base in a showcase or shelf so that the end of the base does not protrude from the showcase or shelf z Dropping the product may cause damage to the product or the person carrying it Do not place the product on an unstable or small surface area z Place the product on an even and stable ...

Page 5: ...e by a qualified professional z Installing the bracket by unqualified personnel may result in injury z Always use the mounting device specified in the owner s manual When installing the product make sure to keep it away from the wall more than 10 cm 4 inches for ventilation purposes z Poor ventilation may cause an increase in the internal temperature of the product resulting in a shortened compone...

Page 6: ...hock or fire Unplug the power cord from the power outlet and wipe the product using a soft dry cloth z Do not use any chemicals such as wax benzene alcohol thinners insecticide air freshener lubricant or detergent Contact the SAMSUNG customer care center or Customer Center for interior cleaning once a year z Keep the product s interior clean Dust which has accumulated in the interior over an exten...

Page 7: ... if it is not used for a long period of time z Failure to do so may cause electric shock or fire Do not try to move the monitor by pulling only the wire or the signal cable z This may cause a breakdown electric shock or fire due to damage to the cable Do not move the monitor right or left by pulling only the wire or the signal cable z This may cause a breakdown electric shock or fire due to damage...

Page 8: ...Adjust the resolution and frequency to the level appropriate for the model z An inappropriate resolution may cause undesirable picture quality 17 inch 43 cm 1280 X 1024 Keep the volume at a comfortable level when using the headphones z Excessively loud volume level may damage hearing Viewing the monitor continuously at a too close angle may result in damage to your eyesight To ease eye strain take...

Page 9: ... monitor do not lift the monitor upside down while holding only the stand z This may cause your monitor to fall and become damaged or cause personal injury Good Postures When Using the Monitor Try to maintain a good posture when using the monitor z Keep your back straight z Keep a distance of about 45 50 cm between your eyes and the monitor screen Look at the screen from slightly above it and have...

Page 10: ...he following items are included with your monitor If any items are missing contact your dealer Contact a local dealer to buy optional items Unpacking Without Stand Monitor With Stand Monitor Has stand Manual User s Guide ...

Page 11: ... MagicRotation software Cable D Sub Cable Power Cord Audio Cable Sold separately DVI Cable Front MENU button Opens the OSD menu Also use to exit the OSD menu or return to the previous menu MagicBright button MagicBright is a new feature providing optimum viewing environment depending on the contents of the image you are ...

Page 12: ...to see an animation clip Volume button When OSD is not on the screen push the button to adjust volume Adjust buttons Adjust items in the menu Enter button SOURCE button Activates a highlighted menu item Push the Source and then select the Video signal while the OSD is off When the SOURCE button is pressed to change the input mode a message appears on the upper left of the screen displaying the cur...

Page 13: ...back of your monitor POWER on off Switch option Use this button for turn the monitor on and off Kensington Lock The Kensington lock is a device used to physically fix the system when using it in a public place The locking device has to be purchased separately For using a locking device contact where you purchased it Headphone connection terminal AUDIO IN Connect the audio cable for your monitor to...

Page 14: ...ub Analog connector on the video card Connect the signal cable to the 15 pin D sub port on the back of your monitor RGB IN 2 2 Using the DVI Digital connector on the video card Connect the DVI Cable to the DVI Port on the back of your Monitor DVI IN 2 3 Using Macintosh Connect the monitor and the Macintosh computer using the computer connection cable If the monitor and the computer are connected y...

Page 15: ...Using the Stand HAS Stand A Stand Stopper Attaching a Base This monitor accepts a 100 mm x 100 mm VESA compliant mounting interface pad ...

Page 16: ...g is not liable for product damage or personal injury when a non VESA or non specified wall mount is used or the consumer fails to follow the product installation instructions z To mount the monitor on a wall you should purchase the wall mounting kit that allows you to mount the monitor at least 10cm away from the wall surface z Contact the nearest Samsung Service Center for more information Samsu...

Page 17: ...s 2000 Windows ME Windows NT Linux When prompted by the operating system for the monitor driver insert the CD ROM included with this monitor Driver installation is slightly different from one operating system to another Follow the directions appropriate for the operating system you have Prepare a blank disk and download the driver program file at the Internet web site shown below z Internet web si...

Page 18: ...uration for your monitor is completed The monitor can be used as is If the message Windows needs is displayed as shown in the figure below click Continue This monitor driver is under certifying MS logo and this installation doesn t damage your system The certified driver will be posted on Samsung Monitor homepage http www samsung com 6 Click Update Driver in the Driver tab ...

Page 19: ...ers on my computer 8 Click Have Disk and select the folder for example D Drive where the driver setup file is located and click OK 9 Select the model that matches your monitor from the list of monitor models on the screen and click Next 10 Click Close Close OK OK on the following screens displayed in sequence ...

Page 20: ...Insert CD into the CD ROM driver 2 Click Start Control Panel then click the Appearance and Themes Icon 3 Click Display icon and choose the Settings tab then click Advanced 4 Click the Properties button on the Monitor tab and select Driver tab ...

Page 21: ...ct Don t search I will then click Next and then click Have disk 7 Click the Browse button then choose A D Driver and choose your monitor model in the model list and click the Next button 8 If you can see following Message window then click the Continue Anyway button Then click OK button ...

Page 22: ...1 Click Start Setting Control Panel 2 Double click the Display Icon 3 Choose the Settings tab and then click Advanced 4 Choose Monitor 5 Click Driver and then click on Update Driver then click on the Next button 6 Choose Display a list of the known drivers for this device so that I can choose a specific driver then click Next and then click Have disk 7 Click the Browse button then choose A D Drive...

Page 23: ...you wish to use Resolution Number of colors and Vertical frequency and then click OK 4 Click Apply button if you see the screen working normally after clicking Test If the screen is not normal change to a different mode lower mode of resolution colors or frequency If there is no Mode at All Display Modes select the level of resolution and vertical frequency by referring to the Preset Timing Modes ...

Page 24: ...nformation refer to Help F1 in the software program Installing the Natural Color Software Insert the CD included with the Samsung monitor into the CD ROM Drive The initial Natural Color screen will appear Click on Natural Color in the startup window to install the Natural Color software To install the program manually insert the CD included with the Samsung monitor into the CD ROM Drive click the ...

Page 25: ... closes the adjustment menu These buttons allows you to adjust items in the menu Press this button to activate a highlighted menu item Press to self adjust to the incoming PC signal The values of fine coarse and position are adjusted automatically AUTO ...

Page 26: ...e and position are adjusted automatically Available in analog Mode Only To make the automatic adjustment function sharper execute the AUTO function while the AUTO PATTERN is on z If Auto Adjustment does not work properly press AUTO button again to adjust picture with more accuracy z By changing the resolution in the control panel auto function is performed automatically OSD Lock Unlock When pressi...

Page 27: ...adjusting the current settings Lock Hold down the menu button for more than five seconds to activate the OSD adjustment lock function Unlock Hold down the menu button for more than five seconds to deactivate the OSD adjustment lock function Though the OSD adjustment lock function is activated you can still adjust the brightness and contrast and adjust MagicBright using the Direct button ...

Page 28: ...ght Push the MagicBright button to circle through available preconfigured modes Six different modes Custom Text Internet Game Sport Movie Volume Menu Description Volume When OSD is not on the screen push the button to adjust volume SOURCE ...

Page 29: ...s off 1 Picture Brightness Contrast 2 Color MagicColor Color Tone Color Control Gamma 3 Image Coarse Fine Sharpness H Position V Position 4 OSD Language H Position V Position Transparency Display Time 5 SETUP Auto Source Image Reset Color Reset 6 Information Picture ...

Page 30: ...olor more clearly without disturbing image quality 1 Off Returns to the original mode 2 Demo The screen before applying MagicColor appears on the right and the screen after applying MagicColor appears on the left 3 Full Displays not only vivid natural color but also more realistic natural skin color with clearness 4 Intelligent Displays vivid natural color with clearness MENU MENU Color Tone The t...

Page 31: ...luminance of the colors with intermediate luminance z Mode 1 z Mode 2 z Mode 3 MENU MENU Image Menu Description Play Stop Coarse Removes noise such as vertical stripes Coarse adjustment may move the screen image area You may relocate it to the center using the Horizontal Control menu Available in analog Mode Only MENU MENU Fine Removes noise such as horizontal stripes If the noise persists even af...

Page 32: ...e monitor s entire display Available in analog Mode Only MENU MENU OSD Menu Description Play Stop Language You can choose one of the nine languages Note The language chosen affects only the language of the OSD It has no effect on any software running on the computer MENU MENU H Position You can change the horizontal position where the OSD menu appears on your monitor MENU MENU V Position You can c...

Page 33: ... You can set the amount of time the menu will wait before it is turned off MENU MENU Setup Menu Description Play Stop Auto Source Select Auto Source for the monitor to automatically select the signal source MENU MENU Image Reset Image parameters are replaced with the factory default values MENU MENU Color Reset Color parameters are replaced with the factory default values MENU MENU Information ...

Page 34: ...Menu Description Information Shows a video source display mode on the OSD screen MENU MENU ...

Page 35: ...ed the MagicTune executable icon appears on your desktop Double click the icon to start the program Installation Problems The installation of MagicTune can be affected by such factors as the video card motherboard and the network environment System Requirements OS z Windows 2000 z Windows XP Home Edition z Windows XP Professional z Windows Vista Hardware z 32 MB Memory above z 60 MB Hard disk spac...

Page 36: ... XP go to Control Panel in the Start menu 2 Click the Add or Remove Programs icon in Control Panel 3 In the Add or Remove Programs screen scroll down to find MagicTune Click on it to highlight it 4 Click the Change Remove button to remove the program 5 Click Yes to begin the uninstall process 6 Wait until the Uninstall Complete dialog box appears Visit the MagicTune website for technical support f...

Page 37: ... the MagicRotation to work properly The installed Display Driver should be the latest driver supplied by the vendor 2 If some applications like Windows Media Player Real Player etc are not displaying movie files properly in 90 180 and 270 orientations then do the following Close the application Select the Orientation 90 180 270 you want to view the application Relaunch the application In most case...

Page 38: ...ption of the Windows Control Panel Perform the following steps to remove MagicRotation 1 Go to Task Tray Start Settings and select Control Panel in the menu If the program runs on Windows XP go to Control Panel in the Start menu 2 Click the Add Remove Programs icon in Control Panel 3 In the Add Remove Programs screen scroll down to find MagicRotation Click on it to highlight it 4 Click the Change ...

Page 39: ... monitor double check the input signal source If the power is on reboot the computer to see the initial screen the login screen which can be seen If the initial screen the login screen appears boot the computer in the applicable mode the safe mode for Windows ME XP 2000 and then change the frequency of the video card Refer to the Preset Timing Modes Note If the initial screen the login screen does...

Page 40: ... shows strange colors or just black and white Is the screen displaying only one color as if looking at the screen through a cellophane paper Check the signal cable connection Make sure the video card is fully inserted in it s slot Have the screen colors become strange after running a program or due to a crash between applications Reboot the computer Has the video card been set properly Set the vid...

Page 41: ...computer sound card or software program Check when MagicTune does not function properly MagicTune feature is found only on PC VGA with Window OS that supports Plug and Play To check whether your PC is available for MagicTune feature follow the steps below When Windows is XP Control Panel Performance and Maintenance System Hardware Device Manager Monitors After deleting Plug and Play monitor find P...

Page 42: ... card Note that video card support can vary depending on the version of the driver used Refer to the computer or the video card manual for details How can I adjust the resolution Windows ME XP 2000 Set the resolution in the Control Panel Display Settings Contact the video card manufacturer for details How can I set the Power Saving function Windows ME XP 2000 Set the function in the BIOS SETUP of ...

Page 43: ...e are any sub woofer speakers near the monitor unplug and relocate the woofer to another room 2 Remove all electronic devices such as radios fans clocks and telephones that are within 3 feet one meter of the monitor Useful Tips z A monitor recreates visual signals received from the computer Therefore if there is a problem with the computer or the video card this can cause the monitor to become bla...

Page 44: ...Input Signal Terminated RGB Analog DVI Digital Visual Interface Compliant Digital RGB 0 7Vp p Positive at 75 Ω Separate H V sync Composite sync SOG TTL level positive or negative Maximum Pixel Clock 140 MHz Power Supply AC 100 240 V 10 50 60 Hz Signal Cable 15pin to 15pin D sub cable detachable DVI D to DVI D connector detachable not supplied Dimensions WxHxD Weight HAS Stand 370 0 x 342 3 x 64 1 ...

Page 45: ...unication equipment for residential use This product complies with the Electromagnetic Compatibility Directives for residential use and can be used in all areas including common residential areas Class B equipment emits less electromagnetic waves than Class A equipment PowerSaver This monitor has a built in power management system called PowerSaver This system saves energy by switching your monito...

Page 46: ... x 480 37 500 75 000 31 500 VESA 640 x 480 37 861 72 809 31 500 VESA 800 x 600 35 156 56 250 36 000 VESA 800 x 600 37 879 60 317 40 000 VESA 800 x 600 46 875 75 000 49 500 VESA 800 x 600 48 077 72 188 50 000 VESA 1024 x 768 48 363 60 004 65 000 VESA 1024 x 768 56 476 70 069 75 000 VESA 1024 x 768 60 023 75 029 78 750 VESA 1280 x 1024 63 981 60 020 108 00 VESA 1280 x 1024 79 976 75 025 135 00 Horiz...

Page 47: ...HILE 800 726 7864 SAMSUNG http www samsung com cl COLOMBIA 01 8000112112 http www samsung com co COSTA RICA 0 800 507 7267 http www samsung com latin ECUADOR 1 800 10 7267 http www samsung com latin EL SALVADOR 800 6225 http www samsung com latin GUATEMALA 1 800 299 0013 http www samsung com latin JAMAICA 1 800 234 7267 http www samsung com latin PANAMA 800 7267 http www samsung com latin PUERTO R...

Page 48: ...com uk SLOVAKIA 0800 SAMSUNG 7267864 http www samsung com sk SPAIN 902 10 11 30 http www samsung com es SWEDEN 0771 400 200 http www samsung com se SWITZERLAND 0800 7267864 http www samsung com ch U K 0870 SAMSUNG 7267864 http www samsung com uk CIS ESTONIA 800 7267 http www samsung ee LATVIA 800 7267 http www samsung com lv LITHUANIA 8 800 77777 http www samsung lt KAZAKHSTAN 8 800 080 1188 http ...

Page 49: ...f the screen horizontally is called the Horizontal Cycle The inverse number of the Horizontal Cycle is called Horizontal Frequency Unit kHz Interlace and Non Interlace Methods Showing the horizontal lines of the screen from the top to the bottom sequentially is called the Non Interlace method while showing odd lines and then even lines in turn is called the Interlace method The Non Interlace metho...

Page 50: ...f there s still noise after the automatic adjustment use the FINE COARSE adjustment function 5 When viewing a fixed screen for an extended period of time residual image or blurriness may appear Change the mode to energy saving mode or set a screensaver to a changing picture when away from the monitor for an extended period of time Authority Information in this document is subject to change without...

Page 51: ...Save Mode Ex z Turn the power off when using a stationary pattern z Use a Screen saver if possible z Set the Monitor to power off with the PC Display Properties Power Scheme Turn the power off for 4 hours after 20 hours in use Turn the power off for 2 hours after 12 hours in use Screen saver in one color or a moving image is recommended Suggestions for specific applications Ex Airports Transit Sta...

Page 52: ...patterns When the LCD panel is operated for a long time with a fixed pattern over 12 hours there may be slight difference in voltage between electrodes that work the liquid crystal LC in a pixel The voltage difference between electrodes increases with time forcing the liquid crystal to lean When this occurs the previous image may be seen when the pattern is changed To prevent this the accumulated ...

Page 53: ...nment or human health from uncontrolled waste disposal please separate this from other types of wastes and recycle it responsibly to promote the sustainable reuse of material resources Household users should contact either the retailer where they purchased this product or their local government office for details of where and how they can take this item for environmentally safe recycling Business ...

Reviews: