


English - 50
3.
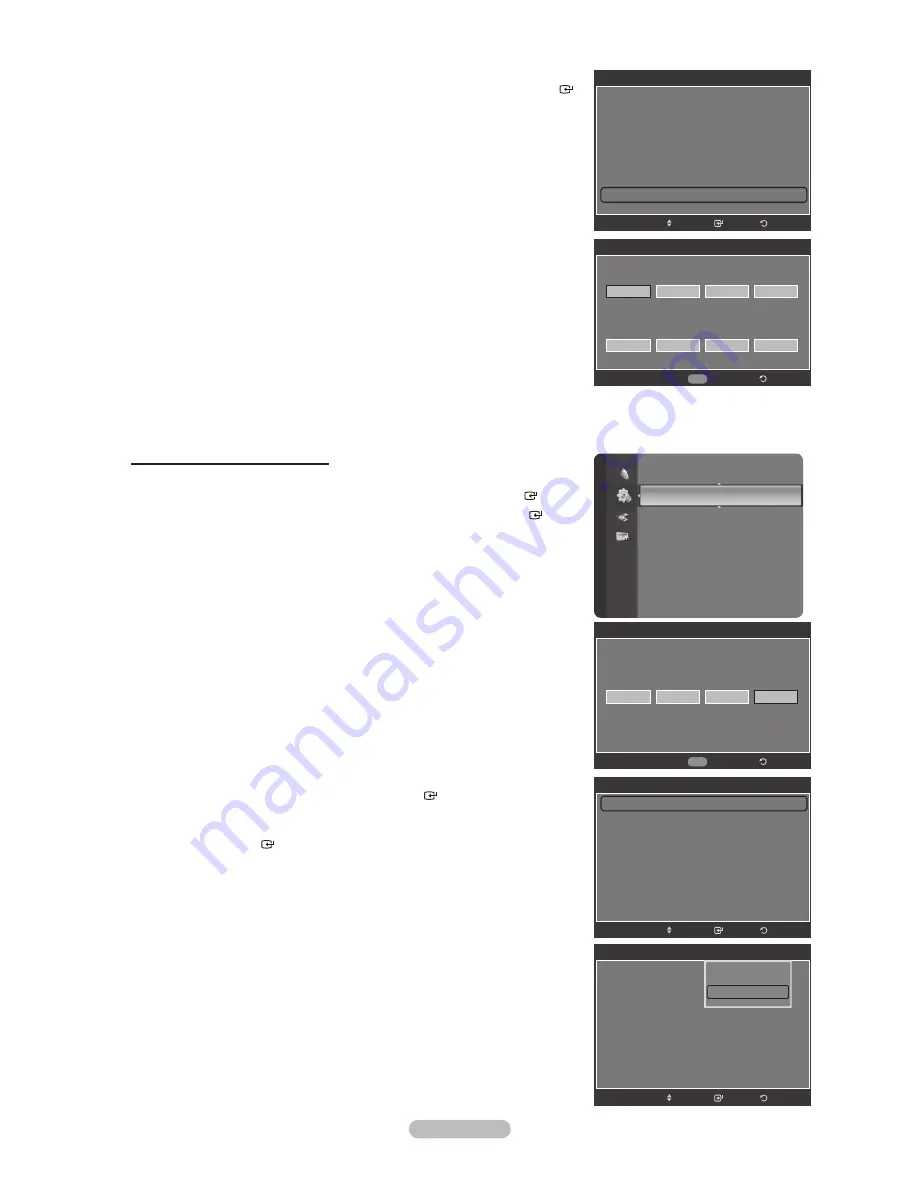
The “V-Chip” screen will appear.
Press the or button to select “Change PIN”, then press the
ENTER
button. The Change PIN screen will appear. Choose any 4 digits for your
PIN and enter them. As soon as the 4 digits are entered, the “Conrm new
PIN.” screen appears. Re-enter the same 4 digits. When the Conrm screen
disappears, your PIN has been memorized.
Press
the
EXIT
button to exit.
If you forget the PIN, press the remote-control buttons in the following
sequence, which resets the pin to 0-0-0-0 : Power Off. Mute 8 2
4 Power On.
How to Enable/Disable the V-Chip
1.
Press the
MENU
button to display the menu.
Press the or button to select “Setup”, then press the
ENTER
button.
2.
Press the or button to select “V-Chip”, then press the
ENTER
button. The message “Enter PIN” will appear. Enter your 4 digit PIN number.
3.
The “V-Chip” screen will appear.
To enable the V-Chip feature, press the
ENTER
button so that the “V-Chip
Lock” eld is “On”. (Pressing the or button will alternate between “On”
and “Off”.)
Press
the
ENTER
button.
Press
the
EXIT
button to exit.
°
Change PIN
Enter new PIN.
Return
0~9 Enter PIN
Confirm new PIN.
V-Chip
V-Chip Lock
: Off
TV Parental Guidelines
MPAA Rating
Canadian English
Canadian French
Downloadable U.S. Rating
Change PIN
Return
Enter
Move
Setup
Language :
English
Time
V-Chip
Caption
External Settings
Entertainment :
Off
Energy Saving
: Off
PIP
SW Upgrade
V-Chip
*
*
Enter PIN
*
Return
0~9 Enter PIN
V-Chip
V-Chip Lock
: Off
TV Parental Guidelines
MPAA Rating
Canadian English
Canadian French
Downloadable U.S. Rating
Change PIN
Return
Enter
Move
V-Chip
V-Chip Lock
: Off
TV Parental Guidelines
MPAA Rating
Canadian English
Canadian French
Downloadable U.S. Rating
Change PIN
Return
Enter
Move
Off
On
Summary of Contents for series 5 530
Page 100: ... _ BN63 01798A Q1 ...
Page 105: ...Printed in Mexico AA68 03242L 01 ...


