© Goodson Wainwright Associates Ltd. 2007 (Samsung Techwin Technical Support)
SDN- 550 Quick Reference Guide
Recommended SSNR settings for general use:
1. It is recommended that « SENS-UP » is set to 8x max for
general applications.
2. Set SSNR level to LOW or MIDDLE.
3. Set AGC level to LOW or MIDDLE.
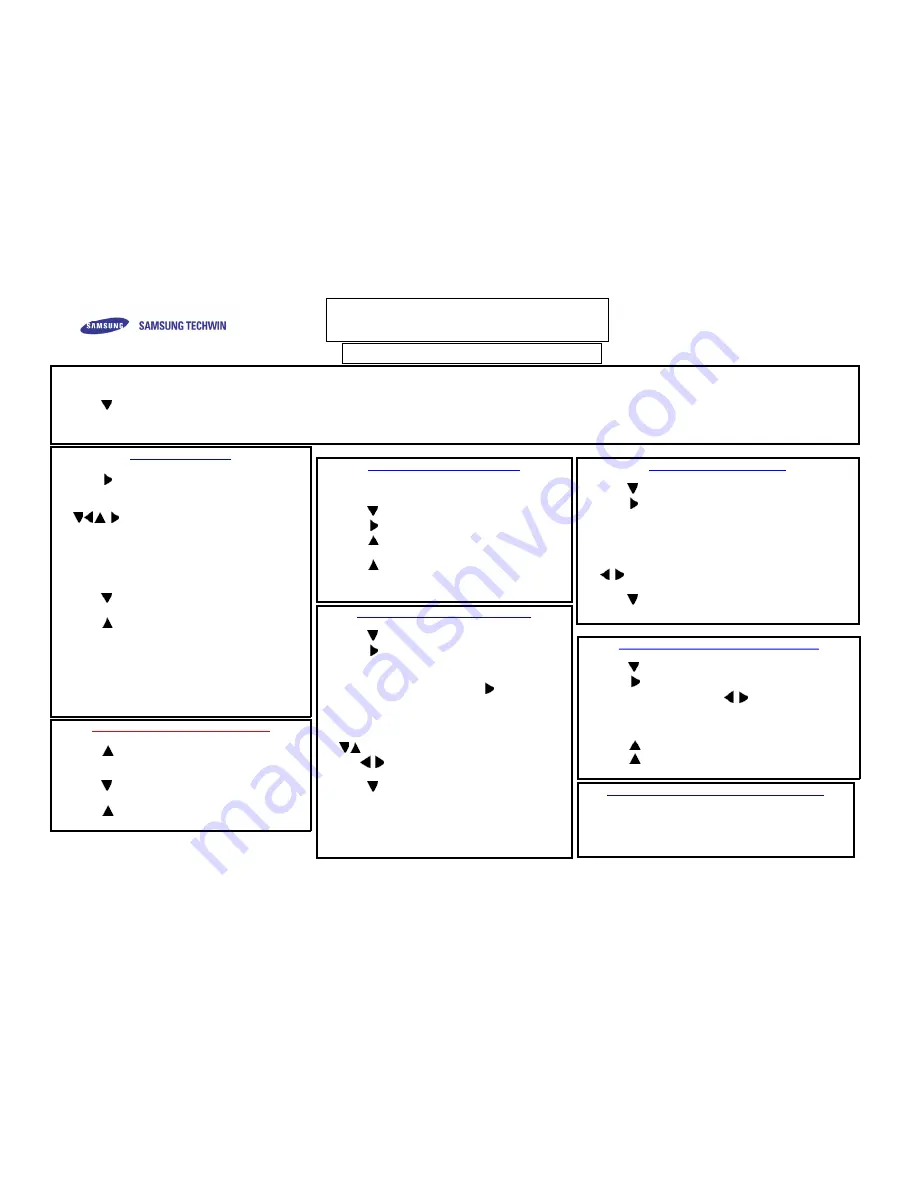
SPECIAL MENU SETTINGS
All these functions are accessed by selecting the function “SPECIAL” from the main Menu. This is achieved by:
1.
Press SETUP at the rear of the camera.
2.
Press 7x « SPECIAL »
3.
Press SETUP 1x
4. You are now in the SPECIAL functions menu.
To Set the DAY/NIGHT Function:
The Camera is set to COLOR (DAY) by default. To
enable the automatic DAY/NIGHT mode:
1. Access SPECIAL menu
2. Press 1x « COLOR »
3. Press 1x « AUTO »
4. Press 2x « RETURN »
5. Press SETUP 1x
6. Press 1x « EXIT »
7. Press SETUP 1x to exit menu.
8. The DAY/NIGHT function is now automatic.
To set the PRIVACY function:
1. Access the SPECIAL menu.
2. Press 4x « PRIVACY »
3. Press 1x « ON »
4. Press SETUP 1x
5. The setup of this screen is exactly the same as MOTION
DETECTION, with the addition of the option to change the
Shade of the privacy mask displayed on screen.
6. Select « AREA TONE » and change the shade using
. Black is 0, White is 100.
7. To exit, Press SETUP 1x.
8. Press 4x « RETURN » then SETUP 1x.
Select EXIT and Press SETUP 1x to exit menu
To Set the Motion Detection function:
1. Access SPECIAL menu.
2. Press 3x « MOTION DET »
3. Press 1x « ON »
4. Press SETUP 1x
5. It is possible to set 4 zones to detect movement.
6. Select each zone (1,2,3,4) using
7. Remove a particular Zone by selecting « AREA
STATE » below. Choose OFF to disable the zone.
8. The options TOP / DOWN / LEFT / RIGHT adjust
the size and the position of the detection zone. Use
to select a particular dimension.
9. Use to adjust the value.
10. Press SETUP to exit.
11. Press 5x « RETURN »
12. Press SETUP 1x.
13. Select EXIT and Press SETUP 1x to exit menu.
To Set the Digital Zoom function (DZOOM):
1. Access SPECIAL menu.
2. Press 2x « DZOOM »
3. Press 1x « ON ». Press SETUP 1x
4. Adjust the zoom level using (it is recommended that
« DZOOM » is set no more than 2x for general
applications)
5. Press SETUP 1x
6. Press 3x « RETURN » Press SETUP 1
7. Press 1x « EXIT »
8. Press SETUP 1x to exit menu.
To set the Camera ID:
1. Access the SPECIAL menu (See above)
2. Press 1x
3. Press SETUP 1x
4. Choose the camera name up to 16 characters, using
.
5. After each letter or Number, Press SETUP.
6. To correct errors, use the left arrow to delete.
7. CLR erases all characters.
8. Select POS to place the camera title on the screen.
9. When the Camera ID is complete, select END to save
the ID.
10. Press 8x « RETURN »
11. Press SETUP 1x
12. Press 1x « EXIT »
13. Press SETUP 1 x to exit menu.
To RESET Settings to Factory Default:
1. Access the SPECIAL menu.
2. Press 2x « RESET »
3. WARNING!! ALL SETTINGS WILL NOW BE RESET!
4. Press SETUP 1x
5. Press 1x. « RETURN »
6. Press SETUP 1x
7. Press 1x « EXIT »
8.
Press SETUP 1 x to exit menu.


