background image

P/No. : Z6806-0877-01A

VAN 08. 03

www.samsungtechwin.com

www.samsungcctv.com

SAMSUNG TECHWIN CO., LTD.

145-3, Sangdaewon-dong, Jungwon-gu, Seongnam-si, Gyeonggi-do, 462-120, Korea
TEL : +82-31-740-8151~8158    FAX : +82-31-740-8145

SAMSUNG OPTO-ELECTRONICS UK, LTD.

Samsung House, 1000 Hillswood Drive, Hillswood Business Park Chertsey, Surrey KT16 OPS
TEL : +44-1932-45-5308     FAX : +44-1932-45-5325

SALES NETWORK

Thank you for purchasing a SAMSUNG CCD CAMERA.
Before attempting to connect or operate this product,
please read these instructions carefully and save this manual for future use.

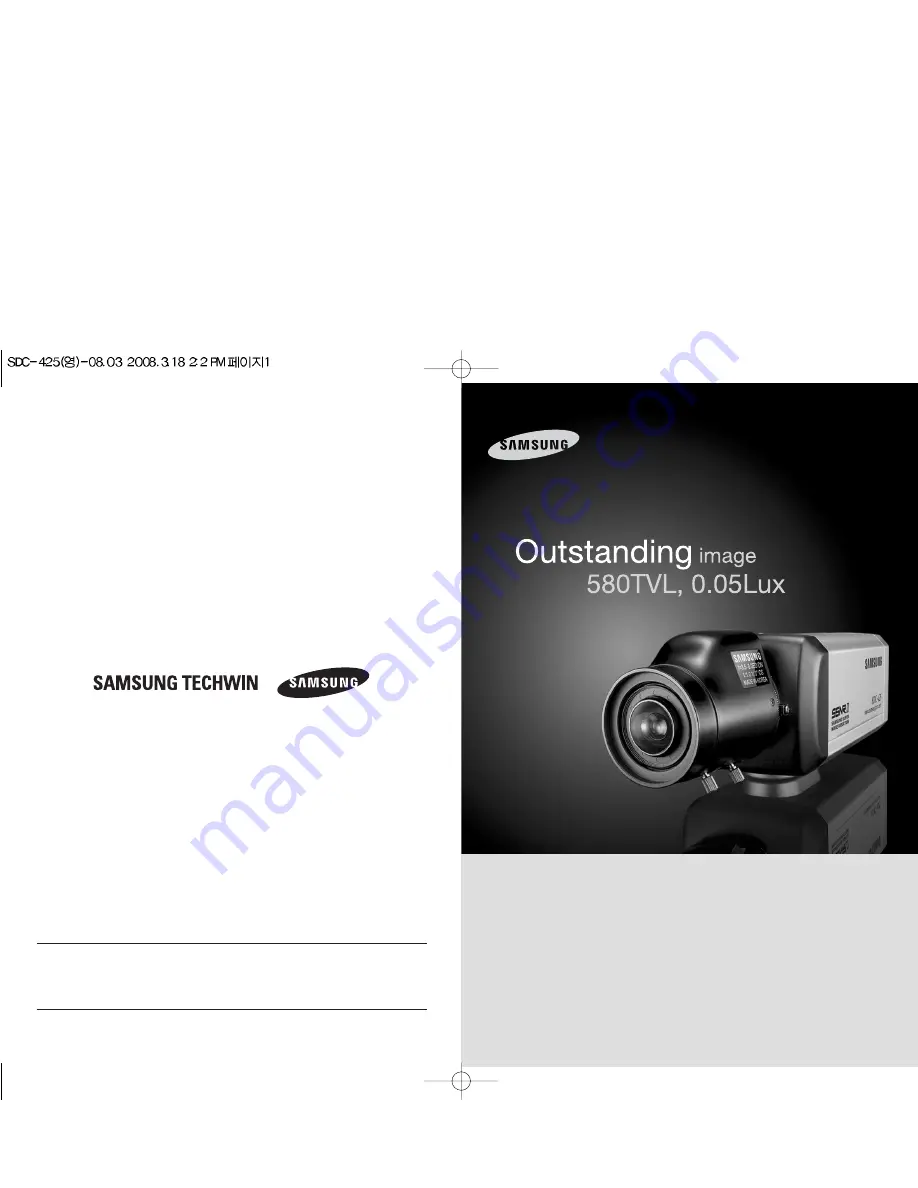
Ultra High Resolution Camera SDC-425

User’s Manual

ENGLISH

Summary of Contents for SDC-425

Page 1: ...145 SAMSUNG OPTO ELECTRONICS UK LTD Samsung House 1000 Hillswood Drive Hillswood Business Park Chertsey Surrey KT16 OPS TEL 44 1932 45 5308 FAX 44 1932 45 5325 SALES NETWORK Thank you for purchasing a SAMSUNG CCD CAMERA Before attempting to connect or operate this product please read these instructions carefully and save this manual for future use Ultra High Resolution Camera SDC 425User s Manual ...

Page 2: ...is equipment generates uses and can radiate radio frequency energy and if not installed and used in accordance with the instruction manual may cause harmful interference to radio communications Operation of this equipment in a residential area is likely to cause harmful interference in which case the user will be required to correct the interference at his own expense WARNING Changes or modificati...

Page 3: ...nitor activity more efficient DIS Digital Image Stabilizer The DIS function compensates for any camera movement to produce more stable pictures Video DC Drive Lens Support You can select Video or DC Drive Lens from the menu Miscellaneous Functions HLC High Light Compensation SYNC INT LL SENS UP FREEZE FLIP H V REV D ZOOM SHARPNESS MOTION DETECTION and PRIVACY functions are provided OSD The camera ...

Page 4: ... we can t compensate for material loss and orpersonalinjuriesbyrobbery fire naturaldisasterorsomethinglikethistype Ignoring this information may result in material loss and or serious personal injuries including death Indicates Never Allowed Ignoring this information may result in material loss and or a slight injuries Indicates No Disassembling Warnings Cautions Warning Attention Special Mark Mes...

Page 5: ...al Overview CCD protection cap Please cover the CCD SENSOR when not using it C Mount lens adaptor Please attach the C Mount lens here CS Mount lens adaptor Please remove the C MOUNT lens adaptor and then attach it Back Focus clamp screw Please loosen the clamp screw with a screwdriver before adjusting the Back Focal length Auto Iris Lens Connector Front View Side View Bottom View Tripod Mounting B...

Page 6: ...effectively enjoy the major functions of this camera Keep the lens surface clean since if it is contaminated with dirt or fingerprints the picture quality suffers Notes 1 Strip the insulation of the auto iris lens cable 8mm from the end 2 Strip the insulation of the core of the auto iris lens cable to expose a 2mm length approx 8mm approx 2mm 3 Remove the cover of the auto iris lens connector plug...

Page 7: ...uto lens Use of PK mode may cause hunting Notes C mount lens 10 mm or less CS mount lens 5 mm or less Connecting a Monitor Connecting Power Please connect the video output terminal located on the back of the camera to the monitor The connection method varies depending on the type of monitor and accessories Please refer to the user s manual for each instrument Please turn off the power when connect...

Page 8: ... HLC SSNR ON OFF DAY NIGHT COLOR B W AUTO IMAGE ADJUSTMENT FREEZ V REV H REV IMAGE ADJ D ZOOM SHARPNESS RETURN SPECIAL CAMTITLE SYNC MOTION DET PRIVACY DIS LANGUAGE RESET RETURN EXIT How to Set up the Functions You can set up functions using the 5 buttons on the rear of the camera UP button SET button LEFT button DOWN button RIGHT button 1 Press the SET button Main setup menu is displayed on the m...

Page 9: ...e Up and Down buttons EXPOSURE MAIN SETUP 1 LENS DC 2 EXPOSURE MAIN SETUP 1 LENS DC 2 EXPOSURE 3 WHITE BAL ATW Manual Select Manual Lens EXPOSURE 1 SHUTTER 2 AGC HIGH 3 SENS UP OFF 4 RETURN SHUTTER You can select either auto or manual shutter A FLK Select this when you experience picture flicker which can happen when there is a clash with the frequency of the installed lighting ESC Select this to ...

Page 10: ...e environment in this mode set the point the camera towards a sheet of white paper and press the SET button If the environment changes readjust it MANUAL Select this to fine tune White Balance manually Set White Balance first by using the ATW or AWC mode After that switch to MANUAL mode fine tune the White Balance and then press the SET button White Balance may not work properly under the followin...

Page 11: ...n buttons so that the arrow indicates SSNR 2 Select a desired mode using the Left and Right buttons OFF Deactivates SSNR Noise is not reduced ON Activates SSNR so that noise is reduced Because there can be a difference in the effectiveness of HLC according to the amount of light area in the screen optimize the installation angle for the best HLC performance In a dark environment the HLC is only ac...

Page 12: ... but switches to B W mode when ambient illumination is low To set up the switching time or speed for AUTO mode press the SET button DWELL TIME You can select the duration time about changing the day night mode 5s 7s 10s 15s 20s 30s 40 60s When using a Video Auto Iris Lens if you set the lens level to low automatic switching between Color and Black White may not occur You cannot control the DAY NIG...

Page 13: ...buttons so that the arrow indicates SPECIAL SPECIAL CAM TITLE If you enter a title the title will appear on the monitor 1 If the SPECIAL menu screen is displayed use the Up and Down buttons so that the arrow indicates CAM TITLE 2 Set it to ON by using the Left and Right buttons 3 Press the SET button 4 Use the 4 direction buttons to move to a desired letter and select the letter by pressing the SE...

Page 14: ...ayed press the Up and Down buttons so that the arrow indicates MOTION DET 2 Set up the mode using the 4 direction buttons SENSITIVITY You can select up to 8 MD areas When SENSITIVITY number is high motion detection sensitivity is increased to recognize even small movement AREA MODE Determines whether to use the MD area selected in SENSITIVITY SEL POS Determines which of the 4 vertices of each MD a...

Page 15: ...onbetween the camera and monitor are fixed properly Check that you have properly connected VIDEO cable to the camera VIDEO output jack Check that the lens type is VIDEO lens or DC lens The image on the screen is dim Is lens stained with dirt Clean your lens with soft clean cloth Set the monitor to proper condition If the camera is exposed to too strong light change the camera position The image on...

Page 16: ...ectrical DAY NIGHT Gain Control White Balance Electronic shutter speed SENS UP SSNR Motion Detection PRIVACY V REV H REV FREEZE SHARPNESS IRIS Control DIS D ZOOM CAM TITLE Lens Mount Operating Temperature Humidity Dimension Weight 1 3 inch Diagonal 6mm Sony Interline CCD 811 H X 508 V 795 H x 596 V 768 H x 494 V 752 H x 582 V 2 1 Interlace H 15 734 KHz V 59 94 Hz H 15 625 KHz V 50 00 Hz Korean Eng...

Reviews: