


Camera Operation
COLOR CCD CAMERA
User’s Manual
25
COLOR CCD CAMERA
User’s Manual
24
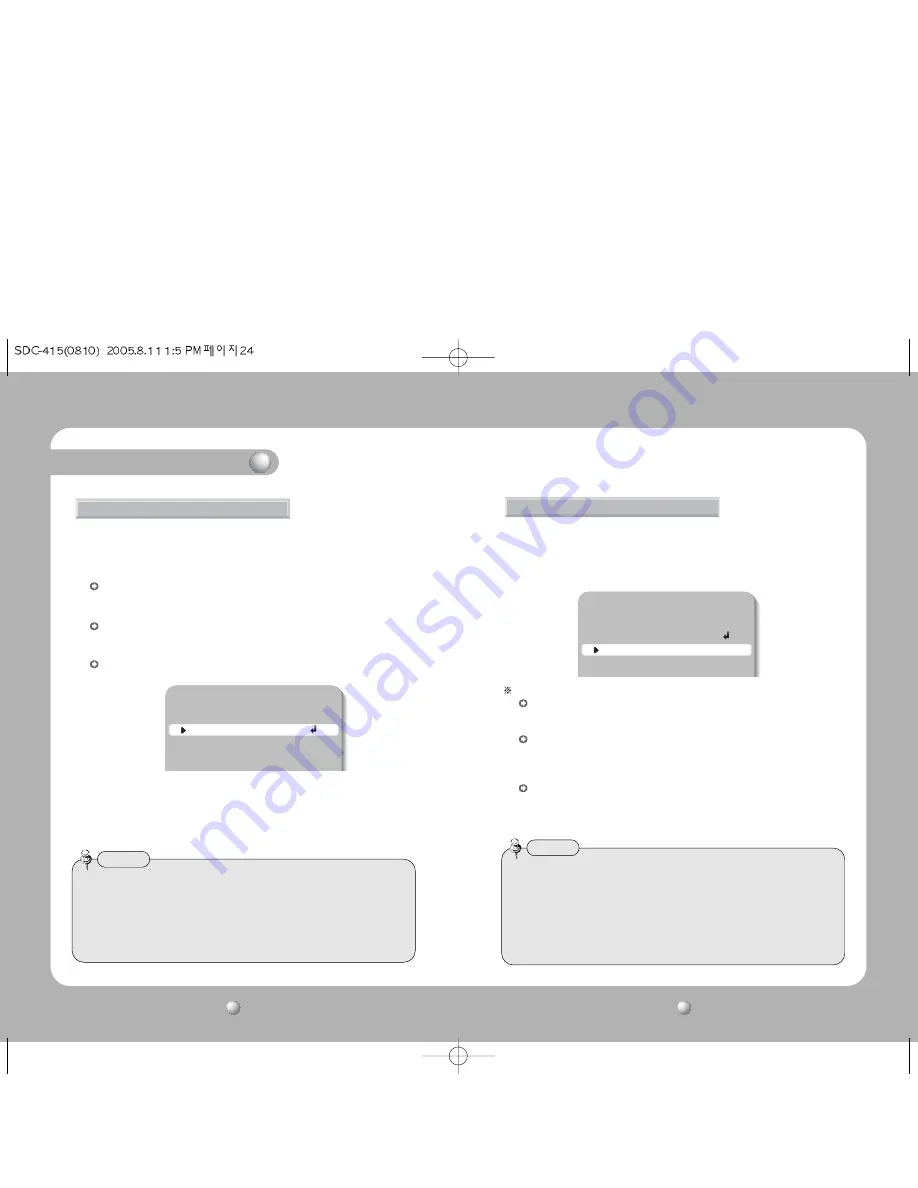
SETUP
LENS
MANUAL
SHUTTER
ESC
WHITE BAL.
ATW
BACKLIGHT
OFF
3. Please select 'MANUAL' mode if you wish to adjust the shutter manually.
• You can select speed from ‘1/60’ to ‘1/120,000’sec (NTSC Models), ‘1/50’ to
‘1/120,000’sec (PAL Models).
4. Please press the SETUP button when all the settings are complete.
• When selecting DC/VIDEO lens, the shutter speed is fixed at 1/60.
• While using the internal synchronous system, if the shutter setting is on
'ESC' and the camera is directly facing a bright fluorescent light, the image on
the screen can be adversely affected. Therefore please choose the installation
location with care.
• When 'MANUAL' mode is on, the SENS UP function does not operate.
Note
The screen color can be adjusted by using the WHITE BALANCE function.
1. Please position the arrow to point to 'WHITE BAL' on the SETUP menu by
using the UP and DOWN buttons.
2. Please select the mode you wish to operate by pressing the LEFT or RIGHT
button.
Please select one of the 3 modes below.
ATW(Auto Tracking White Balance)
: This mode can be used within the color
temperature range 1,800°K ~ 10,500°K (eg, fluorescent light, outdoor, sodium
vapor lamp or inside tunnels)
AWC(Auto White Balance Control)
: Please press the SETUP button while the
camera is directed at a piece of white paper to obtain the optimum state under
current illumination. If the environment including the light source is changed,
you have to adjust the white balance again.
MANUAL
: The manual adjustment mode enables finer adjustment.
Please select ATW or AWC first. Please change to manual adjustment mode and press
the SETUP button. Please set the appropriate color temperature, and then increase or
decrease the red and blue color values while monitoring the color changes on the object.
WHITE BALANCE control
SHUTTER (condition and speed control)
Auto or manual control can be selected.
1. When the SETUP menu is on the screen, please position the arrow to
point to 'SHUTTER' by using the DOWN button.
2. Please select the shutter mode by pressing the LEFT or RIGHT button.
FLK
: Please select 'FLK' mode when flickering occurs on the screen,
due to an imbalance between illumination and frequency.
NTSC Model:1/100, PAL MODEL: 1/120
ESC
: Auto control of the shutter speed can be achieved. When ESC
mode is on, the speed is controlled automatically according to the
brightness of the screen.
MANUAL
: The shutter speed can be controlled manually.
SETUP
LENS
MANUAL
SHUTTER
ESC
WHITE BAL.
ATW
BACKLIGHT
OFF
• Under the following conditions the WHITE BALANCE function may not operate
properly. In such cases, please select the AWC mode.
When the object’s surroundings have a very high color temperature (eg, a
clear sky and sunset)
When the object’s surroundings are dark
If the camera directly faces a fluorescent light or is installed in a place where
there are considerable changes in illumination, the WHITE BALANCE
function may become unstable.
Note
Summary of Contents for SDC-415 Series
Page 21: ...MEMO MEMO ...


