background image

E

E

38

39

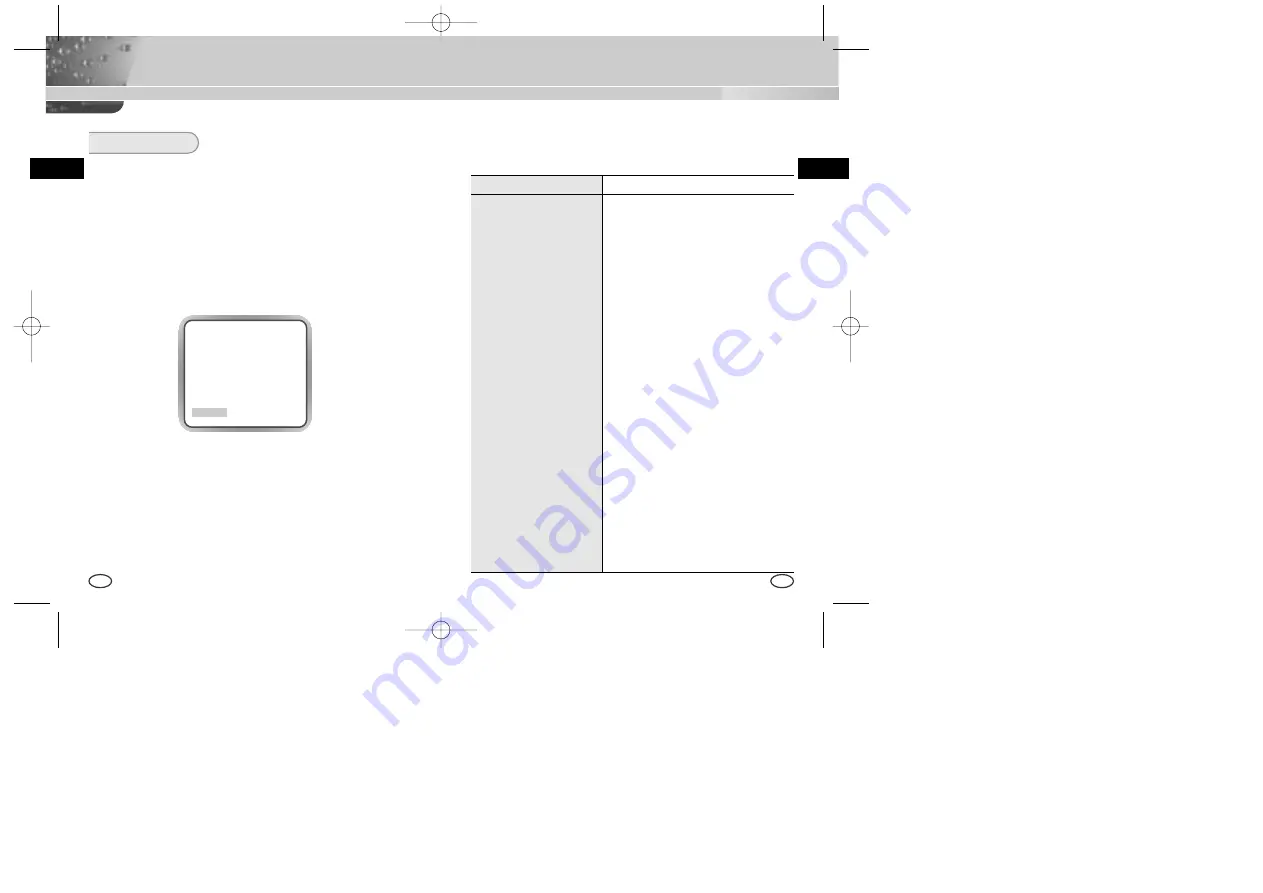
The EXIT menu is used for the termination of the CAMERA SETUP menu.

QUIT

Ignores any change and returns to the previously saved SETUP menu.

SAVE

Saves all the changes to the menu until now.

PRESET

Ignores any change and returns to the initial value of the CAMERA

SETUP menu which was set for the product shipment.

EXIT

ITEM

DESCRIPTION

Definition

CCTV CAMERA (WDR & DAY/NIGHT)

Power Source

SCC-B2305(P) : AC 24V ± 10% (NTSC:60Hz ±

0.1Hz, PAL:50Hz ± 0.1Hz), DC12V +10% ~ -5%

SCC-B2005P : AC220V ~ AC240V (50Hz 

±0.1Hz) 

Power Consumption

SCC-B2305(P) : Approx. 4.5W

SCC-B2005P : Approx. 5W

Broadcasting System

SCC-B2305:NTSC Standard Color System

SCC-B2305(P),SCC-B2005P:PAL Standard 

Color System

Imaging Device

1/3 inch P/S CCD

Effective Pixel

NTSC:768(H) X 494(V) 

PAL:752(H) X 582(V) 

Scanning Method

NTSC:525 Line, 2:1  Interlace

PAL:625 Line, 2:1  Interlace

Line Frequency

Horizontal(NTSC) : 15,734 Hz(INT) / 15,750 Hz(L/L)

Horizontal(PAL) : 15,625 Hz(INT) / 15,625 Hz(L/L)

Vertical(NTSC)   : 59.94 Hz(INT) / 60 Hz(L/L)

Vertical(PAL)   : 50 Hz(INT) / 50 Hz(L/L)

Synchronization Method

INT/Line Lock

Resolution

480 TV Lines

S/N Ratio

Over 50dB (AGC Off)

Product Specification

SCC-B2305(P)/B2005P Special Features

CAMERA ID

OFF

IRIS

DC...

BLC/WDR

OFF

COLOR/BW

AUTO...

SHUTTER

AUTO X2

AGC

F.FAST

WHITE BAL

ATW

SYNC

INT

SPECIAL

...

EXIT

QUIT

00371A 

SCC-B2305(P)-eng 


2003.6.27 

11:16 

AM 


페이지38

Summary of Contents for Scc-B2305

Page 1: ...E WDR DAY NIGHT COLOR CAMERA SCC B2305 P B2005P User s Manual 0 0 3 7 1 A S C C B 2 3 0 5 P e n g 2 0 0 3 6 2 7 1 1 1 6 A M 페이지1 ...

Page 2: ...sed use caution when moving the cart apparatus combination to avoid injury from tip over 14 Refer all servicing to qualified service personnel Servicing is required when the apparatus has been damaged in any way such as power supply cord or plug is damaged liquid has been spilled or objects have fallen into the apparatus the apparatus has been exposed to rain or moisture does not operate normally ...

Page 3: ... of sensitivity so that it is called a low illumination camera which is able to identify objects in a dark area Meanwhile it has incorporated a Sense Up function owing to a low speed shutter and a field accumulation method to improve its low illumination feature prominently The DAY NIGHT Camera is mostly used in dark places like basement parking lots with a comparatively low illumination In daytim...

Page 4: ...ronization directly to improve controllability and reliability of the camera High Resolution It realizes high resolution resulting from full digital image processing supported by a state of art digital signal technology Output Signal Setting You may select the REVERSE horizontally vertically or both function of the video output signal and the private horizontal and vertical profile Side View Mount...

Page 5: ...tion VIDEO When you attach an Auto Iris lens requiring the video control signal please put this switch in the VIDEO position Power Display LED When the camera is supplied with power LED is on Video Output Terminal The monitor video input terminal is connected with this terminal through which the camera video signal comes out Remote Input Terminal RS 232 This terminal is used for camera control at ...

Page 6: ...entially which can be assigned in each setup menu ENTER key It is used to enter the Setup menu Press it about 2 seconds It is used to enter a sub menu of a setup menu by clicking the setup menu or to set the current value Power Connection Port This port is connected to the power adapter cable DAY NIGHT IN GND ALARM OUT Connect an external sensor to the DAY NIGHT terminal as shown in then connect a...

Page 7: ...hould be stored and treated with care to avoid any damage Do not put or operate the camera in rain or wet places Do not scrub the camera body with rough sandpaper when it is stained Please use a dry cloth at all times Put the camera in a cool area free from direct light Otherwise the camera may be damaged Be sure to check if the following items are included in the package Before Installation Check...

Page 8: ... Control Type VIDEO Control Type 1 Damp Power 12V 2 Damp N A 3 Drive VIDEO Signal 4 Drive GROUND Installation Lens Fixing In case of CS lenses Turn the CS lens clockwise until it is fixed as shown as follows In case of C lenses Turn the C mount adapter clockwise to fix it Then turn the C lens clockwise until it is fixed as follows CS lens C lens 0 0 3 7 1 A S C C B 2 3 0 5 P e n g 2 0 0 3 6 2 7 1 ...

Page 9: ... fixed focus lenses Lenses with zoom function Image an object with high resolution letticed at a distance of 3 to 5 m and zoom in the lens as close to TELE as possible Then adjust the lens focus bar until the object is seen best Zoom in the lens as close to WIDE as possible and adjust the BACK FOCUS adjustment bar until the object is seen best Repeat from to above 2 or 3 times until the focus on t...

Page 10: ... Then connect the power adapter Connect a part of the power adapter composed of 2 lines to the Camera Power In terminal with a flat head driver as follows GND marked with a white line Power source may be AC24V or DC12V irrespective of polarity BNC cable Video Out Terminal Video In Terminal of Monitor Rear Surface SCC B2305 P SCC B2005P 0 0 3 7 1 A S C C B 2 3 0 5 P e n g 2 0 0 3 6 2 7 1 1 1 6 A M ...

Page 11: ...C OFF WHITE BAL ATW SYNC INT SPECIAL EXIT QUIT CAMERA ID A B C D E F G H I J K L M N O P Q R S T U V W X Y Z 0 1 2 3 4 5 6 7 8 9 SP SP LOCATION RET CAMERA ID ON OFF CAMERA ID AND LOCATION SETUP SETUP MENU IRIS DC VIDEO ELC DC IRIS SETUP ELC LEVEL SETUP BLC AREA SETUP BOTTOM TOP LEFT RIGHT CENTER LEVEL SETUP FLICKERLESS SETUP BURST ON OFF BURST ON OFF LEVEL DURATION BURST ON OFF PHASE SETUP 3200K 5...

Page 12: ...ut the ALC LENS selection switch on the camera side in VIDEO position ELC This menu controls the High Speed Shutter Level within a limited range in the event of too intensive radiation from outside while using the Manual Lens If you select the ELC in the IRIS menu and press the ENTER key the following subscreen will appear Here you are able to set the level by pressing the LEFT or RIGHT key IRIS p...

Page 13: ...ify the already set BOTTOM area WDR The WDR camera is state of the art to enlarge the screen profit effectively especially for taking photos of a window in a building In short it revives both the indoor and outdoor status as they are clearly BLC WDR press the ENTER key press the ENTER key CAMERA ID ON IRIS ELC BLC WDR BLC COLOR BW COLOR SHUTTER OFF AGC OFF WHITE BAL ATW SYNC INT SPECIAL EXIT QUIT ...

Page 14: ...in color COLOR BW press the ENTER key BW This is the IR Filter OFF Mode in black and white high sensitivity like BW cameras If you select the BW and press the Enter key the BW submenu screen will appear You will be able to send out the BURST signal by turning on or off in this menu CAMERA ID ON IRIS DC BLC WDR OFF COLOR BW COLOR SHUTTER OFF AGC OFF WHITE BAL ATW SYNC INT SPECIAL EXIT QUIT CAMERA I...

Page 15: ...rting the COLOR mode into the BW mode press the ENTER key EXT This menu automatically converts the COLOR Mode into the BW Mode or vice versa depending on illumination with an external sensor If you select the EXIT menu and press the Enter key the EXTERNAL BW submenu will appear on the menu screen You will be able to send out the BURST signal by turning on or off in this menu press the ENTER key CA...

Page 16: ... which slows the shutter speed to make clearer and brighter the screen images taken in dark illumination If you want to slow the shutter speed automatically depending on the degree of darkness by sensing the intensity of radiation please select the AUTO low speed If you keep pressing the LEFT or RIGHT key the following speeds appear in sequence OFF AUTO X2 AUTO X4 AUTO X6 AUTO X8 AUTO X12 AUTO X16...

Page 17: ...lly AWC If you select the AWC mode in the WHITE BAL menu you will be able to set up the White Balance to the real time color temperature only once which will be maintained thereafter If you select the AWC mode in the WHITE BAL menu fix a screen that you want to image and press the ENTER key Then the AWC function will start activating MANU If you select the MANU mode in the WHITE BAL menu you will ...

Page 18: ... OR LEFT RIGHT UP DOWN Note Please reset the BLC MOTION PRIVACY area because they don t change by all means POSI NEGA Outputs the video brightness signal normally or reversely The brightness level is high at inverted output DETAIL Adjusts the horizontal and vertical sharpness MOTION DET MOTION DET detects any movement of objects if you activate the MOTION DET function at the time when you expect n...

Page 19: ...l of the strength level in 8 levels You may setup the size and location of the area SPECIAL BAUD RATE 38400 REVERSE OFF POSI NEGA DETAIL 0 I MOTION DET ON PRIVACY RET MOTION DET AREA BOTTOM SENSITIVITY L I H RET press the ENTER key press the ENTER key POSITION SIZE UP DOWN KEY POSITION LEFT RIGHT KEY press the ENTER key press the ENTER key press the ENTER key PRIVACY ZONE PRIVACY1 ON PRIVACY2 OFF ...

Page 20: ...dcasting System SCC B2305 NTSC Standard Color System SCC B2305 P SCC B2005P PAL Standard Color System Imaging Device 1 3 inch P S CCD Effective Pixel NTSC 768 H X 494 V PAL 752 H X 582 V Scanning Method NTSC 525 Line 2 1 Interlace PAL 625 Line 2 1 Interlace Line Frequency Horizontal NTSC 15 734 Hz INT 15 750 Hz L L Horizontal PAL 15 625 Hz INT 15 625 Hz L L Vertical NTSC 59 94 Hz INT 60 Hz L L Ver...

Page 21: ...0K sec Back Light Compensation OFF WDR BLC Sense Up OFF AUTO X2 X160 Motion Detection OFF ON AREA SENSITIVITY Setting Video Control POSI NEGA REVERSE H V H V DETAIL PRIVACY Setting Signal Output Composite Video Out 1 0 Vp p 75 ohms BNC AI Lens VIDEO DC Lens Mount CS C Mount Adaptor Operating Temperature 10 C 50 C Operating Humidity 90 Physical Size 68 W x 55 H x 128 5 D mm Weight SCC B2305 P Appro...

Reviews: