43
ENGLISH
Advanced Recording
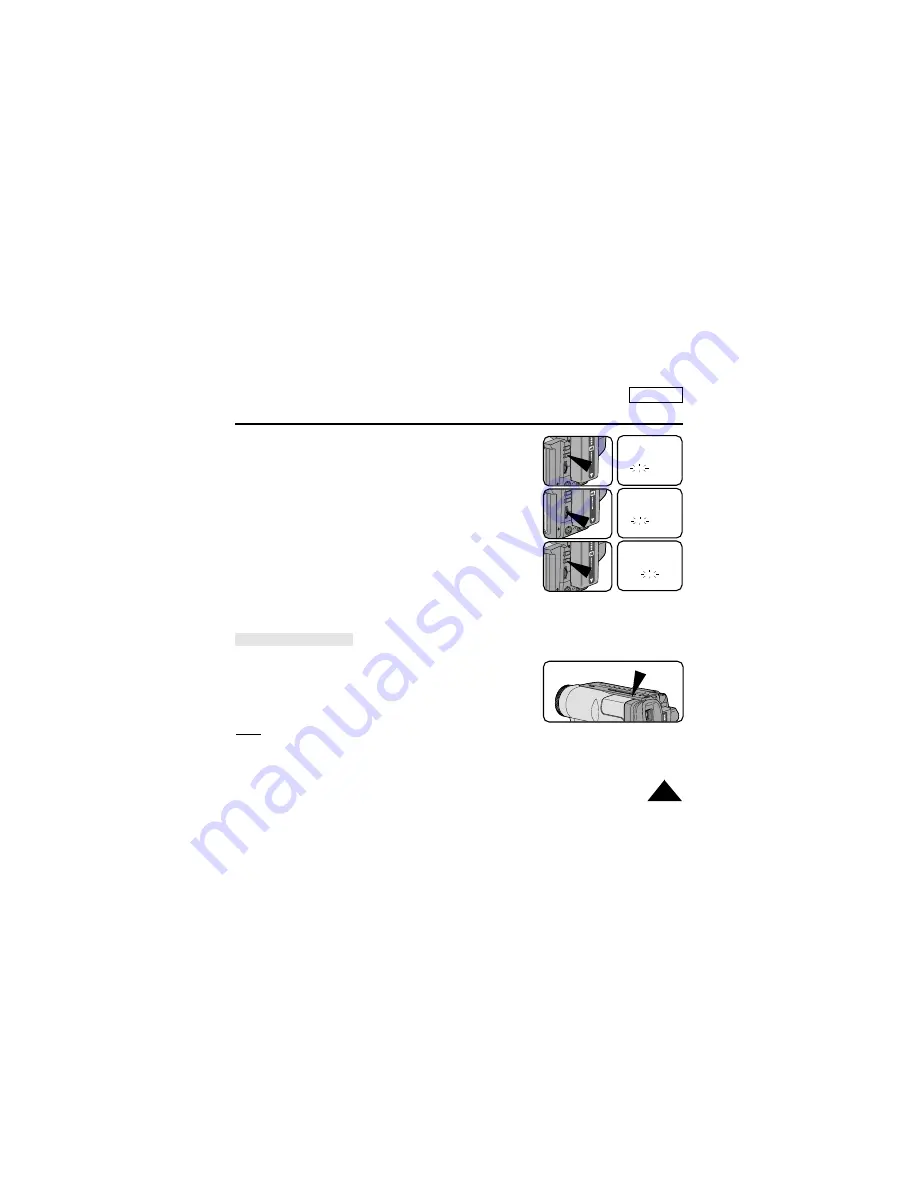
7. Press
ENTER.
■
The month to be reset will blink.
8. Turn the UP/DOWN dial to set the desired month.
9. Press
ENTER.
■
The day to be reset will blink.
10. You can set the year, hour and minute following the same
procedure used for setting the year and month.
11. Press ENTER after setting the minute and the clock setting
screen will disappear.
The selected date and time will then be displayed.
Recording the DATE/TIME
1. Make sure that you have set the DATE/TIME.
2. Set the power switch to CAMERA mode.
3. Press the DATE/TIME button.
■
To record the date only, press the DATE/TIME button once.
■
To record the date and time, press the DATE/TIME button twice.
4. Press the START/STOP button to record the DATE/TIME on your recording.
Notes:
■
If your date and time settings are not maintained in the camcorder, it means the installed
LITHIUM BATTERY is discharged. (see page 20)
■
You cannot conceal the recorded date or time during playback.
■
The DATE/TIME function cannot be turned off in EASY or CUSTOM mode.
CLOCK SETTING
12:00 AM
JAN. 1, 2005
EXIT: MENU
CLOCK SETTING
12:00 AM
FEB. 1, 2005
EXIT: MENU
CLOCK SETTING
12:00 AM
FEB. 1, 2005
EXIT: MENU


