background image

SV-2

DJ68-00022B 


2001.10.11 

17:38 


˘

`

9

Summary of Contents for RC-5521

Page 1: ...VACUUMCLEANER Käyttöohje Lue käyttöohjeet huolellisesti ennen kuin käytät pölynimuria FI Brugervejiedning DA Bruksanvisning NO Bruksanvisning SV Operating Instructions EN DJ68 00022B2001 10 1117 38 1 ...

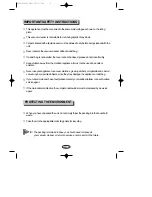
Page 2: ... vacuum matches glowing embers or cigarette ends Avoid vacuuming hard pointed objects since they may damage the appliance or dust bag If your vacuum cleaner has a fault please contact your electrical retailer or an auth orized service agent If the main cable is defective the complete cable winder must be replaced by a service agent When you have unpacked the unit do not simply throw the packing in...

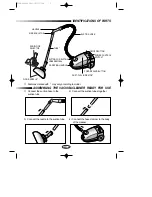
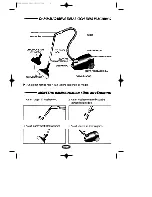
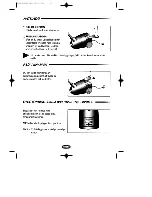
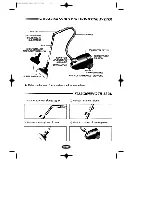
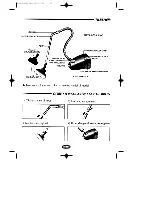
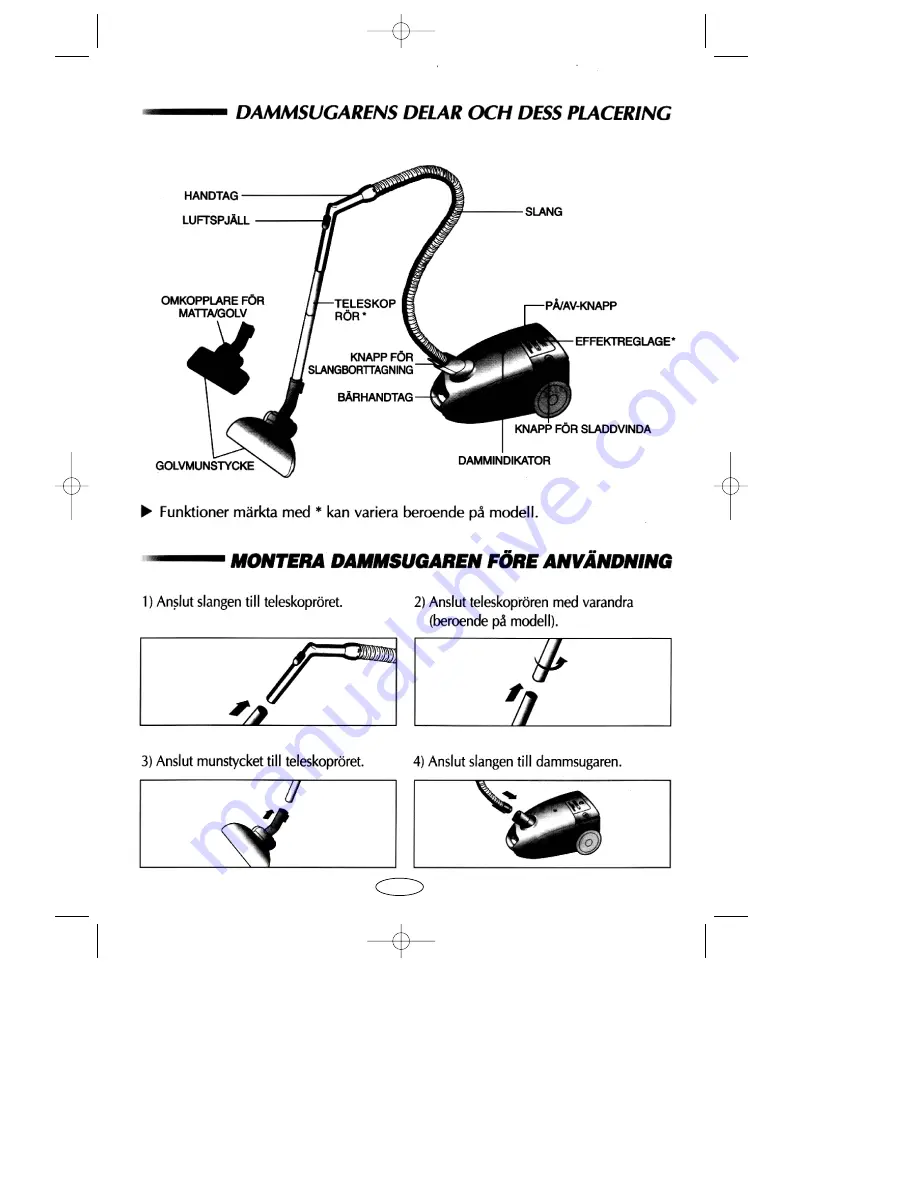
Page 3: ... to the suction tube 2 Connect the suction tubes together 4 Connect the hose clamper to the body of the cleaner HANDLE SUCTION HOSE DUST FULL INDICATOR CORD REWIND BUTTON POWER CONTROL SWITCH BUTTON FOR SUCTION HOSEREMOVAL ON OFF BUTTON AIR REGULATOR TUBE RUG FLOOR SELECTOR FLOOR NOZZLE CARRYING HANDLE IDENTIFICATIONS OF PARTS EN 2 DJ68 00022B2001 10 1117 38 3 ...

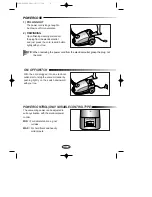
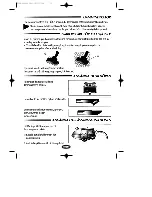
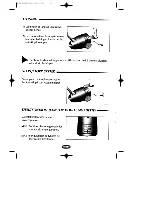
Page 4: ...d just press the cord rewind button lightly with your toe ON OFF SWITCH With the cord plugged into an electrical outlet start or stop the vacuum cleaner by pushing lightly on the switch downward with your toe The vacuuming power can be adjusted to suit any situation with the electrical power control MIN For delicate fabrics e g net curtains MAX For hard floors and heavily solid carpets POWER CONTR...

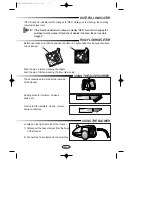
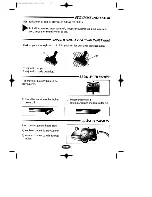
Page 5: ...ight rear side of the cleaner 1 Disconnect the hose clamper from the body of the cleaner 2 Connect the hose clamper to the blow hole Push the side when cleaning the capets Push the side when cleaning the floor tile mat etc RUG FLOOR SELETOR Before use make sure that the position of button is in right position for the type of surface to be cleaned DUST FULL INDICATOR If the Dust Full indicator swit...

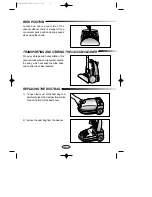
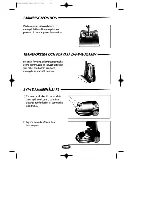
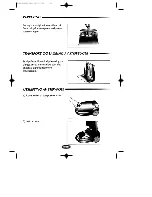
Page 6: ...tation this vacuum cleaner has a clip system built on the body which will keep the tube hose and nozzle in a vertical position TRANSPORTING AND STORING THE VACUUM CLEANER REPLACING THE DUST BAG 1 To open the cover of the dust bag com partment press the clamper forward loc ated at the front of the dust cover 2 remove the dust bag from the cleaner EN 5 DJ68 00022B2001 10 1117 38 6 ...

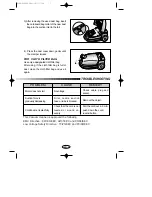
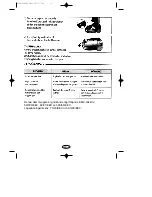
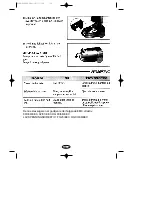
Page 7: ...to the full TROUBLE SHOOTING This Vacuum cleaner is approved the following EMC Directive 89 336 EEC 92 31EEC and 93 68 EEC Low Voltage Safety Directive 73 23 EEC and 93 68 EEC Motor does not start No voltage Check cable plug and socket Suction force is gradually decreasing Filter nozzle suction hose or tube is blocked Remove the object Cord does not rewind fully Check that the cord is not twisted ...

Page 8: ...SV 1 DJ68 00022B2001 10 1117 38 8 ...

Page 9: ...SV 2 DJ68 00022B2001 10 1117 38 9 ...

Page 10: ...SV 3 DJ68 00022B2001 10 1117 38 10 ...

Page 11: ...SV 4 DJ68 00022B2001 10 1117 38 11 ...

Page 12: ...SV 5 DJ68 00022B2001 10 1117 38 12 ...

Page 13: ...SV 6 Denna dammsugare är godkänd enligt följande EMC direktiv 89 336 EEC 92 31 EEC och 93 68 EEC Lågspänningsdirektiv 73 23 EEC och 93 68 EEC DJ68 00022B2001 10 1117 38 13 ...

Page 14: ...NO 1 DJ68 00022B2001 10 1117 38 14 ...

Page 15: ...NO 2 DJ68 00022B2001 10 1117 38 15 ...

Page 16: ...NO 3 DJ68 00022B2001 10 1117 38 16 ...

Page 17: ...NO 4 DJ68 00022B2001 10 1117 38 17 ...

Page 18: ...NO 5 DJ68 00022B2001 10 1117 39 18 ...

Page 19: ...NO 6 Denne støvsugeren er godkjent etter følgende EMC direktiv 89 336 EEC 92 31 EEC OG 93 68 EEC LAVSPENNINGSDIREKTIV 73 23 EEC OG 93 68 EEC DJ68 00022B2001 10 1117 39 19 ...

Page 20: ...DA 1 DJ68 00022B2001 10 1117 39 20 ...

Page 21: ...DA 2 DJ68 00022B2001 10 1117 39 21 ...

Page 22: ...DA 3 DJ68 00022B2001 10 1117 39 22 ...

Page 23: ...DA 4 DJ68 00022B2001 10 1117 39 23 ...

Page 24: ...DA 5 DJ68 00022B2001 10 1117 39 24 ...

Page 25: ...DA 6 Denne støvsugeren er godkjent til det følgende EMC direktiv 89 336 EEC 92 31 EEC OG 93 68 EEC EN 61000 3 2 1995 EN 55014 1993 OG IEC 335 2 2 EN 60335 1 og EN 60335 2 2 DJ68 00022B2001 10 1117 39 25 ...

Page 26: ...äyttää eläimiin tai ihmisiin Älä koskaan imuroi tulitikkuja hehkuvaa tuhkaa tai tupakantumppeja Vältä kovien terävien esineiden imuroimista sillä ne voivat vaurioittaa imuria tai pölypussia Jos pölynimurissa on vikaa ota yhteys jälleenmyyjääsi tai valtuutettuun huoltoon Jos sähköjohto on viallinen tulee koko johtokela vaihdattaa valtuutetussa huoltoliikkeessä Otettuasi pölynimurin esille älä pane ...

Page 27: ... 3 Yhdistä suutin imuputkeen 2 Yhdistä imuputket toisiinsa 4 Liitä letku pölynimuriin KAHVA IMULETKU PÖLYMÄÄRÄN OSOITIN SÄHKÖJOHDON SISÄÄNKELAUSPAINIKE IMUTEHON SÄÄTÖ LETKUN IRROTUSPAINIKE PÄÄLLE POIS PAINIKE ILMASÄÄDIN PUTKI MATTO LATTIA VAIHDIN LATTIASUUTIN KANTOKAHVA PÖLYNIMURIN OSAT JA NIIDEN TUNNISTUS DJ68 00022B2001 10 1117 39 27 ...

Page 28: ...sta ja paina johdon sisäänkelauspainiketta kevyesti jalalla PÄÄLLE POIS PAINIKE Imutehoa voidaan säädellä erilaisia puhdistustilanteita varten MIN Herkille kankaille esim verhoille MAX Koville lattioille ja erittäin likaisille matoille IMUTEHON SÄÄTÖ VAIN IMUTEHON SÄÄDÖLLÄ VARUSTETUT MALLIT FI 3 Voit käynnistää tai sammuttaa pölynimurin sen ollessa kytkettynä pistorasiaan painamalla päälle poispai...

Page 29: ...usaukko sijaitsee pölynimurin takaosassa 1 Irrota letkun pidike imurista 2 Liitä letkun pidike puhallusaukkoon Paina puolta mattojen puhdistusta varten Paina puolta lattian laattojen yms puhdistusta varten MATTO LATTIA VAIHDIN PÖLYMÄÄRÄN OSOITIN Jos pölymäärän osoitin muuttuu PUNAISEKSI imuroinnin aikana tulee pölypussi vaihtaa Ennen kuin imuroit tarkista että vaihdin on oikeassa asennossa puhdist...

Page 30: ... putken letkun ja suuttimen oikeassa asennossa PÖLYNIMURIN KULJETUS JA SÄILYTYS PÖLYPUSSIN VAIHTO 1 Avaa pölypussin kansi painamalla sen edessä olevaa lukituslaitetta eteenpäin 2 Poista pölypussi pölynimurista FI 5 Pölynimurin takaosassa on suutinpidike johon suutin voidaan asettaa taukojen ajaksi DJ68 00022B2001 10 1117 39 30 ...

Page 31: ... VIANETSINTÄ Tämä pölynimuri vastaa seuraavia EMC direktiivejä 89 336 EEC 92 31 EEC ja 93 68 EEC Matalajänniteturvadirektiivit 73 23 EEC ja 93 68 EEC Moottori ei käynnisty Pölynimuri ei saa virtaa Tarkasta sähköjohto ja pistokkeen kytkentä Imuteho hiipuu hiljalleen Suodatin suutin letku tai putki on tukossa Poista tukos Johto ei kelaudu kokonaan Johto voi olla kierteellä tai epätasaisesti kiertyny...

Page 32: ...DJ68 00022B REV 0 3 DJ68 00022B2001 10 1117 39 32 ...

Reviews: